 Adobe Community
- Home
- Premiere Pro
- Discussions
- How do I darken one area of a clip?
- How do I darken one area of a clip?
How do I darken one area of a clip?
Copy link to clipboard
Copied
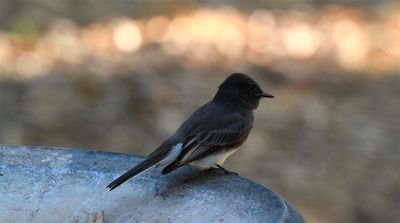
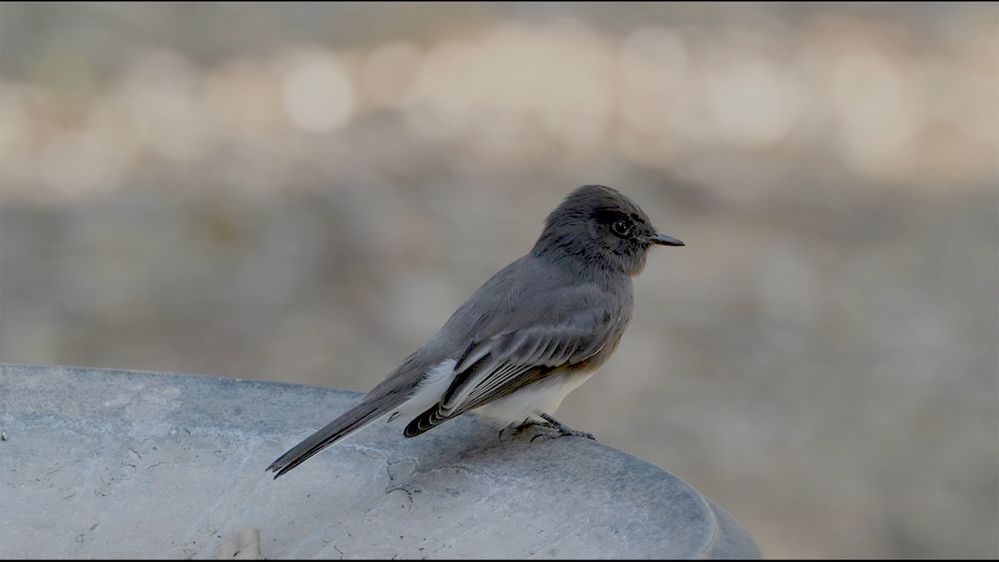
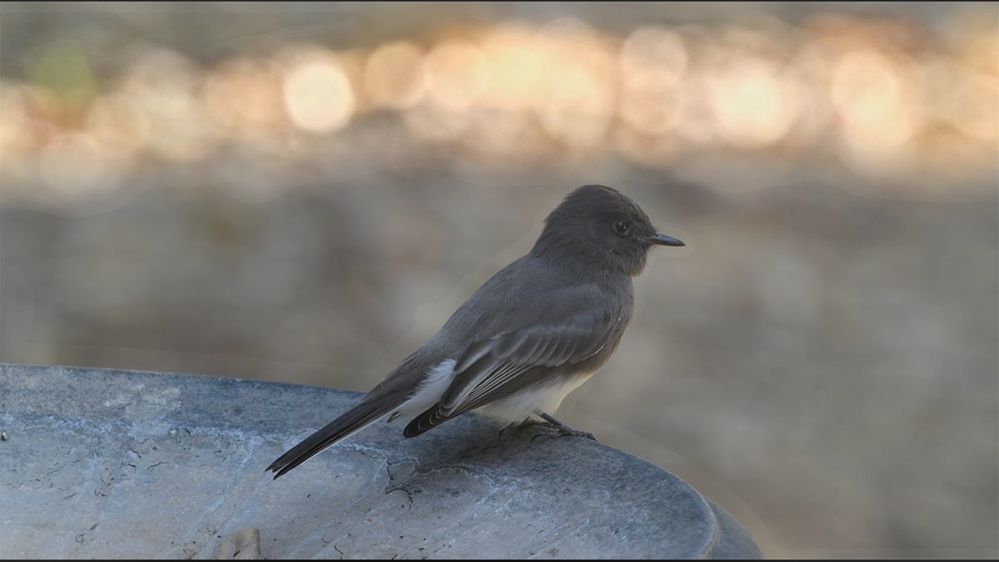
I would like to darken the upper portion of this clip of a Black Phoebe. There are annoying highlights that have been misread by my camera's meter and have resulted in an underexposed foreground. If I increase overall brightness, obviously the highlights will be blown out. In photoshop I would apply a gradient to the top of the photo and then adjust the bottom to obtain a correct exposure and probably do some local adjustment to the bird's face. However, my Premiere skills are not as advanced, and i would appreciate help from the community.
Thanks so much!
Copy link to clipboard
Copied
Here is the file referenced above.
DRF
Copy link to clipboard
Copied
I would start from someplace like here
That's just general luma values of lift gamma gain ( and offset ) using resolve. smart people here can give equivalent for Lumetri. It's all the same.
After THIS then you can select specific ranges ( with masks made from selections) to adjust specific values. Like get bird bath a tad darker, hightlights a tad brighter, but leave bird face where it is ...
??
good luck !
🙂
Copy link to clipboard
Copied
Very easy,. and many ways to do it.
First, the place is the Color workspace using the Lumetri panel. If you check that image in the various scopes available, you'll see that the values of those highlights are way above everyhing else. So it would be possible as one method to simply roll off the whites/highlights down some. But ... there are several ways to do this.
In the Lumetri panel, the Basic tab, simply roll down the whites and see how much that helps. Working between the Whites and Highlights sliders may get this good enough.
In the Curves tab, you could use the RGB Curves tool, put a 'control point' up maybe 2/3rds of the way up the White curve, then pull the top down some and see what that can do. Adjust both the control point and the amount you pull down the end point to taste.
The Luma vs Luma curve would also be useful ... this is a horizontal presentation of the image brightness, black on the left edge, white the right. Set a control point maybe 1/3rd in from the right side, then pull the end point down and work both points to taste.
Color Wheels tab ... the Luma sliders of the tab. Pull the Highlights luma slider down while maybe slightly lifting the midtones luma slider to protect the midtones.
You could also go to the Effects Control panel and set a mask for that Lumetri effect, so you only affect the one physical area of the image. Give yourself some feather to soften the edge of the work, and then darken using any of the luma tools in Lumetri.
Neil
Copy link to clipboard
Copied
went back to bird and unfortunately I'm using laptop instead of edit computer and had some problems (not color corrected and small program monitor ) There's a fairly obvious problem with this thing ( think " mask around bath " blend )
Copy link to clipboard
Copied
I guess the solution would be to delete that node, and do a new mask ( power window ). pain in behind.
Copy link to clipboard
Copied
I agree. Using a gradient is probably your best bet. Premiere Pro still has the Legacy Titler.
You can do the exact same thing with Lagacy Titler that you do in Photoshop. It has 4 point gradient. If the sun is in the upper left or right corner you simple adjust the gradient to perfection. I do it all the time. I don't have time to make a tutorial but it is easy. Simply open up the Legacy Titler. For fill color you will see 4 point gradient, radial gradient, bevel edges etc.


