 Adobe Community
- Home
- Premiere Pro
- Discussions
- Why is Aplha channel video layer not working corre...
- Why is Aplha channel video layer not working corre...
Why is Aplha channel video layer not working correctly in premiere pro?
Copy link to clipboard
Copied
I am Naved and I am using Adobe Premiere Pro CC 2019 for creating a YouTube video. This video is providing a list of recommended copyright free music that is available on YouTube for free use. I wanted to show an audio visualizer (or say audio spectrum) in my video. This video is very long, consisting of around 100 different music tracks and its duration is of nearly 4 Hours. As it is clear that Audio Spectrum plugin works only with Adobe After Effects CC 2019 and I cannot create a composition of more than 3 Hours in After Effects, again I cannot make a complex while lengthy project at the same time, in After Effects; So, I considered only importing the audio file and a DVD(Disk) Icon in After Effects. I applied the Audio Spectrum and Audio Reactive (on scaling) effects on and around the Disk Icon with Transparent Background.
As the audio file was of more than 4 hours, I had to perform this process in two parts, 1st one for about 3 hours and the 2nd one for the remaining 1 hour.
For rendering the video files, I chose Quicktime Codec, Animation Format with 8 Bit + Alpha Channel Settings. I took the final export to Premiere Pro, where I already had a Background Image, a Black video (for background dullness), and a Legacy Title. When I imported the rendered video in my premiere pro sequence, I put it above all of the layers. But, when I played out the video, I found that the audio spectrum was going BEHIND the Legacy Title and the Disk Icon was showing in front of the Legacy Title. This was a very strange kind of behavior that I have never encountered before because they both (disk icon and audio spectrum) are a part of a single video i.e. single layer only and either they both should be in front of the other layers or be backward than them. Another interesting thing is that the audio spectrum is showing in front of the background image but not in front of the legacy title. So, I thought I can export my background frame including the text and then, put it behind the audio spectrum video. Surprisingly, even after rendering the still image as Background and keeping it behind the Audio Spectrum Layer, the result was again the same. The Disk Icon was in front of the Text and the Audio Spectrum was behind the text but background image.
Now I have run out of ideas, why this strange kind of behavior is being encountered in Premiere Pro. It could be my fault too but I am unable to understand where is the error standing?
You can find this detailed question in the description of the mentioned video also. For any other required details, I am right here to comment.
Screenshots of Layers:-
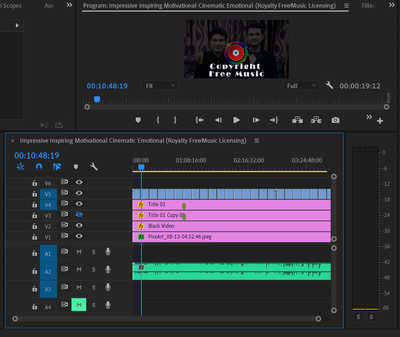
Screenshot of the arrangement of all layers in Premiere Pro Sequence:
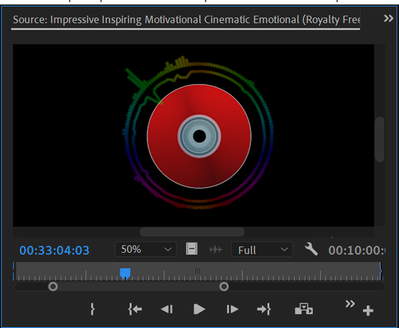
Sceenshot of Disk Icon and Audio Spectrum Video Layer:
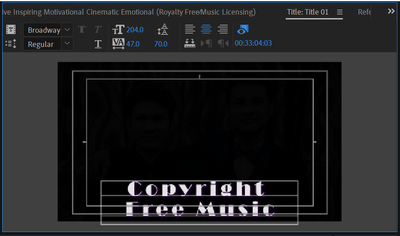
Screenshot of Legacy Title Layer:
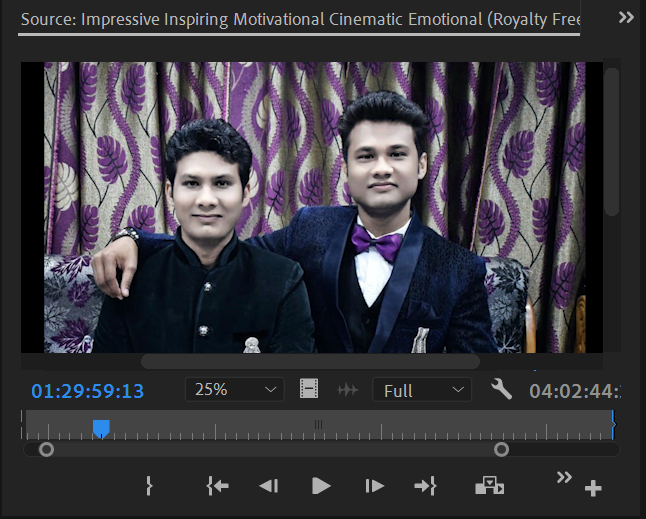
Screenshot of Background Image Layer:
Screenshot of Background Image Layer after applying Black Video Layer:
Lastly, you may not have encountered this problem yet, or this problem may sound very minor to you but still, there are many people around there, who are just like me, who have/will encounter(ed) this problem someday. So, if you cannot "Upvote" this question to increase its reach. at least do NOT "Downvote" it. {Actually I posted it on stackexhange also, so this para is from that Video.StackExchange.com portal...
Thank You So Much in Advance!!! 😊
Copy link to clipboard
Copied
Hi, EditingWizard
First of all, thank you for replying to my question. Out of the two ways suggested by you, I have tried the first one.
Although I did not find any option like "Z-Axis" in the BASIC 3D EFFECTS in Premiere Pro CC19, I assumed the "Distance to image" as the asked one setting. I wanted Audio Spectrum Layer to be top of all, so I made it bigger (decreased its value) there and shrank it using the Scaling effect. Similar I did with the Background Image and the Legacy Title but this time I increased the distance and adjusted the size using Scale effect.
Unfortunately, even after applying these changes, I didn't get the required results.
In order to implement your second suggestion, I would need to purchase AfterCodecs Plugin and put a lot of time in rendering again. This is going to be extremely hard as compared to your first suggestion. But, I am ready to try it out if you think that this change will definitely provide me the desired results.
Kindly reply to my query, whether I should put these efforts (like buying the codec plugin and again investing hours in rendering) or not and I'll follow your recommendation.
Thanks again EditingWizard!
Copy link to clipboard
Copied
I suggest to use ProRes 4444 and not Animation as the codec. Please check this video (it is on webM but the steps for ProRes 4444 are similar) https://www.youtube.com/watch?v=KUtx1fltN4g
Copy link to clipboard
Copied
Actually, buil-in ProRes 4444 codec was making huge size (nearly half a TB) of files because the duration of the video is longer than 4 Hours. I exported a 3 Hour Video with ProRes and it was of 344 GB, so exporting more than 4 Hours was a very heavy task for my Hard Disk. And I doubt that I may not be able to work with the project smoothly if the source-files will be this much large in size.
Please suggest a solution (or your opinion) regarding this issue Joost_van_der_Hoeven
Thank You for replying to this thread. 😊
