 Adobe Community
- Home
- Premiere Rush
- Discussions
- Premiere Rush Guided Workflow — Editing and Trimmi...
- Premiere Rush Guided Workflow — Editing and Trimmi...
Premiere Rush Guided Workflow — Editing and Trimming
Copy link to clipboard
Copied
Editing and Trimming
Creating the Sequence
Once clips are selected in the desired order, click the "Create" button, located in the lower right corner of the interface, and your sequence appears in a new Timeline and Preview Monitor, called the Edit Workspace. It's really that simple.
Now that a baseline sequence is created (you can call it a "rough cut"), you can add more items to it, remove items from it, or make timing adjustments to the sequence by shortening or lengthening clips called "trimming."

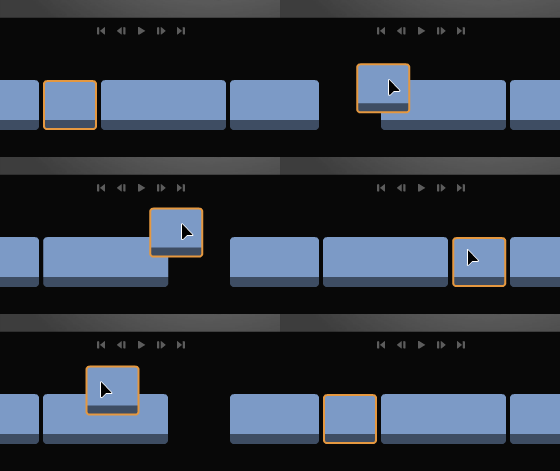
One thing you can do after a sequence is created is to change the order of the clips displayed in the Timeline. Drag a selected clip to a new location in the Timeline and the other clips move automatically to allow for this.

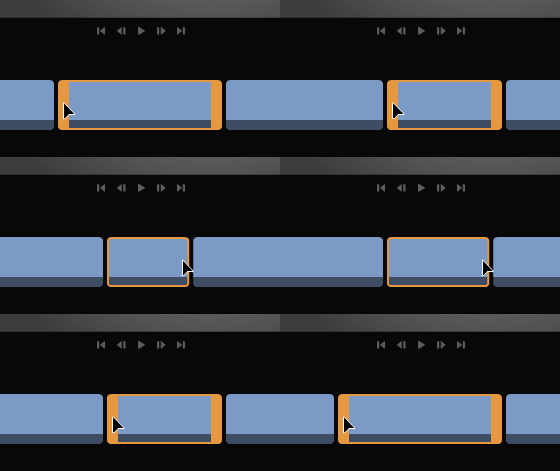
Once clips, images, and voice overs are added to the Timeline, you can trim them, that is, shorten them, or lengthen them. Whatever you see fit! A single tool is used for trimming. To use the tool: Drag the tool left or right on the boundary of the clip.
The trim tool automatically appears when you place the cursor between two clips. Trimming is performed on the selected clip (note that a clip is selected once it is clicked with the tool). You can use the tool to shorten or lengthen any selected clip. The magnetic timeline shifts other clips into place as you trim.
Split Clips
You can split clips into 2 or more pieces by using the Split Clips tool. It looks like a pair of scissors on the left hand side of the interface. Park your playhead on any clips and click the clip to select it. Click the tool and your clip will now appear as two distinct clips. There are a number of reasons you'd split clips, like moving part of a clip to another part of the Timeline.
Project panel: Adding additional clips
Once a sequence is created, add additional clips to the project in the "Project panel." Click on the icon in the upper left of the interface that looks like a file cabinet drawer to launch it. The "+" sign just above the Project panel icon is for adding additional title, media, or voice over. Click it to select which kind of media you'd like to import. Select the item, then click the "Add" button. The item (or items) is then added after the clip the playhead is parked on.
Delete Clips
You can delete a clip too. Click the clip on the timeline to select it and click the Delete icon to the left of the timeline (the trash can) or press Delete on the keyboard.
Additional resources:
Next, you'll be adjusting audio, adding pre-recorded audio (like music), and adding voice over recordings. To get started with audio, click here.
Mobile Guide:
Adobe Premiere Rush workflow on iOS
- Capture photos and videos
- The Premiere Rush editing workspace
- Trim, split, duplicate, or delete clips
Adobe Premiere Rush workflow on Android
- Capture photos and videos
- The Premiere Rush editing workspace
- Trim, split, duplicate, or delete clips
Details from the User Guide:
- Create a project and add media files
- Add media files to an existing project
- Add part of a clip
- Premiere Rush timeline
- Move or rearrange clips
- Trim clips
- Split clips
< Importing and Organizing — Audio >
Home: Editing Overview
Have something to add?
