Hello @AndresFHO,
Thanks for the question.
The options I see are:
1. Use the Polygon Fill tool to select only the faces at the border. This will obviously only work if you have edge loops at the border of the mesh.
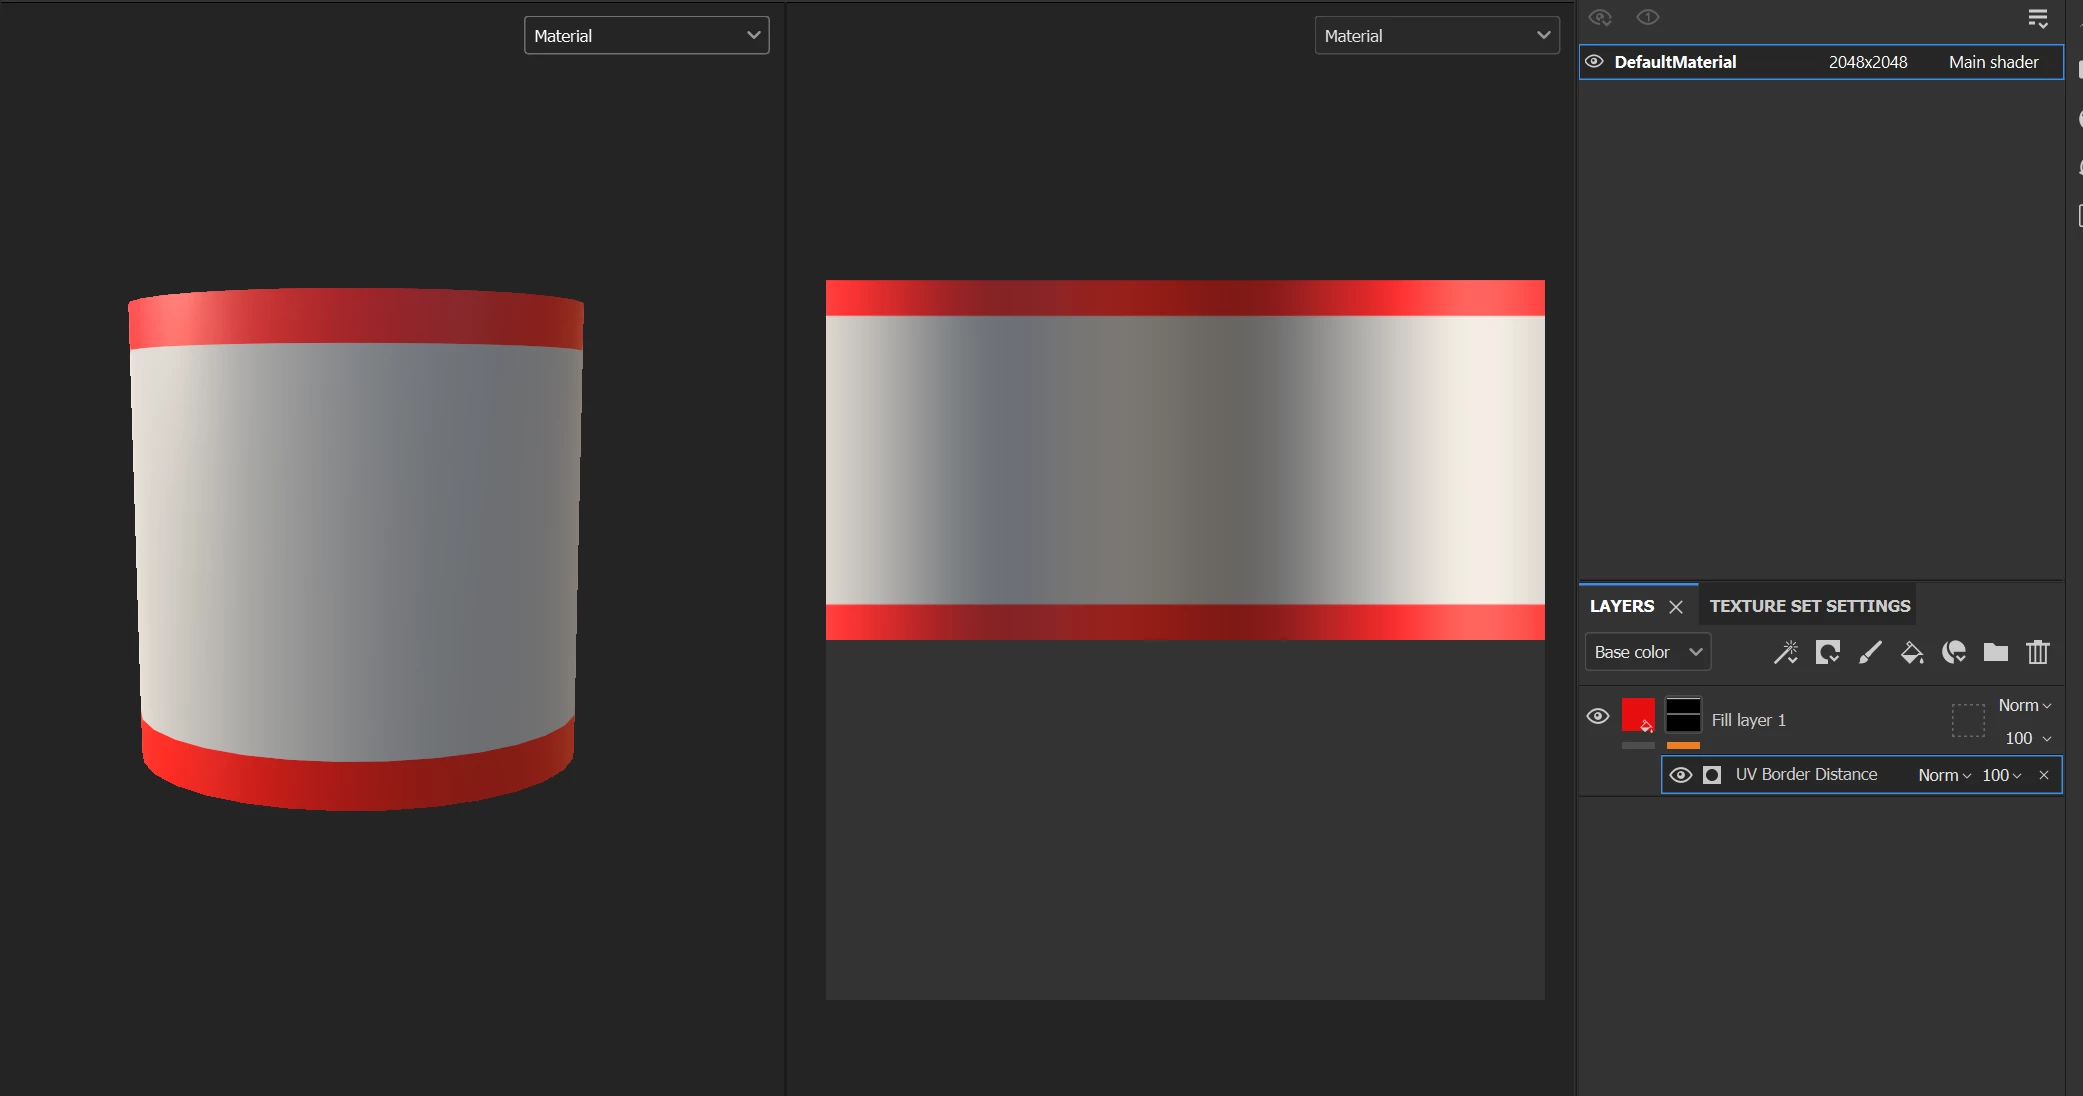
2. Make sure the UV shell fill its tile, then use the UV Border generator. This way, it shouldn't consider the vertical seam.
3. Use the UV border, add a paint effect, switch his blending mode to Sub, and paint the vertical seam to erase it. This solution isn't very versatile, but sometimes you don't have many other choices.
4. My last solution would be to simply paint the Border in the 2D View while holding the shift key to make straight lines. Not the best one, I agree.
On a side note, this won't work with an empty cylinder, but depending on the mesh, the baked maps could help to select the borders.
I hope this will be useful.
Best regards,

