UV Unwrapping
I'm looking for a way to create Custom Layered UV Maps for 3D Models.
I play a lot of video games in the form of FPS Games like Counter-Strike:Global Offensive (CSGO).
In the world of CSGO. There's a massive community out there for the In-Game Community Workshop where users including myself have uploaded Custom Weapon Designs to the Community Workshop. This workshop is fantastic and some people have been lucky enough that the Weapon Designs they have created have actually found there way into the Offical Game Content Files and these creators receive a small fraction of the cost for there weapon skin(s) whenever that skin is acquired by a fellow meber of the community.
For example. This here is a direct link to my Community Workshop Submission: [Link removed by moderator]
Now, my workshop is very minute in comparison to the rest of the amazing Community and their submissions: {Link removed by moderator]
The Method I used to use in the past when I 1st started to create my Custom Weapon FInishes was as follows:
- Open Adobe PS
- Import 3D Model
- Select The UV Map Editor
- Start Colour Coding All Parts Of The UV Map To My Needs With 3 Different Colours (Red/White/Blue)
- Examine The 3 Colours On The 3D model And Make Adjustments On The Fly
- Time To Recolour And Design The Texture Once Mapping In The 3 Colours Was Complete
- Import The Final Texture + VTF File Into The Game Engine Workbench To Create And Align The Model
- Export The Final Product Into The Comunity Workshop And Let the Community Vote It Up For The Potential OF The Item To Be Placed Into The Game
Now, there's a bit of an issue to my process above. My Personal Workshop Models are old and the last thing I uploaded was back in June, 2018. I was forced to stop because my PC had died and I was too busy working to make money for a new PC.
The other issue(s) are the following:
- The Method I Used No Longer Works As Adobe PS No Longer Opens My Models Like I Used To In The Past
- Substrance 3D Painter Is Amazing And I'm Trying To Learn Substance 3D Painter On My Own
- Other Software Like Blender Is Also Out There
My issue with Substance 3D Painter is just how sensitive the UV Maps can be and how much Bleeding onto other parts of the model always happen. I also notice when I want to paint on a model. The model pops up with only 1 UV Mapping Layer and no others. And with 3D soon to be Removed from PS. It's definitely a bit confusing when I was able to make layers in PS for each part of the model then see my end products all in 1 tool.
When I open up a model in Substance 3D Painter with the following image below:
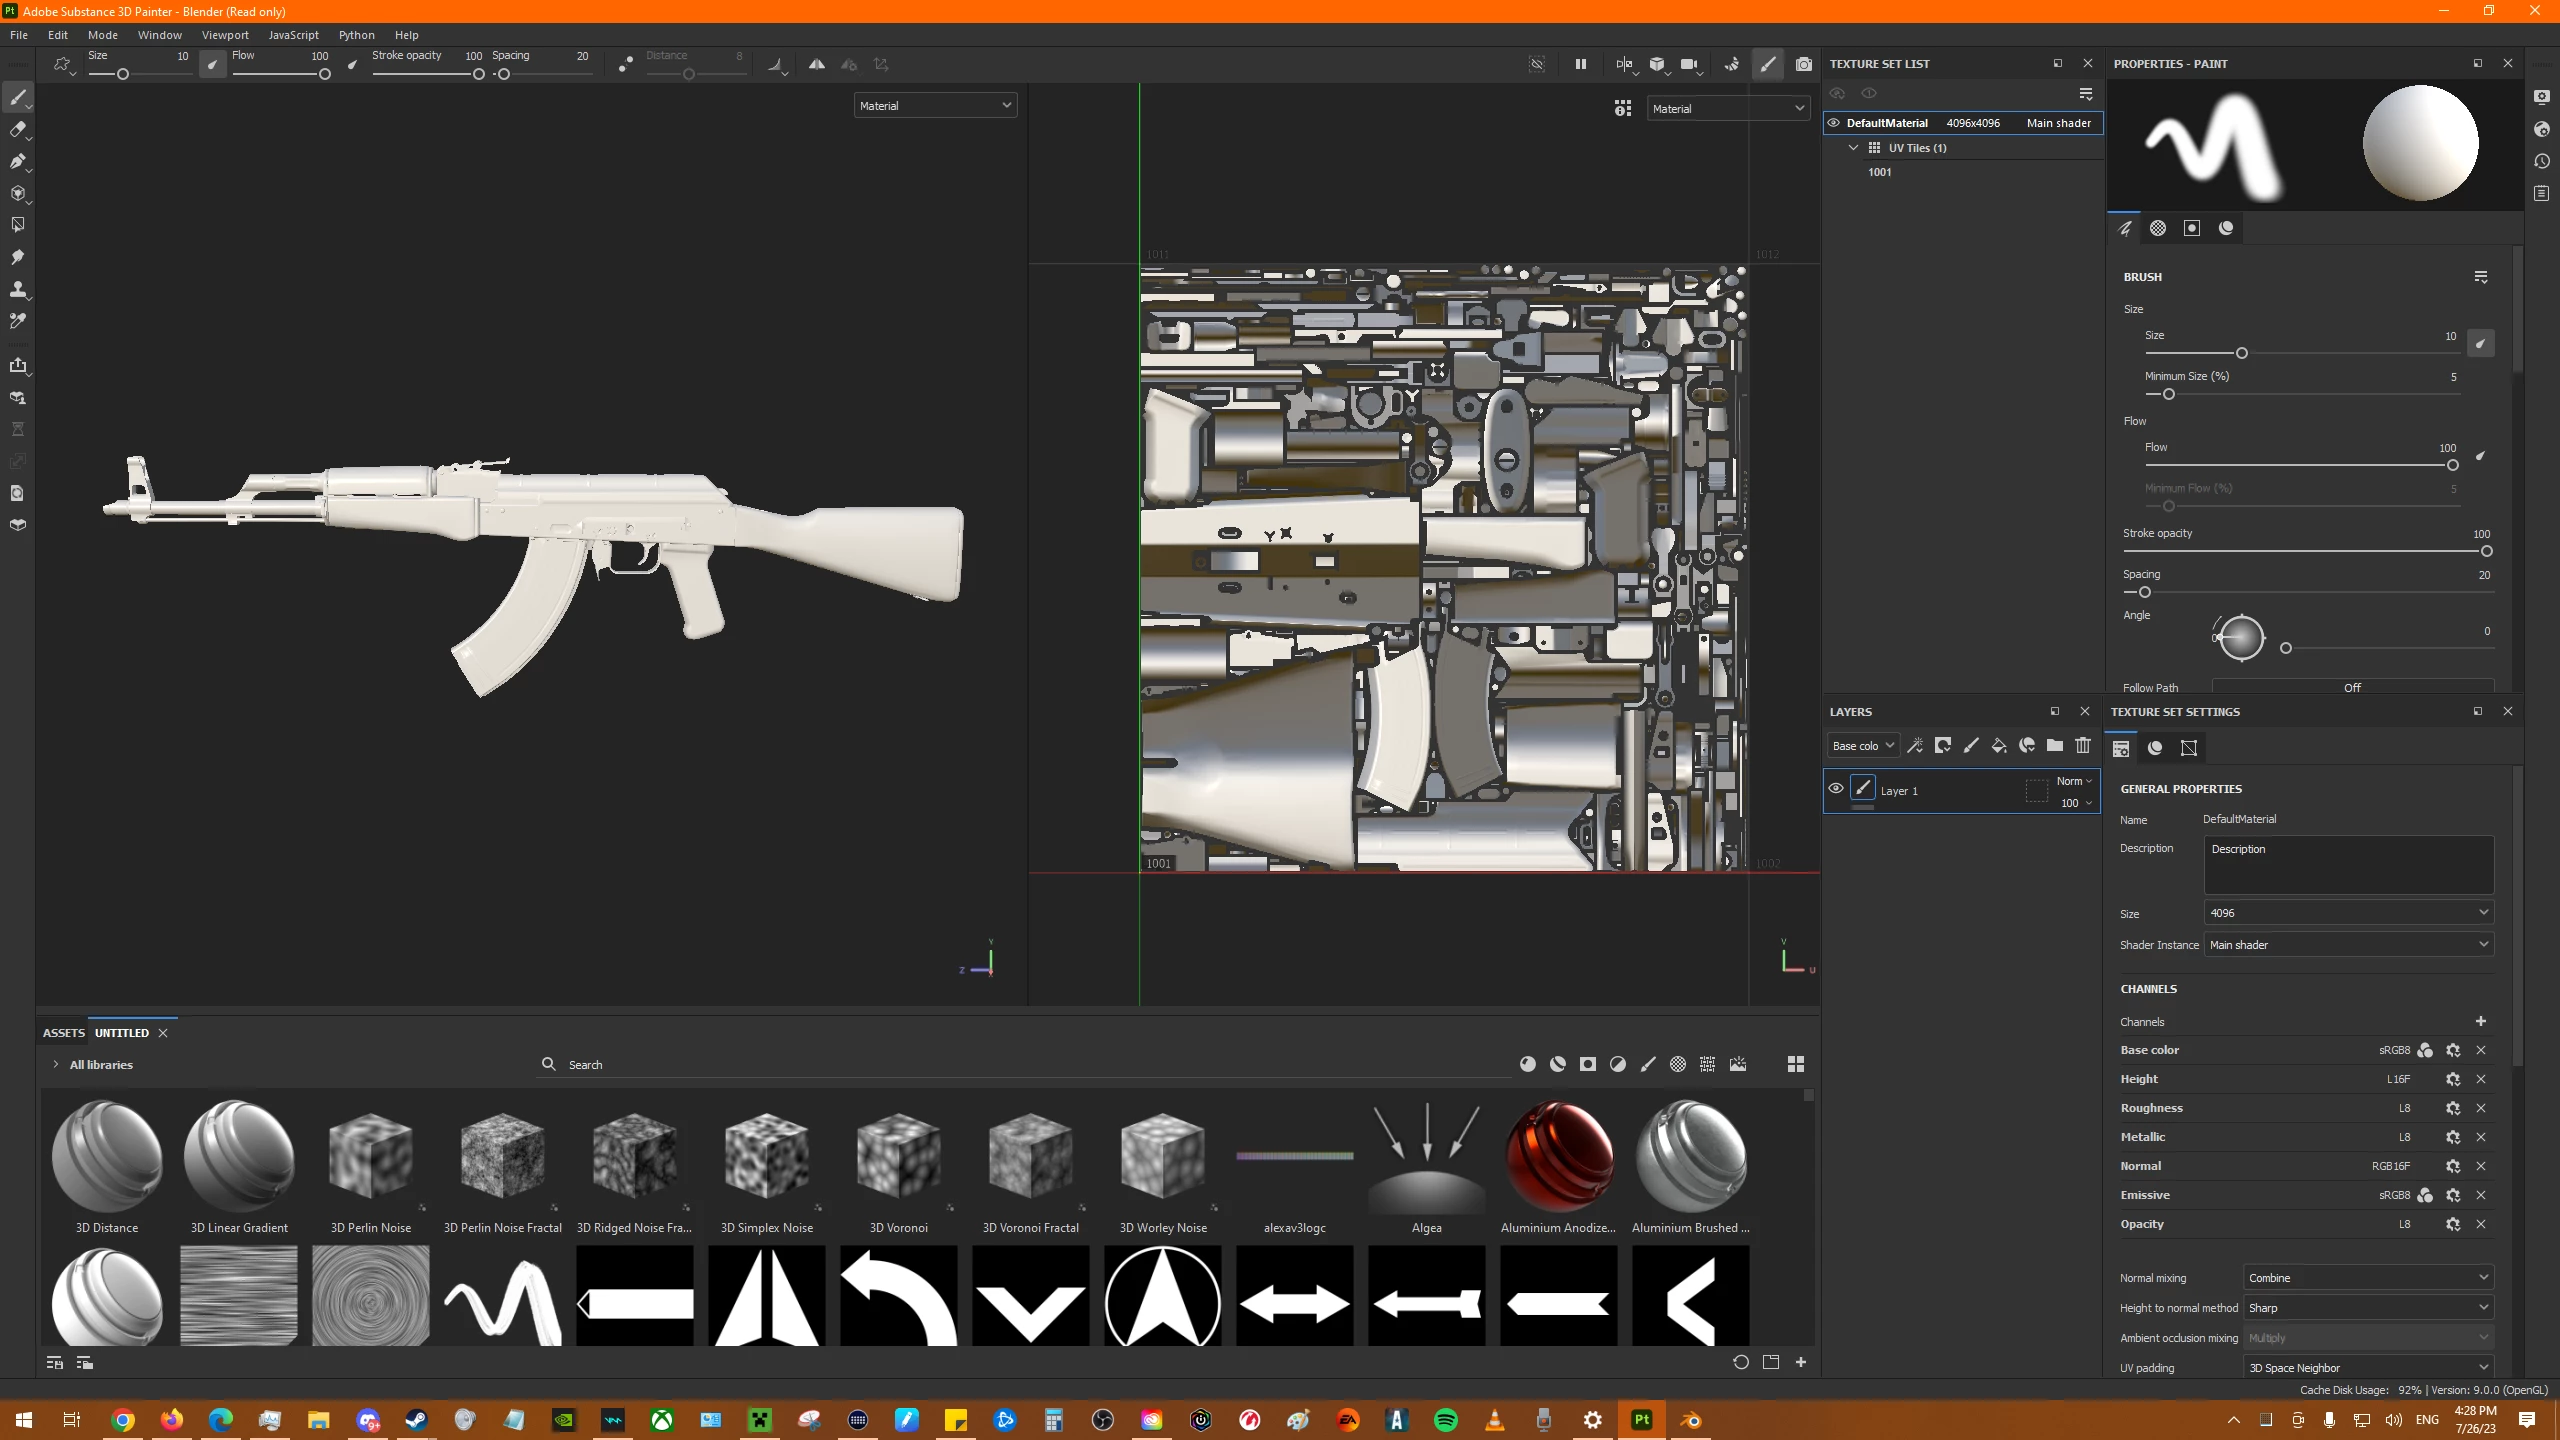
We can see the UV Map and the 3D Model. But, It's very tricky to see that say the barrel of this AK-47's UV Map is a bit confusing when you look at the 3D Model and say to yourself: "What part of the UV Map is the Screws/Hardware? I can tell where the Magazine Clip is on the UV because of the shape. But what about the small hardware parts on the 3D Model? Where are they located on the UV?
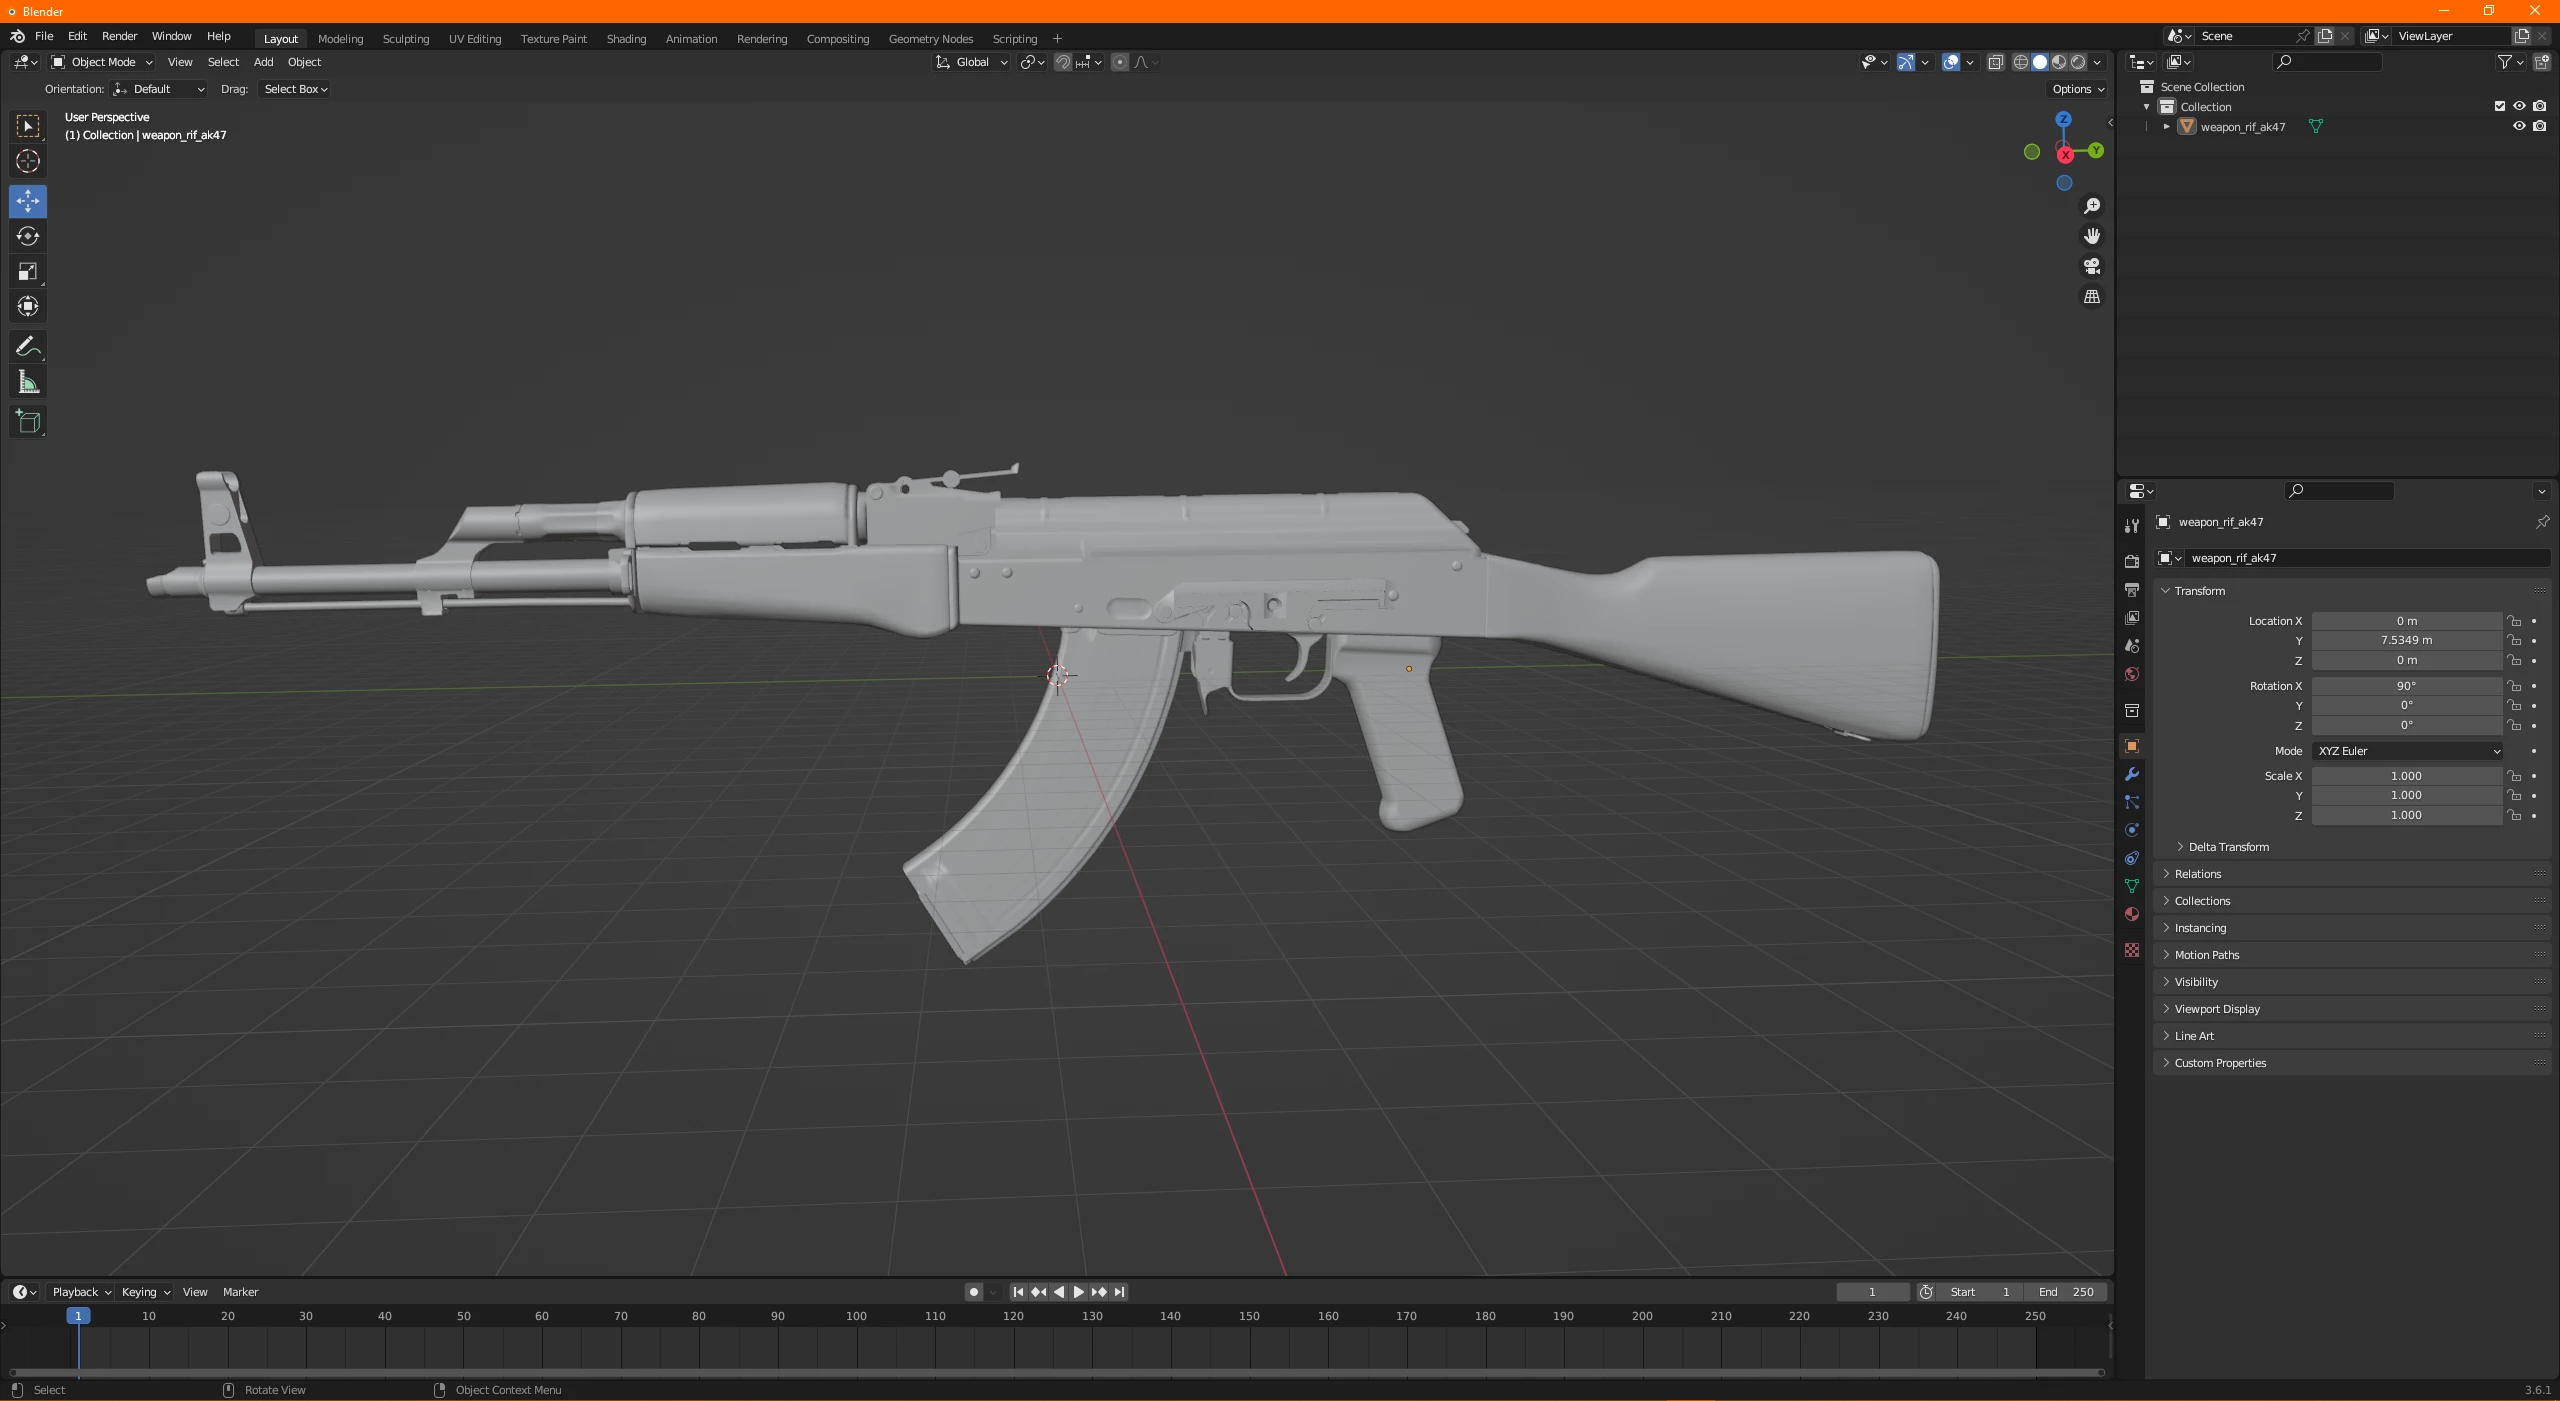
With that layout in mind. I pulled up the same 3D model in the program Blender. We can see it's the same 3D Model is a Solid Form:
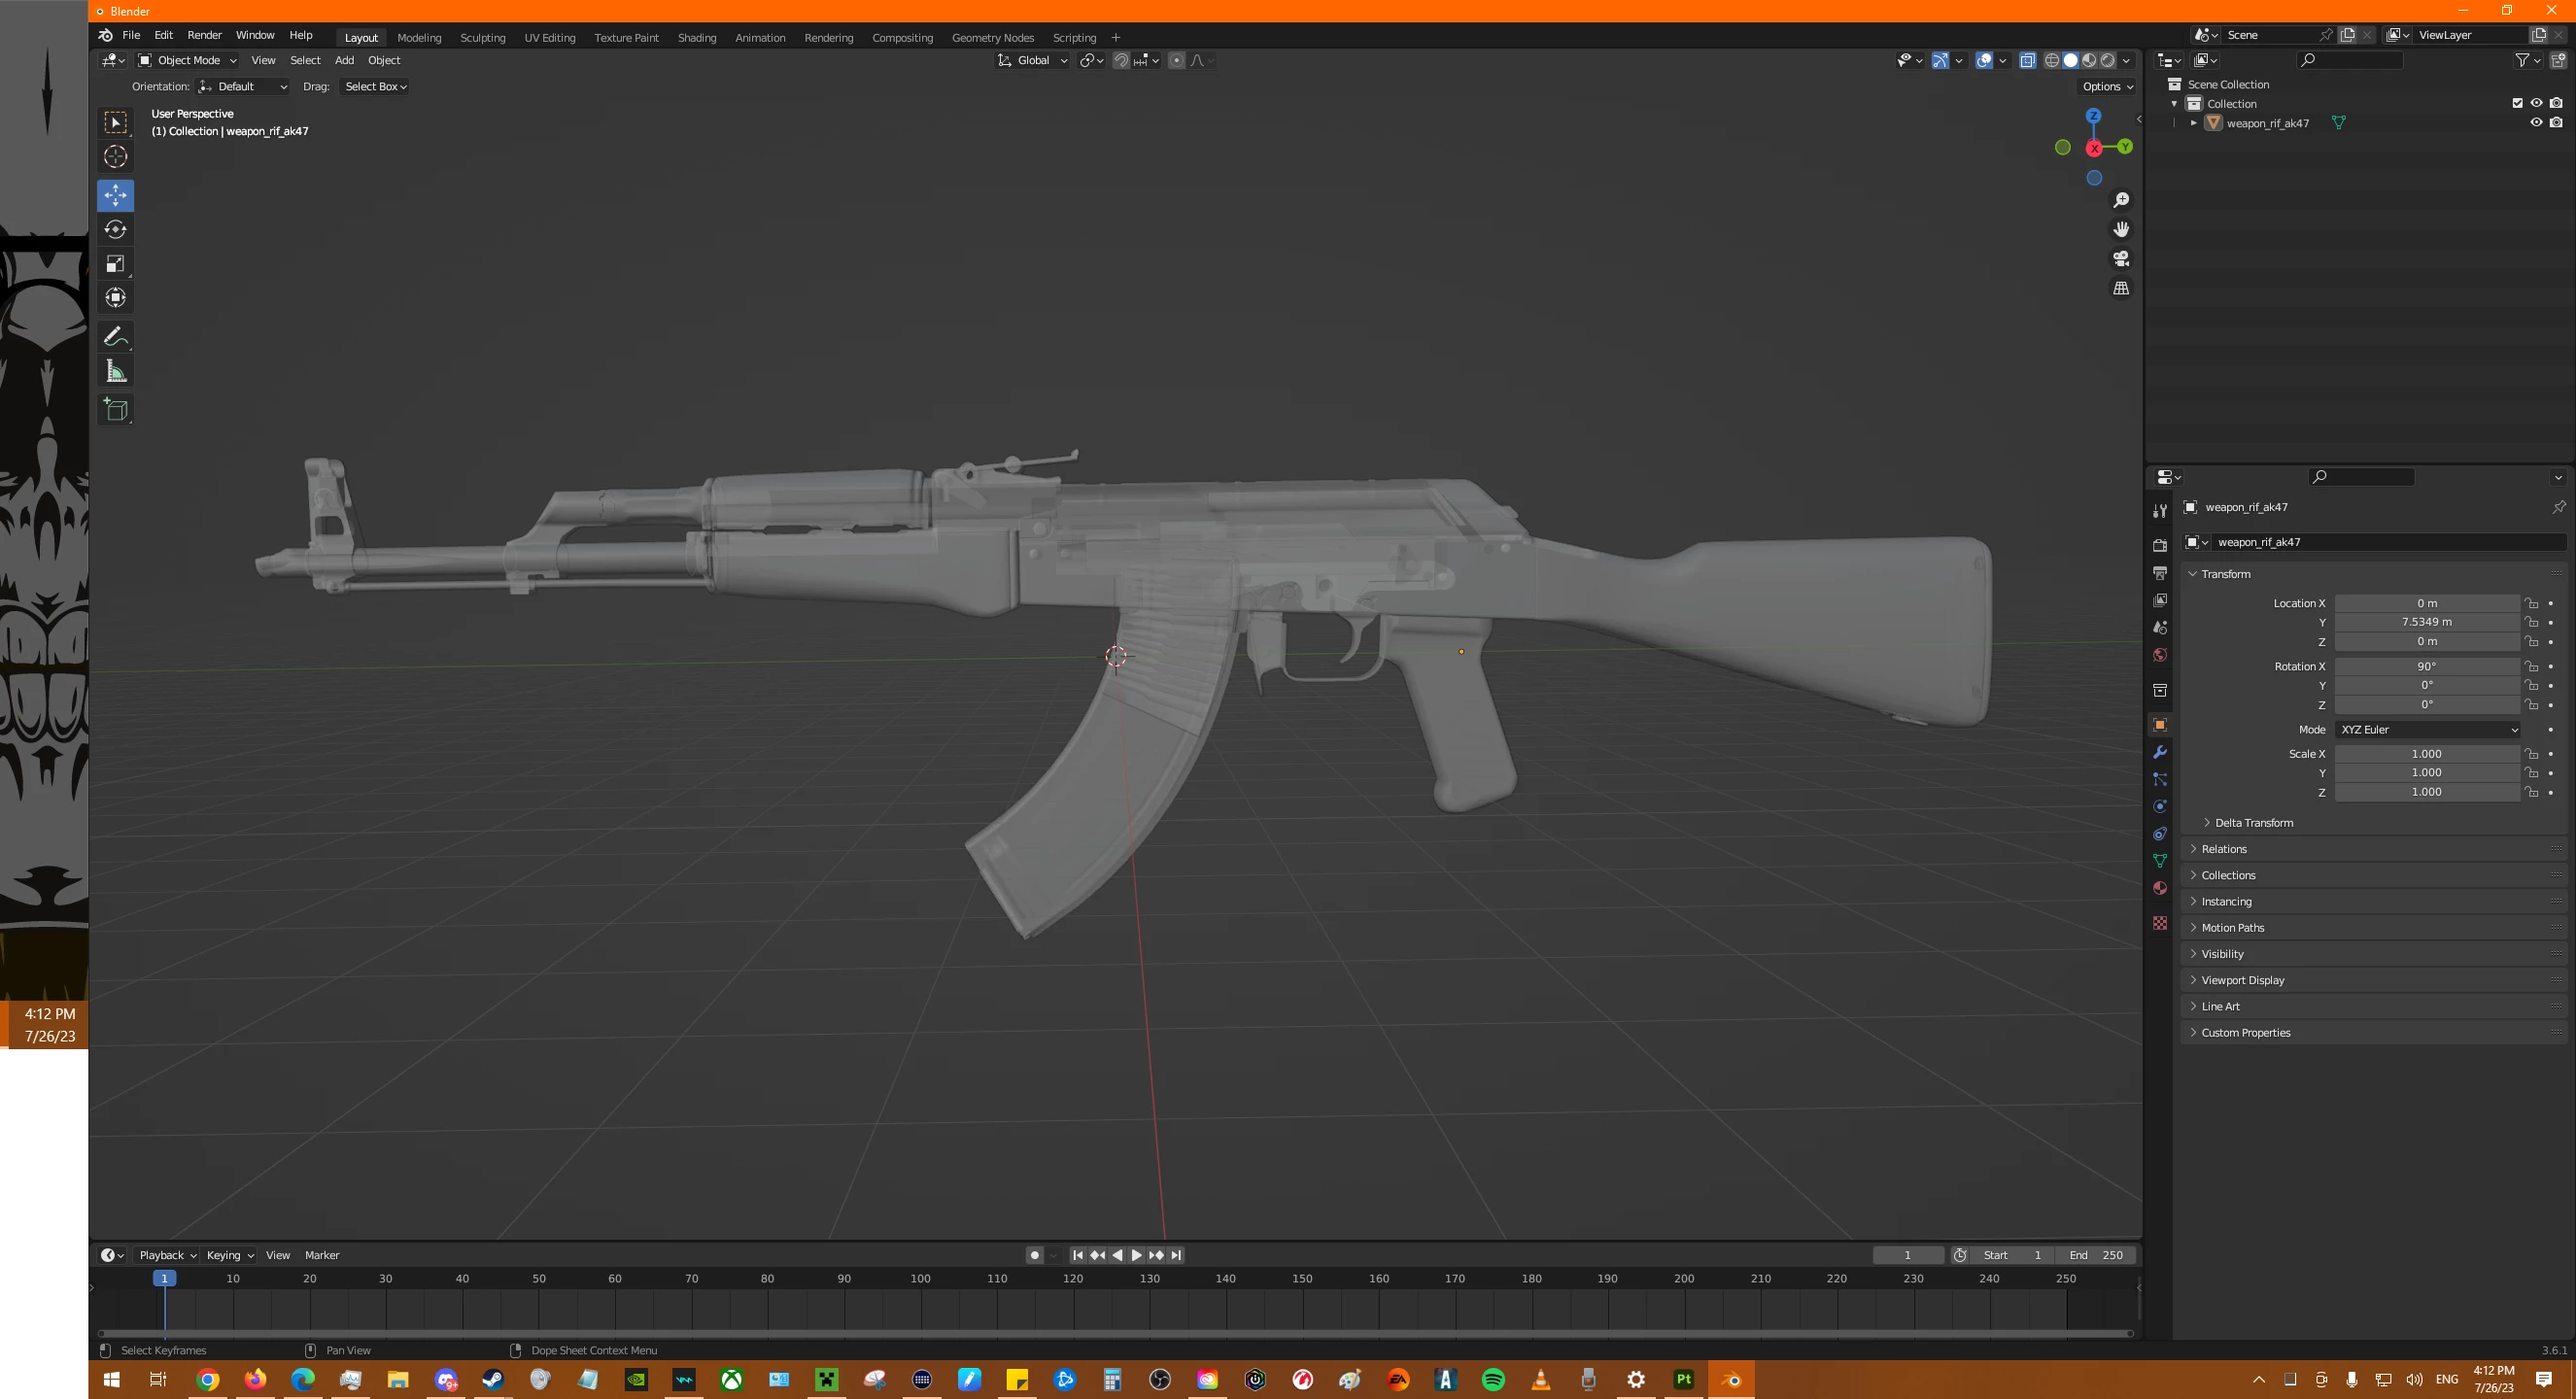
We can also see the same 3D Model in a "Ghost Form" that allows you to select parts of the Model all the way through:
We can also see all the crazy Polygons/Verticies on the UV Editor to the same 3D Model:
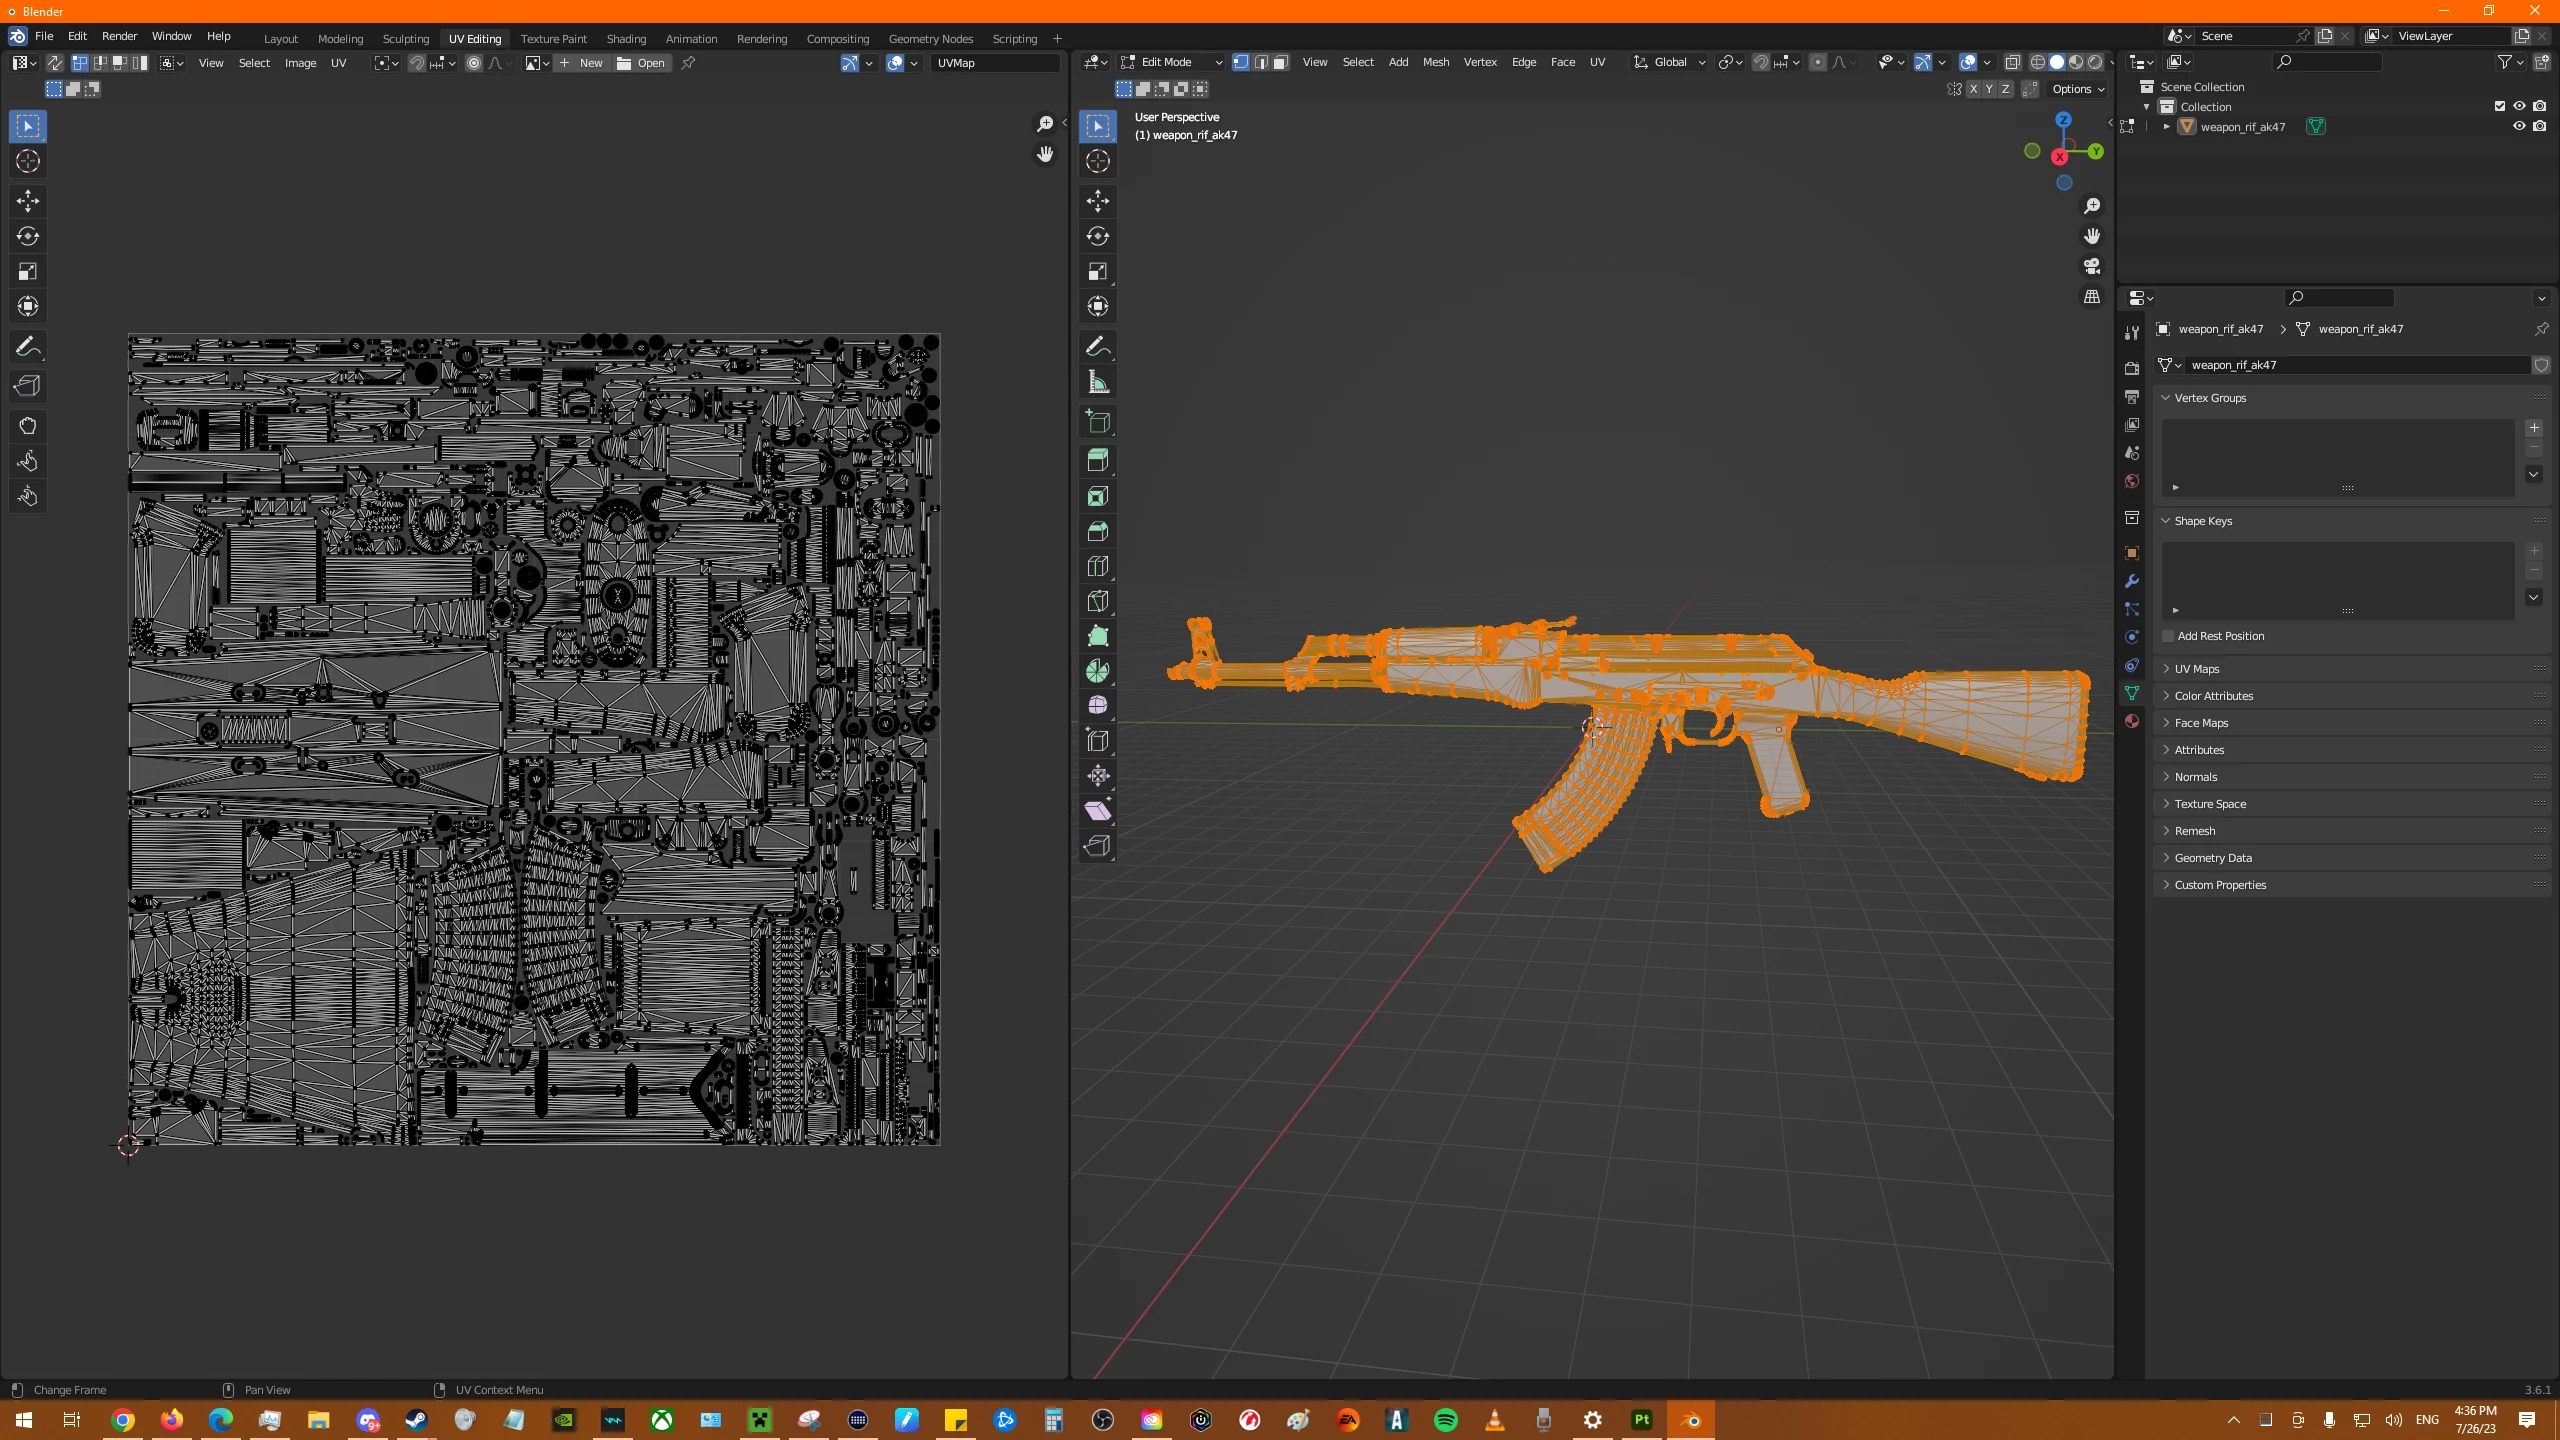
The reason I share these images from Blender is due to when you see the "Hidden Parts" like the Bullets and the hidden part of the Magazine that's inside the body of this 3D Model.
I have tried to paint on the 3D Model in Substand 3D Painter and then I see the "Bleed" of Colour show up on the UV Map going into the top of the Magazine (which I'm trying to avoid)
An example of this Ak-47 I can share to you is in this Video:[Link removed]
This also links to my Workshop Page for that same AK-47 in the YT Video:[Link removed]
Notice in the YT Video how within the 1st 7-8 Seconds what you see the standard Wood Texture and then it gets covered up by the custom texture. You can also see the Animation of what it looks like when someone does an "Inspection" or "Ammo Reload" and have a visual to the In-Game Actions that the UV Map would show us. This texture was created in 2016 and then updated 3 years later in 2019 for a newer Texterur Effect was applied from within the game files to add a bit more "Sheen" to the colours. And The Original Texture was created in PS.
A Newer Version of this Game Engine Is coming soon and they have released the following tool(s) which currently looks like this:
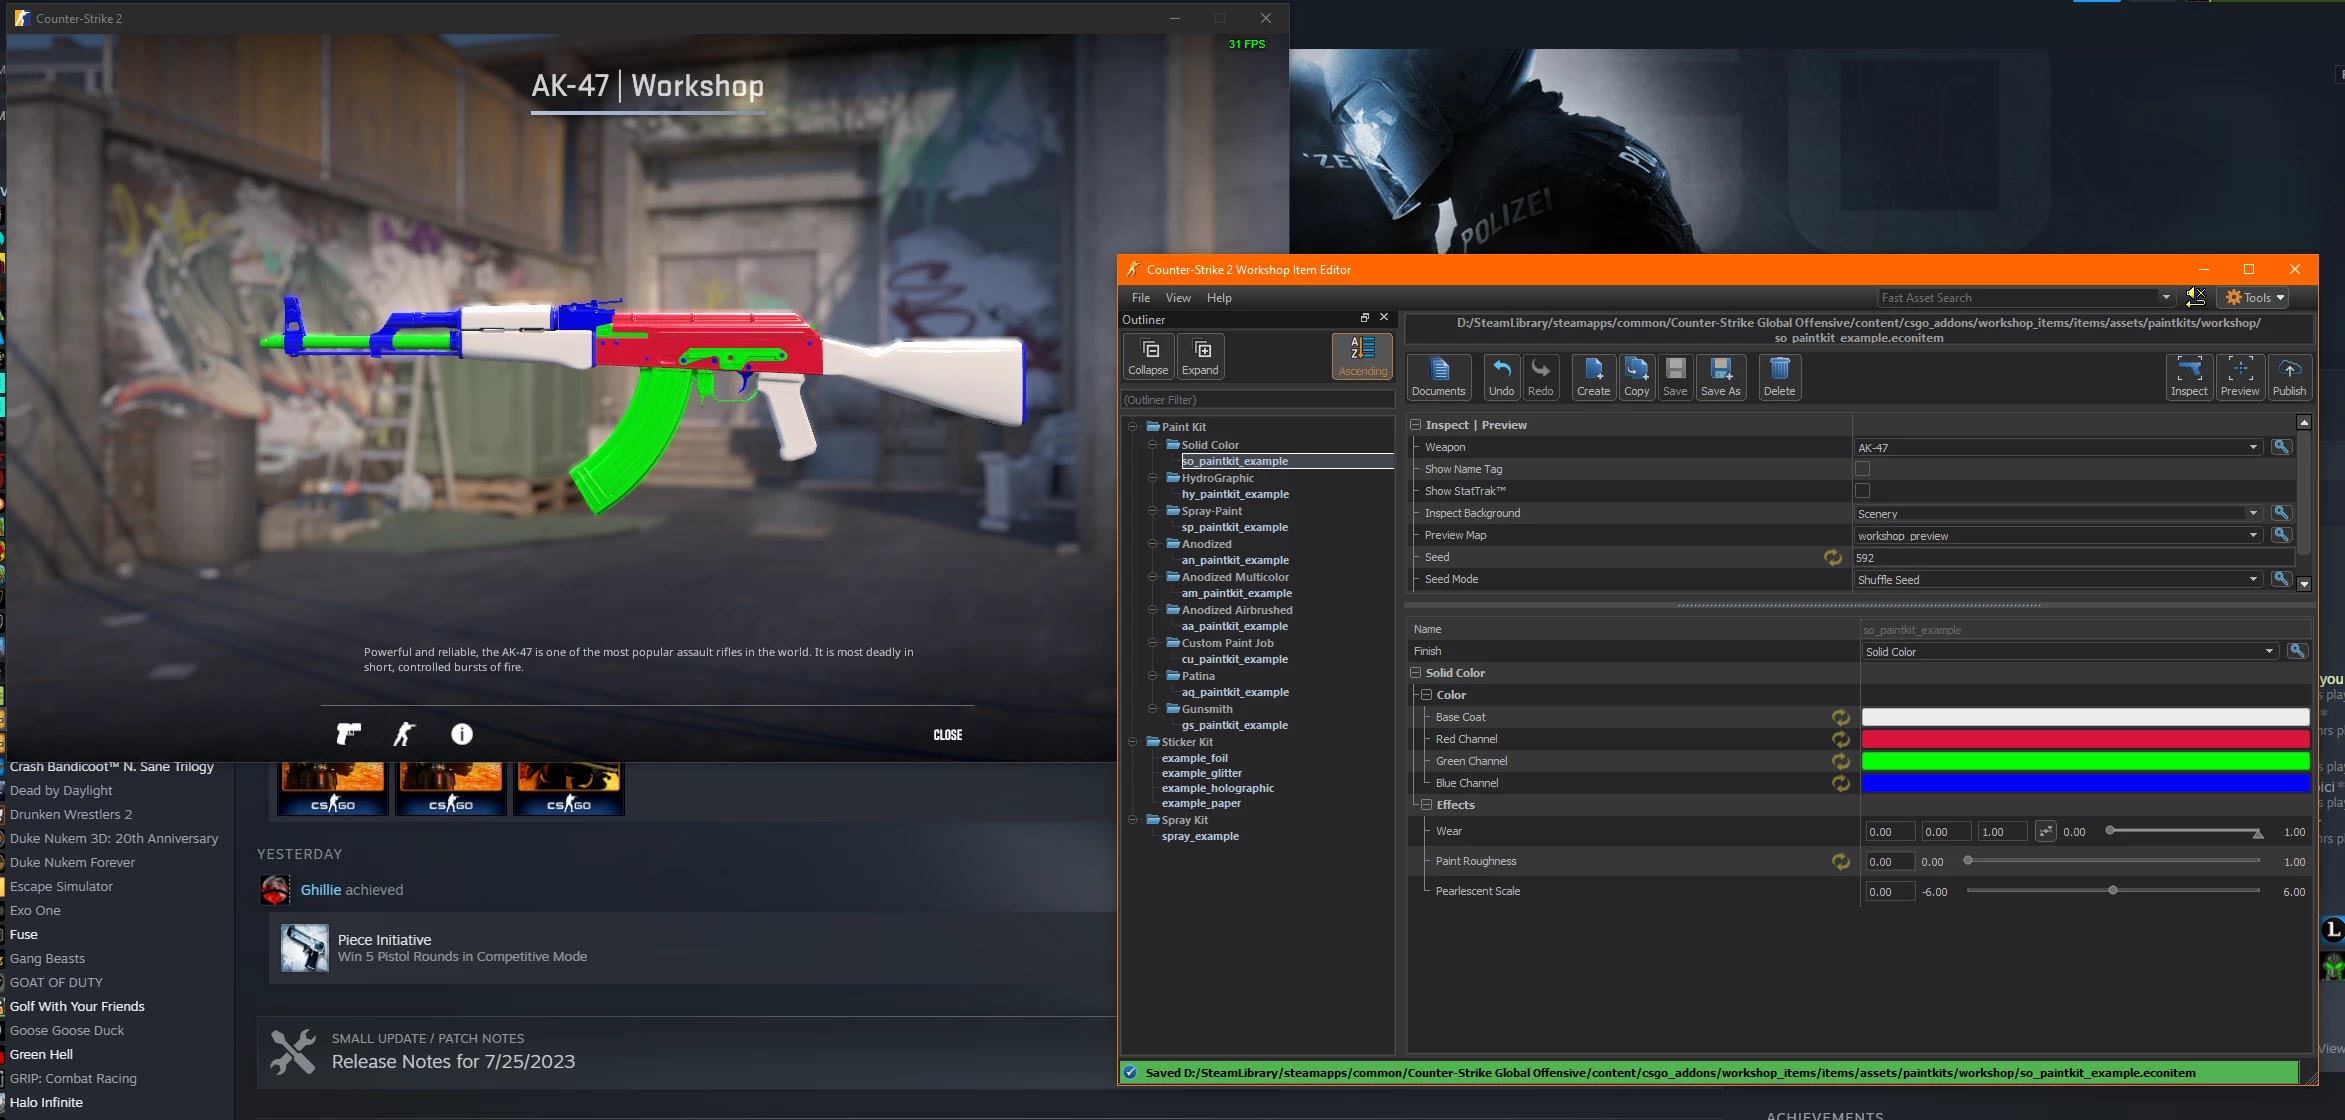
You can see in the Foreground it says "Weapon: AK-47". It also has the Colours: White/RGB for there respective Channels. Then by clicking the button "Inspect" will show that Weapon as a preview.
You can see in the Background just how that 3D model turned out with those Colours following clicking "Inspect". Now, obviously, this wouldn't be the final produce. Any Artist would want their own artwork on this AK-47 instead fo this Preview.
Now that I've gotten the Bulk of my description out of the way. I'd like to ask this question.
What would be the "Easiest" method for a UV Unwrapping that would allow me to take 1 UV Map and make it into multiple Layers of different Parts/Sections?
If we use the AK-47 I've shared above. What would be best to take the UV Map in Substance 3D Painter and make it so you can select parts you want with specifics and ensure there's no bleeding and you can group all parts to separate layers and then bake them into a final product?
Looking forward to any and all answers.
