Portrait editing: Highlights and Shadows in Lightroom Classic
What are Highlights and Shadows?
Highlights are the bright areas of the image that are not completely white. Shadows are the dark areas of the image that are not completely black. Unlike Blacks and Whites, you can still see and recover some details from the Highlights and Shadows.
Why are they important?
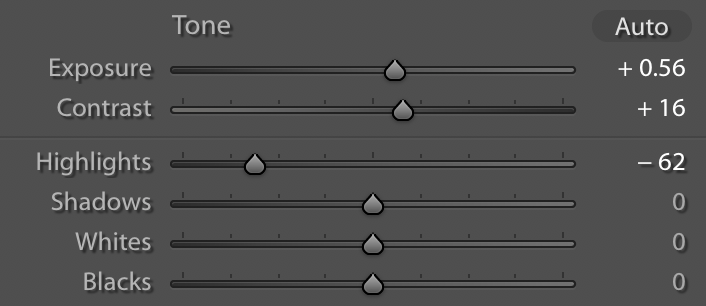
Sometimes images turn out lighter or darker than we would like. You can use the Exposure slider to set the mid-tones (the middle 50% of the tones in the photo) appropriately, but counting on Exposure to darken the highlights is likely to cause the rest of the image to be too dark. Likewise, using the Exposure slider to lighten the shadows will likely blow out the highlights. Instead, it is recommended that you use the Highlights and Shadows sliders to help recover the details in underexposed and overexposed images. Whereas the Exposure slider adjusts the entire image, the Highlights slider limits adjustments to the light areas and the Shadows slider limits adjustments to the dark areas. It is a good idea to use the Exposure slider to adjust the mid-tones before adjusting the Highlights and Shadows sliders. Then you can use the Shadows and Highlights sliders to recover details that otherwise would be lost. These sliders are closely related to the Whites and Blacks sliders, which are used to set the pure white and pure black areas. Note: Some people prefer to set the Whites and Blacks before Highlights and Shadows. It is a matter of personal choice.
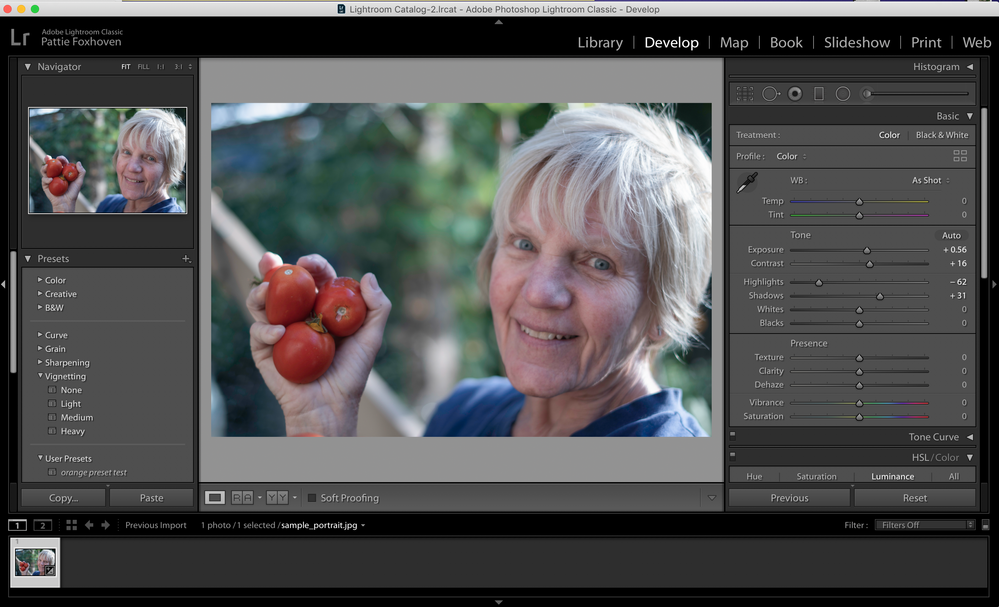
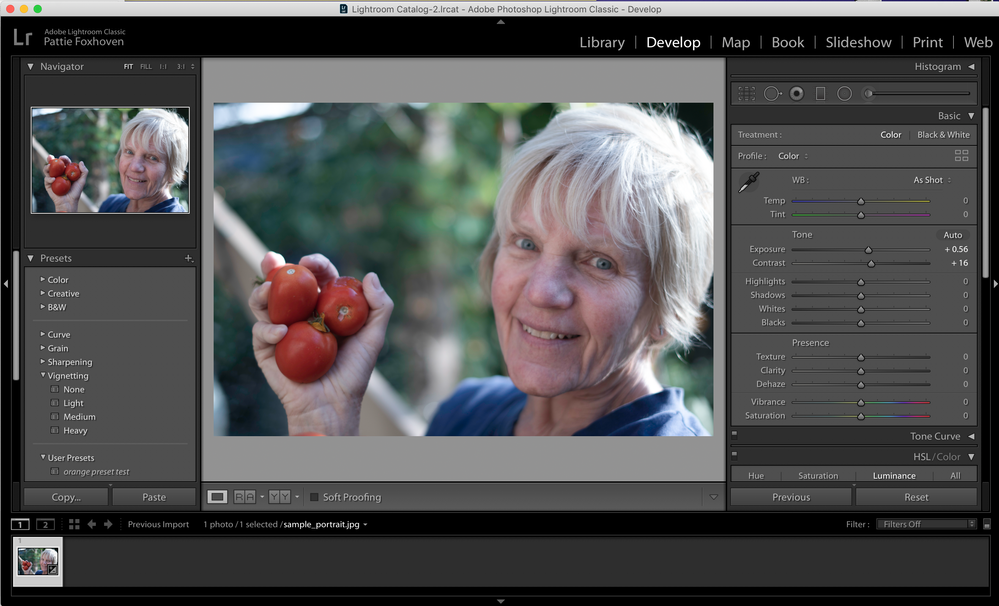
- Move the Shadows slider, found in the Tone group, to the right to lighten the shadows and reveal more details


 after shadow adjustment
- If you are unable to lighten the shadows as much as you wish, you might need to adjust the Blacks slider first
- Sometimes there are cases where you may want to darken the shadows, which can be accomplished by moving the Shadows slider to the left
Related links:
Tone Control Adjustment Procedure
Easily adjust highlights and shadows | Adobe Photoshop Lightroom tutorials
Now, you are are ready to continue on to the Blacks and Whites adjustment:
< Exposure - Blacks and Whites >


