How to quickly adjust Whites and Blacks in 3 easy steps!
Copy link to clipboard
Copied
Portrait editing: Adjust Whites and Blacks in Lightroom Classic
Apart from the illuminous intensity (amount of light) in an image you also need to take care of the color range of the image you are working on. Working with the Whites and Blacks sliders help extend the dynamic range of the image. The dynamic range of an image can be defined as the difference between the darkest and lightest color tones. The Whites and Blacks sliders help by adjusting the darkest color value towards pure black and the lightest color values towards pure white respectively. You might find yourself in a situation where the darkest part of your image which should be closer to pure black, is not dark enough. Or, the lightest part of the image which should be close to pure white, is not light enough or vice versa.
What does the Whites slider do?
An image may not have a pure white color value but the Whites slider affects the lightest values of the image. If you move the slider to the left it makes the brightest color information in the image darker and if you move it to the right, it makes the brightest color values brighter. This is done without losing any detail in the brightest color regions. This does not affect the highlights of the image. So, an area with very less light would remain unaffected.
The White point of an image can be defined as the reference point in the image which you would want to be as close to pure white as possible.
What does the Blacks slider do?
An image may not have a pure black color value but the Blacks slider affects the darkest values of the image. If you move the slider to the left it makes the darkest color information in the image darker (move the color towards pure black) and if you move it to the right, it makes the darkest values lighter. This is done without losing any detail in the darkest regions. This does not affect the highlights of the image. So, an area with a lot of light would remain unaffected.
The black point of an image can be defined as the reference point in the image which you would want to be as close to pure black as possible.
Edit Whites and Blacks in your portrait
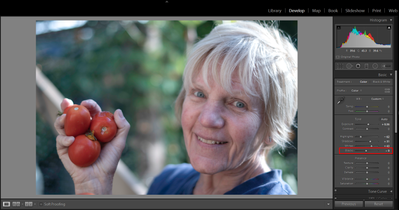
Here is how the unedited portrait looks
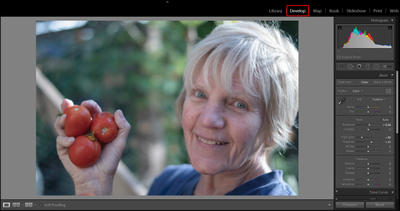
❶ Select the image you wish to edit in the Library module and go to the Develop module.
❷ Set the White point of the image.
- If the brightest point of the image appears very bright, so much so that it appears to be losing details, you can move the Whites slider to the left to reduce the brightness of the brightest part of the image.
- If the brightest point has all the details but the color does not appear bright enough, you can move the Whites slider to the right to increase the brightness of the image while retaining detail.

❸ Set the Black point of the image.
- If the darkest point of the image appears very dark, you can move the Blacks slider to the right to increase the brightness of the darkest part of the image.
- If the darkest point has all the details but the color does not appear dark enough, you can move the Blacks slider to the left to decrease the brightness of the image while retaining detail.

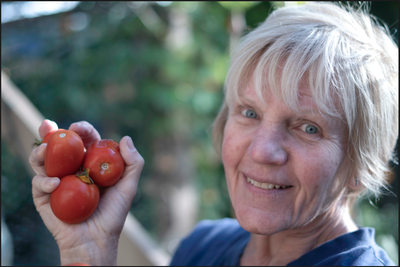
Here's how the edited portrait now looks:
To learn more about working with Whites and Blacks in Lightroom Classic, see the following resources.
Related links:
Click the link below to see the previous or next post.
Have something to add?


