


Copy link to clipboard
Copied
Q - Why does the color and/or tone of my image change after import?
Response courtesy of Jeff Schewe:
A - When you import into Lightroom the first thumbnails you will see appear
are the embedded thumbnails in your images. In the case of raw files, the
thumbnails are automatically generated by your camera but based only on your
camera's settings, not Lightroom's default settings for your camera.
After importing and depending on Preview settings (whether you chose to
generate "full-sized" preview upon import), Lightroom will generate a thumbnail and
preview based upon Lightrooms default settings for your camera-unless you
also chose to import while applying a Develop preset.
Why don't they match? Because cameras processed thumbnails are based upon
the camera company's defaults, and the odds are that the Lightroom
interpretation of the same image data will be different.
Which is correct? Technically, in the case of a raw file, there is no
"correct" answer. Raw files need to be rendered.
One of the advantages of shooting raw is that the resulting raw capture is
open to various renderings without any destruction to the original
data-meaning you can change and alter the image to make it look the way YOU
want.
If you are constantly altering the settings for images a certain way, it may
be that you should create a Develop preset so you can automatically apply
that when you import. Adjusting the general settings such as Brightness and
Contrast or Saturation or Vibrance or in the Calibrate panel, (the way in
which colors are rendered) can be saved as a user named setting that you can
apply when importing image from your camera.
It should be noted however, that image or scene specific settings may still
need to be applied image by image.
Note: above discussion also applies to images shot with B&W settings in camera.


 1 Correct answer

CRJ1001 wrote
This is totally wrong, too much explanation but not straight to the point. LOL sorry but you only need to look at the "profile" select Adobe Neutral. it will give you a raw uncooked image.
No, you misunderstand. There is no "raw uncooked image" - at least not one that you ever see. If you could see a raw file directly, it would be a black-and-white image, very dark, very dull and very tonally compressed. You wouldn't like it, trust me.
A raw file always needs processing to produce a
... 16
Replies
16
16
Replies
16

Copy link to clipboard
Copied
This is totally wrong, too much explanation but not straight to the point. LOL sorry but you only need to look at the "profile" select Adobe Neutral. it will give you a raw uncooked image. If you don't see the neutral option. click on "Browse and mark a star on Neutral and back out the previous screen, than do the same for the rest of your photos. Voila, enjoy your true color tone.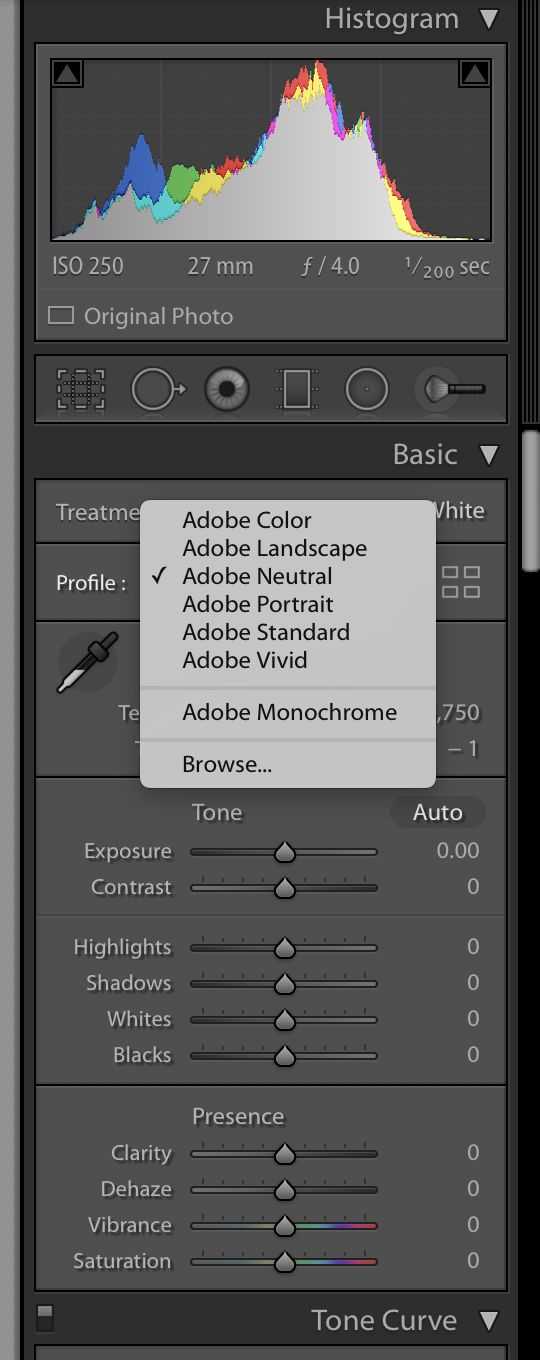
Copy link to clipboard
Copied
CRJ1001 wrote
This is totally wrong, too much explanation but not straight to the point. LOL sorry but you only need to look at the "profile" select Adobe Neutral. it will give you a raw uncooked image.
No, you misunderstand. There is no "raw uncooked image" - at least not one that you ever see. If you could see a raw file directly, it would be a black-and-white image, very dark, very dull and very tonally compressed. You wouldn't like it, trust me.
A raw file always needs processing to produce a useful image. The various profiles just represent different ways to process - or rather, different starting points for the processing. Adobe Neutral is no more "correct" than any of the other profiles. But if you like it, by all means.
And to answer the original question, the initial preview is just the camera-processed jpeg. It gets replaced by the Lightroom rendering that happens to be set as default settings.
Copy link to clipboard
Copied
https://forums.adobe.com/people/D+Fosse wrote
CRJ1001 wrote
This is totally wrong, too much explanation but not straight to the point. LOL sorry but you only need to look at the "profile" select Adobe Neutral. it will give you a raw uncooked image.
No, you misunderstand.
He sure did! What Jeff wrote is absolutely correct. And you're correct too of course. For CRJ1001, this is one rendering of what raw data can appear like and it's nothing like what we see at any time in LR/ACR:
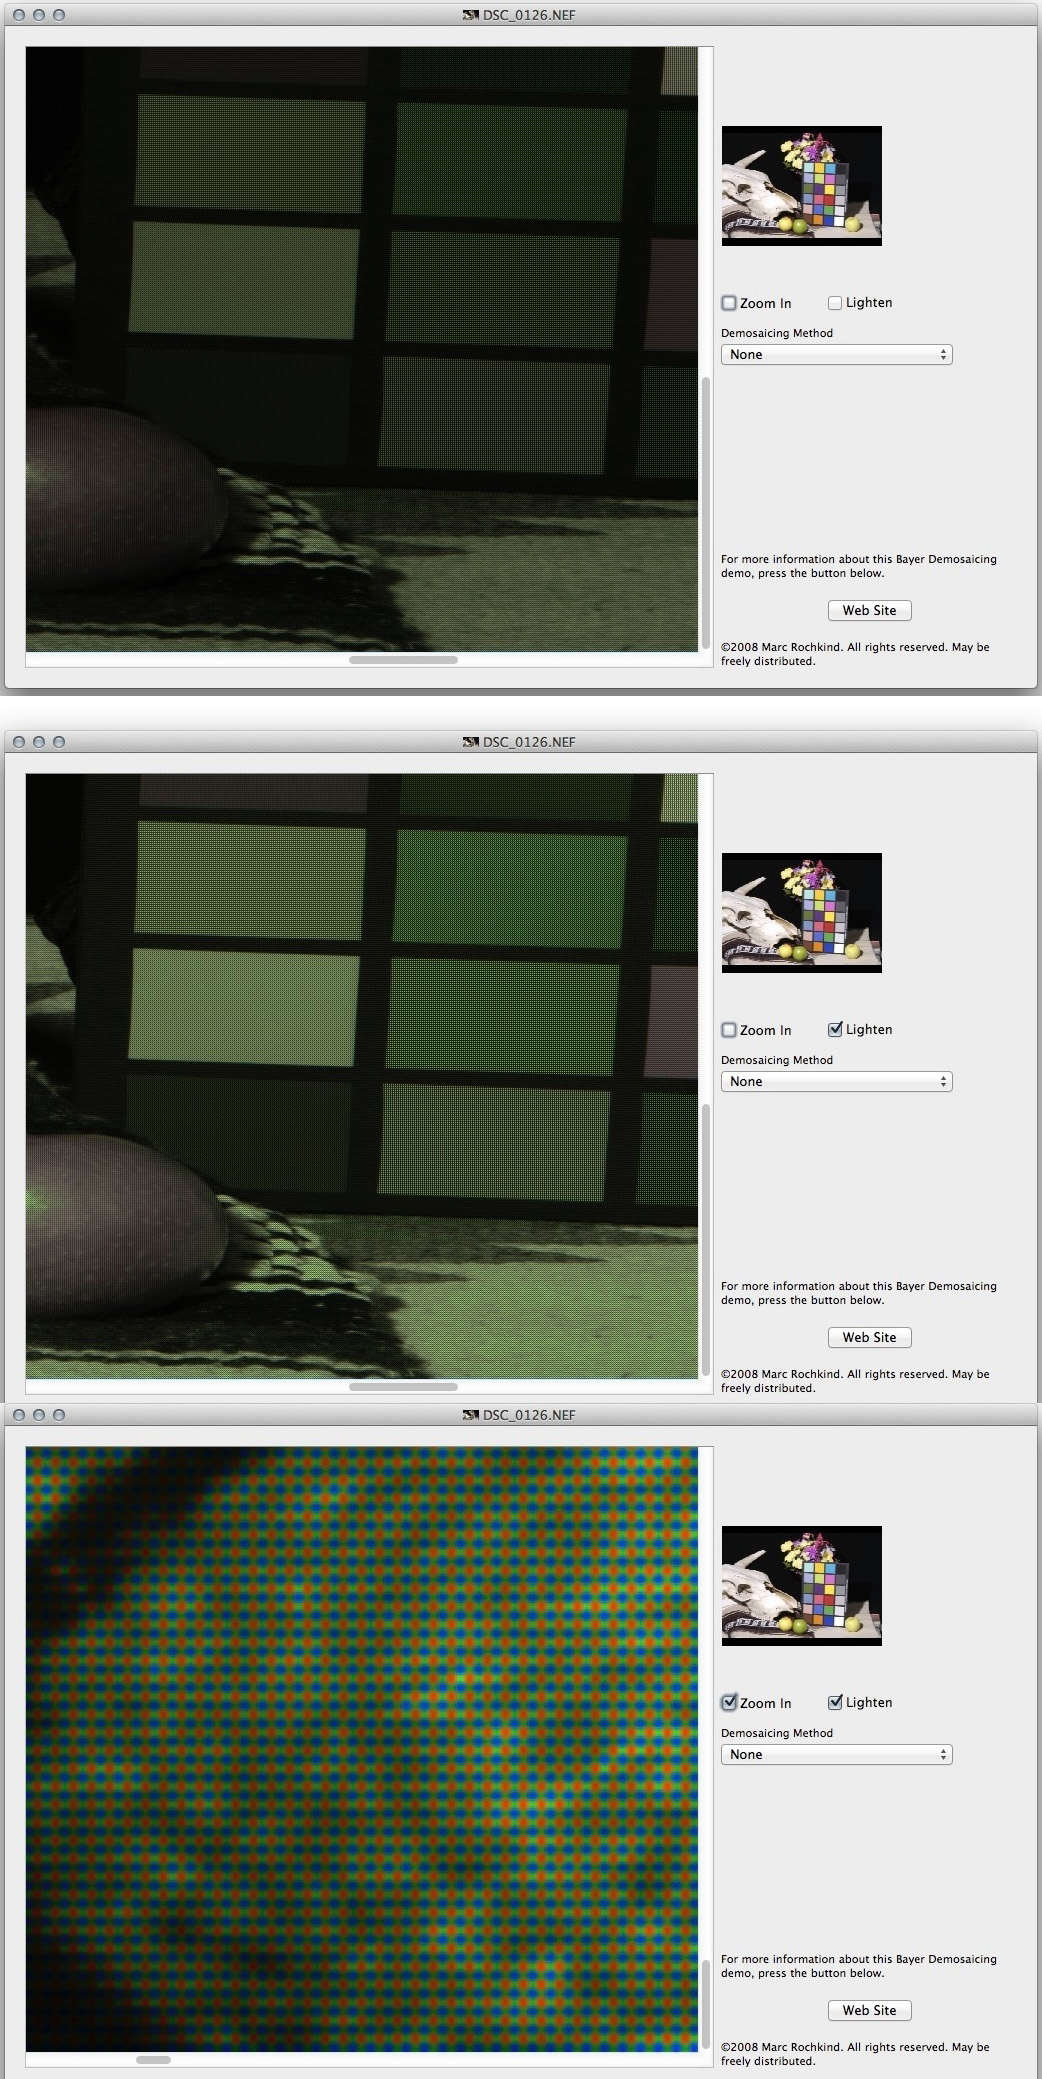
LR/ACR and very, very few products (the above being an exception, RawDigger being another) provide unbaked raw appearance.
Copy link to clipboard
Copied
And thanks for posting those, Andrew. I've tried to simulate what a raw file looks like, in some other threads, but I see I didn't go far enough...

Copy link to clipboard
Copied
When I imported my photos which I shot on SLog on the A73, a look was added to them (darks crushed, high saturation), but my develop sliders had no change to them. I found I could change the look that was applied to them by changing the Camera Raw Default and then reimporting them into Lightroom, but it still changed my sliders. Is there any way to prevent Lightroom from applying the Camera Raw Default to my photos upon import???
Copy link to clipboard
Copied
askrause22 wrote
Is there any way to prevent Lightroom from applying the Camera Raw Default to my photos upon import???
You can setup any custom defaults you desire from existing user repsets, multiple ones that you can select for a specific import need.
Copy link to clipboard
Copied
Lightroom has to apply some defaults - the parameters can't be "undecided".
The camera settings have no relevance to the raw file itself. That's camera processing.
The raw file is just a straight data dump from the sensor, nothing more, nothing less. Andrew showed you what that data dump (the raw file) looks like.

Copy link to clipboard
Copied
My updated version of LR Classic does not even have Adobe Neutral even under browse. This just started happening with the colors. The Library and Develope mode have very different colors. The Develope mode is over saturated with blues. I have yet to f ind a fix.

Copy link to clipboard
Copied
"The Library and Develope mode have very different colors."
The problem you have is almost certainly caused by a defective monitor profile.
As a (temporary) fix, try setting the monitor profile to sRGB, or Adobe RGB if you have a wide gamut monitor.
If that fixes the problem, you should ideally calibrate the monitor with a hardware calibrator.
https://www.lightroomqueen.com/how-do-i-change-my-monitor-profile-to-check-whether-its-corrupted/
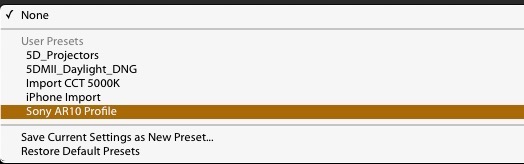
"does not even have Adobe Neutral"
I see it in this group of profiles- so you should have it. (unless I have kept some old profiles 🙂 )


Copy link to clipboard
Copied
This solution most definitely fixed the dulled import look.Thank you !

Copy link to clipboard
Copied
Can you try getting to the Develop tab and pressing Reset on rock bottom right, or ensuring that the sliders within the Basic section are geared up to zero?

Copy link to clipboard
Copied
Hi other people who had this question. I have an answer that might help. When you import your photos, set it to 1:1 under the build previews dropdown on the right (before you import). This doesn't full solve the problem, just creates the "darker" preview you would've seen when switching from library to develop. To fix the darkening issue, select all your imported photos in lightroom in the library, and go to the drop down beside quick develop then > defaults > camera settings. This bring your photos back to how they looked (pretty much) when you took them based on the back camera screen view. I hope this helps!
.png")


Copy link to clipboard
Copied
This fixed the issue for me however is there a way to have this automatic upon import?
Copy link to clipboard
Copied
You can set up the Preferences/Presets for Import that will apply a Camera Profile or a Develop Preset that you have saved.
So a 'Default' preference might look like this-

Or, If you have created a Preset (that might include a Profile and and Develop adjustments) you can choose that Preset from the "Global" field-

Then your 'automatic' Preset will be applied to every Import-
In my case that is - (for my D750)

Note: That in the Preferences you can also set these 'Global' Import Preferences specific for multiple cameras.
( eg. I mights have Preference Presets for D750, G1X, etc.)

Copy link to clipboard
Copied
I for one hate this about Lightroom. When shooting thousands of RAW images and then, maddingly seeing them all turn dark- and you can never get the exact color back that you see in the preview, it's a huge time waster. I've gone to Capture One for these types of jobs and I miss LR, but until they find a way to process raw without the headaches, that's where I am.
Copy link to clipboard
Copied
You misunderstand how raw shooting and processing works.
The raw file is just a data dump from the camera sensor. That is never changed and can never be overwritten. Whichever raw processor you're using (including the camera firmware), the raw file is the same and the underlying data are the same.
To produce a useful image the raw data have to be processed, and that processing is always an interpretation. The camera manufacturer's interpretation is no more "correct" than any other interpretation. The difference is that you have no control over the camera processing, whereas in Lightroom you do have control.
If you don't like the LrC default settings, change them. The LrC defaults are conservative and only intended as a starting point. The sliders are there to be used.
Here's how an "original" raw file looks, vs a processed and interpreted version:


 AdChoices