
Getting started with using stacks in XD
Remember how you could previously define a fixed padding for a group and the background would scale as you changed the content?

Now, imagine if the icon in the above image were to be placed to the right of the text. Editing the text would resize the background for sure but would not maintain the relative space between the text and the icon.
Using stacks, you can define spaces between grouped objects that are respected when you move or reorder them. So, now when you update the text in that button, the image grouped with it maintains the defined distance.
And yes, you can nest stacks or apply them to components. The image below describes some possibilities.
BEFORE YOU PROCEED
An understanding of what stacks are and how they behave will set you on firm ground when working with them.
- A stack is a group of objects, 2 at the minimum :). In other words, the first thing you do to create a stack is group objects using Cmd+G or Ctrl+G.
- The object at the bottom of the group in the Layers panel acts as the background.
- The objects in a group resize or reorder in relation to the background. If you are running into issues with your stack, look at the layers panel to see if you have set the background correctly.
Create a basic stack
1. Create a square and rename it to “Background”. Create another square and rename it to “Resizable Box”. Ensure that the Background layer is below the Resizable box layer.
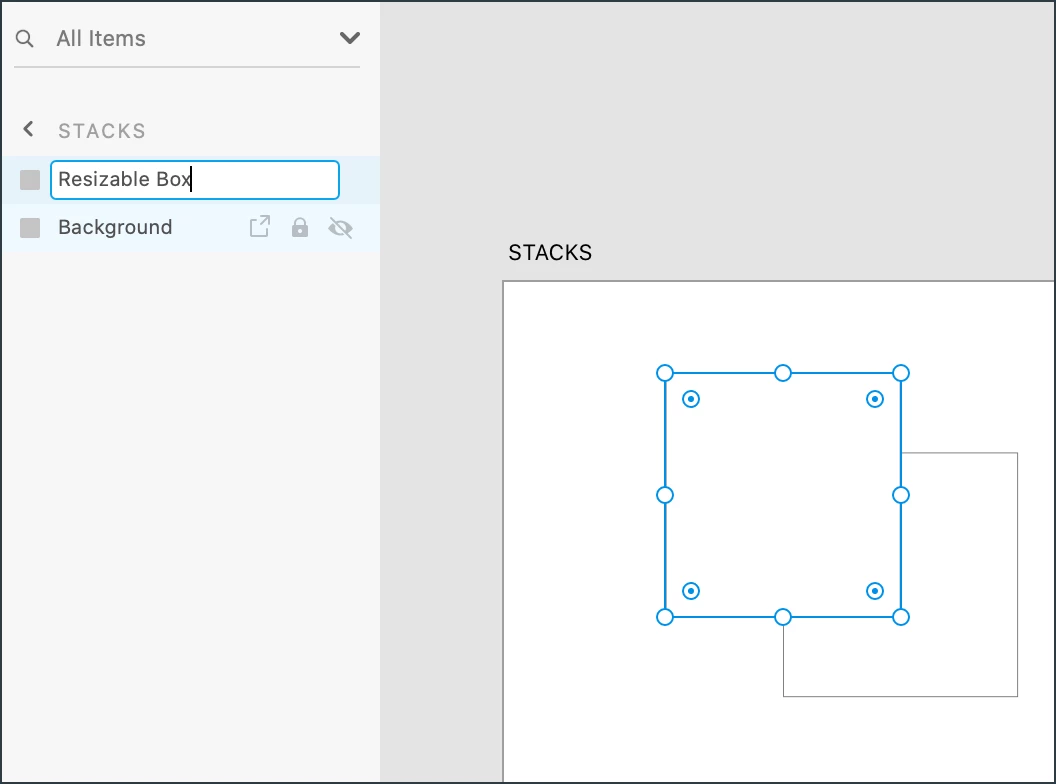
2. Select both the squares and group them using Ctrl+G and Cmd+G. Notice how the option to enable Stacks for the group is now displayed in the Properties panel.
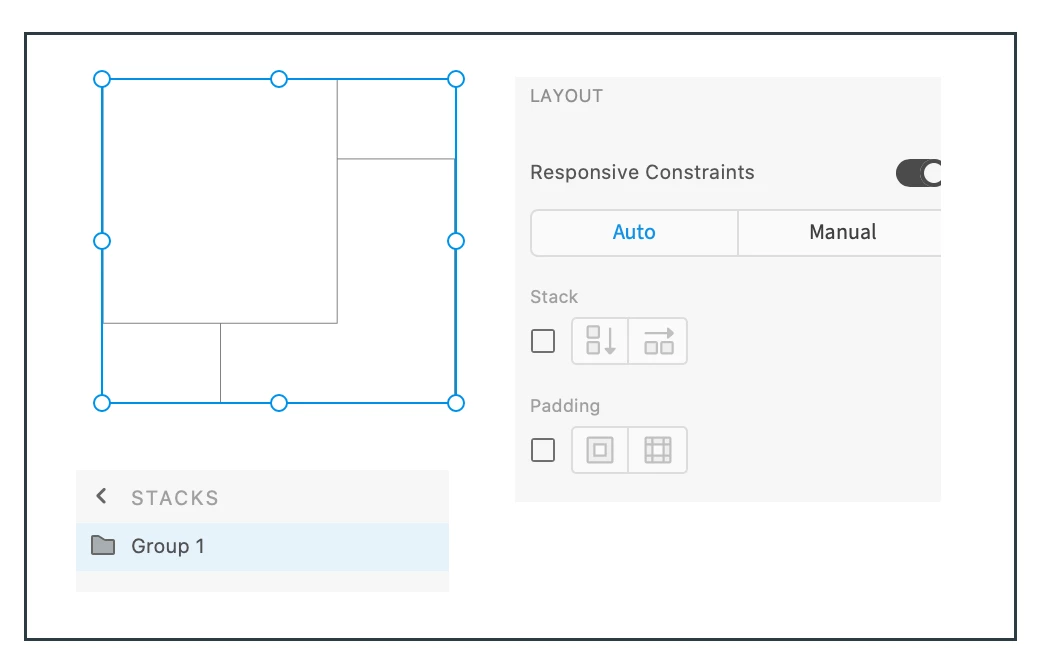
3. In the properties panel, enable Stacks. Adobe XD automatically detects the orientation for your stack. You can opt to change it if you have a different requirement.
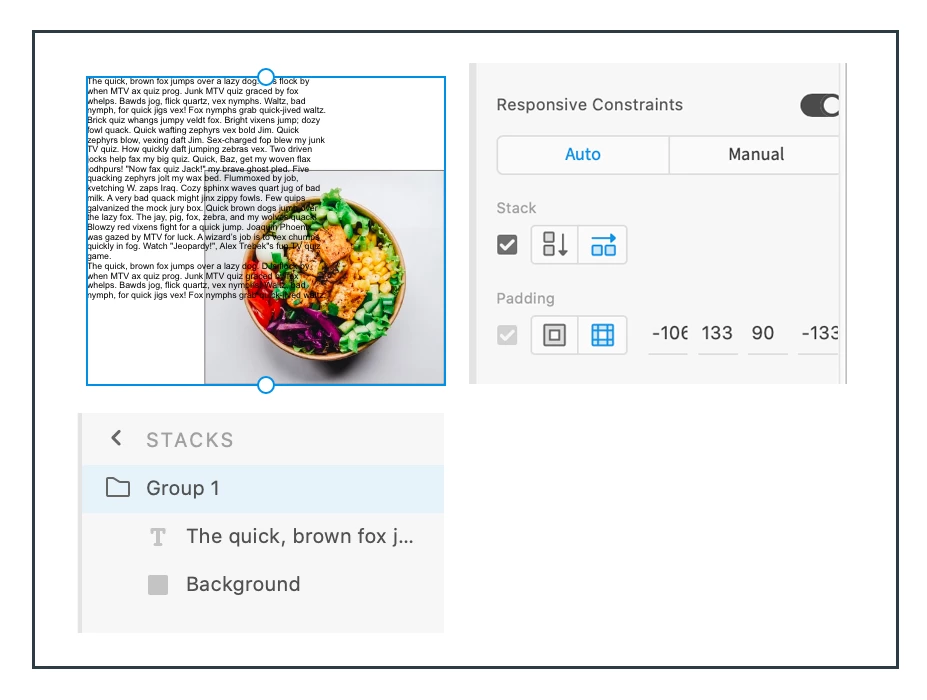
4. Now, try resizing Resizable Box. Notice how the Background layer moves automatically to maintain the defined distance. Resizing the Background does not affect the position of the Resizable Box layer.
Congratulations, you have created your first stack! Make it interesting by adding an image to the background layer and text to the Resizable Box layer.
Create Nested Stacks
1. Select the stack and create a couple of copies using Cmd+D.
2. Select all the three groups and group them. Name this group, “MOTHER GROUP.
3. In the Properties panel, Enable Stacks.
4. Create a blank rectangle and move it below the group. This is the background layer for the group you created.
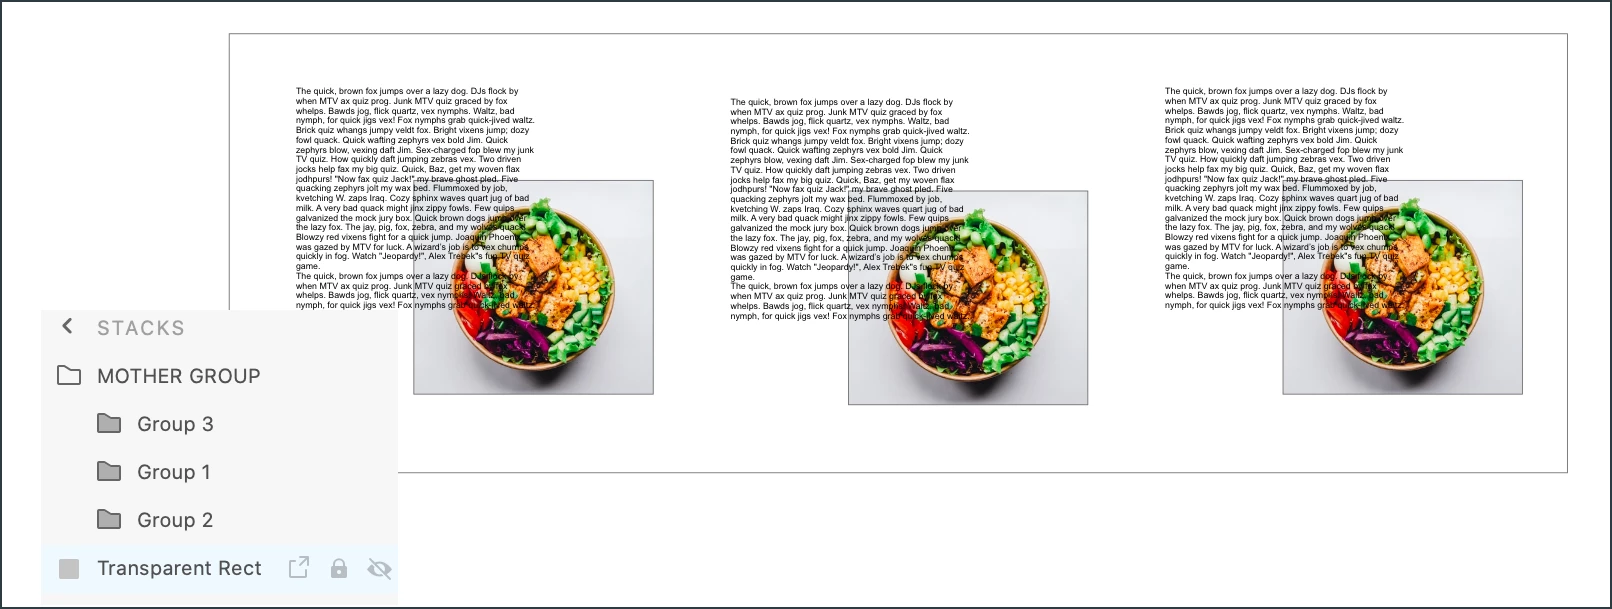
5. Your Layer Panel should look something like this:
Now, select Group 1 and move it around in the stack. Notice how the other groups reposition themselves.
For more info on using stacks, see https://helpx.adobe.com/xd/help/create-dynamic-designs-with-stacks.html
Let me know if this helped, or if you have any questions.
Thanks,
Preran
