quicklite
Participant
January 22, 2018
Answered

Any way to make nested animations on symbols visible without rendering?

  • January 22, 2018
  • 2 replies
  • 3747 views


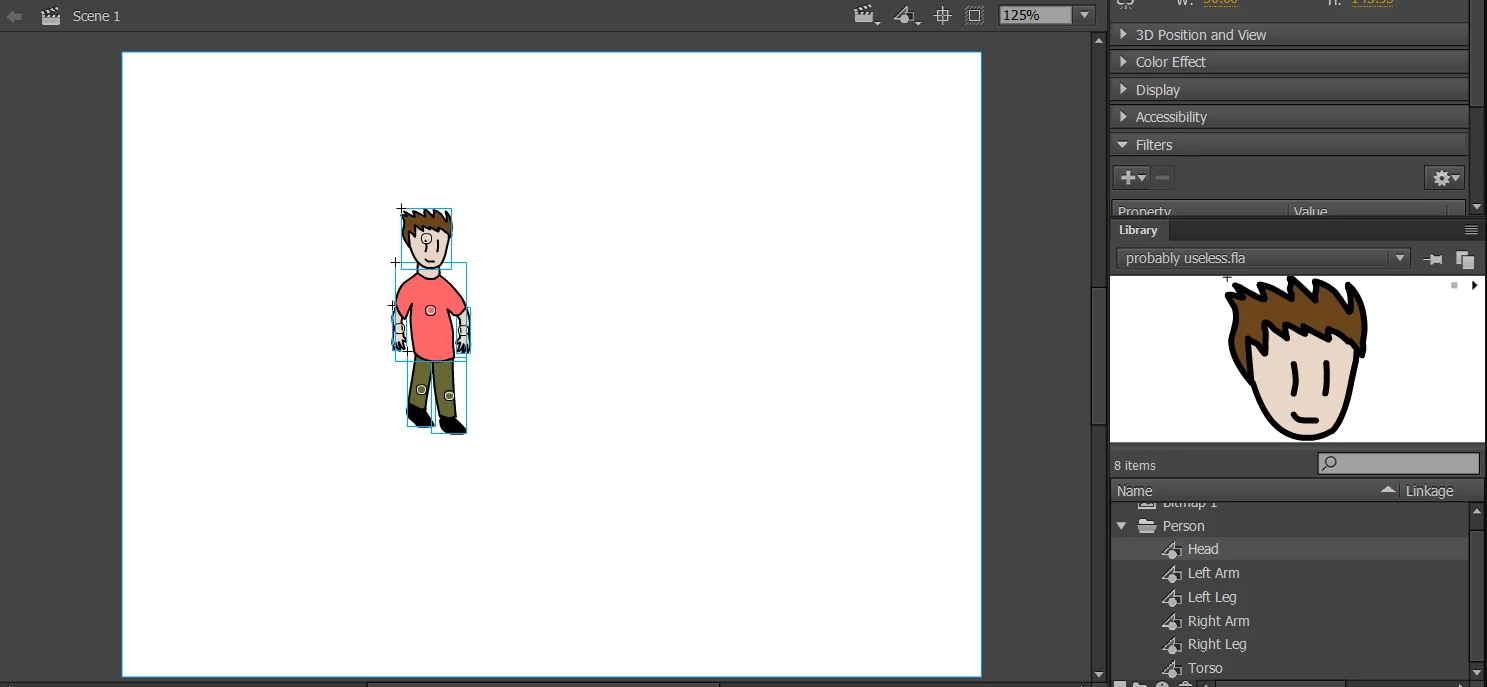
Over the past month I've been learning Adobe Animate, and have been working on a small animation to try and apply what I've learned. For this, I've designed a simple figure, and turned all of his individual appendages into graphic symbols, as you can see above. However, in trying to do more complex animations with him (e.g. walk cycles), only being able to see the animation of one of his limbs (completely separated from the background that will eventually exist) at any time has made this job infinitely harder than it should be. Is there an easy way for me to see how all my character's limbs look like as I animate them without repeatedly re-rendering my animation?

    This topic has been closed for replies.
    Correct answer Myra Ferguson

    There are a few things that'll help:

    1. Your individual symbols each have their own timeline. To see them on the main timeline, you'll need to add empty keyframes so that the duration extends the same length as the timeline of your longest symbol. (And like ClayUUID said, make sure they are set to loop in the Properties panel).

    2. Then I would recommend using Modify > Timeline > Distribute to Layers to put each part on a separate layer.

    3. When the various symbols are on different layers, you can click on the eye for that layer to make it not visible. There are some other options you can try for the layers instead like Show Layer as Outline, which shows the outline of what's on that layer, or Shift-click the eye, which shows what's on the layer but at 50%. Sometimes it's easier to make adjustments if you have the other parts somewhat visible for reference.

    4. Then you can also play it without publishing by hitting Enter or using the buttons at the bottom of the timeline.

    2 replies

    Myra Ferguson
    Community Expert
    Myra FergusonCommunity ExpertCorrect answer
    Community Expert
    January 22, 2018

    There are a few things that'll help:

    1. Your individual symbols each have their own timeline. To see them on the main timeline, you'll need to add empty keyframes so that the duration extends the same length as the timeline of your longest symbol. (And like ClayUUID said, make sure they are set to loop in the Properties panel).

    2. Then I would recommend using Modify > Timeline > Distribute to Layers to put each part on a separate layer.

    3. When the various symbols are on different layers, you can click on the eye for that layer to make it not visible. There are some other options you can try for the layers instead like Show Layer as Outline, which shows the outline of what's on that layer, or Shift-click the eye, which shows what's on the layer but at 50%. Sometimes it's easier to make adjustments if you have the other parts somewhat visible for reference.

    4. Then you can also play it without publishing by hitting Enter or using the buttons at the bottom of the timeline.

    quicklite
    quickliteAuthor
    Participant
    January 22, 2018

    I followed all of you instructions as best I could, and I still seem to be having problems. I reset most of my animation work, and used the distribute as layer feature to put all the symbols on their own layer. I extended all of the timelines to 200 frames, and, I made a simple animation on the head symbol where his expression changes slightly. However, it still isn't showing on the timeline.

    As you can see through these screenshots, when it gets to frame 125, his expression remains the same as ever. While not being able to see his expression isn't the biggest of deals, I'm a little worried about how I'm supposed to move the character on the main scene without being able to actually see what his walk cycle looks like.

    Myra Ferguson
    Community Expert
    Community Expert
    January 22, 2018

    For a character, you should copy and paste the layers into a new symbol. Then you can move that character on the main timeline. When you have symbols (the body parts) inside another symbol (the whole character), that's referred to as nesting.

    As far as seeing the facial expression, in the Properties panel under Looping do you have option set to Single Frame and the frame number of the graphic symbol set where the expression occurs?

    Legend
    January 22, 2018

    Animate only uses the term "render" to describe drawing on the screen. Since it's impossible to make something visible without drawing it, I assume you're actually referring to the Test Movie or Publish options.

    If you have all your character's parts on the main timeline together, set as looping graphic symbols, they should all animate together when you play or scrub the timeline.

    If that's not easy enough, I suppose right-clicking the part you want to edit and selecting "Edit in New Window" might be what you're after.

    quicklite
    quickliteAuthor
    Participant
    January 22, 2018

    So, all of the parts are converted to graphic symbols, and they are all on a single layer in the timeline, but they still don't seem to play when I start the timeline. Does each symbol need its own layer or is there a step I am missing?

    I apologize for the misnomer in the title. When I said 'render', I was referring to the publish and test functions of the software.

    Legend
    January 22, 2018

    Are they set to loop? Are they Graphic symbols, not Movie Clips? Are there enough frames on the timeline for the nested animations to actually play?

    Create symbol instances in Animate CC