- Home
- Acrobat
- Discussions
- Re: Black boxes show around images when I convert ...
- Re: Black boxes show around images when I convert ...
Black boxes show around images when I convert from Word to PDF
Copy link to clipboard
Copied
Hello there,
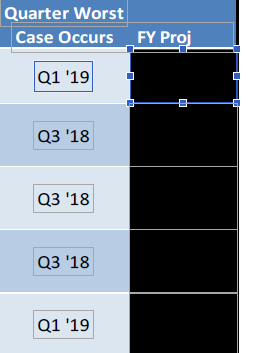
I have a word documents that has some images / objects inserted. When I convert from Word to PDF the images come out with black boxes around them or completely blacked out. How do I fix this? I am using Acrobat Pro DC. Distiller does not work either.


Copy link to clipboard
Copied
To help you, we'll need some additional information:
- What operating system?
- What version of MS Word?
In Windows, go to File / Account and look for the build number on the lower right - What method are you using to export the PDF from Word?
| PubCom | Classes & Books for Accessible InDesign, PDFs & MS Office |
Copy link to clipboard
Copied
Also, are you inserting the graphics/images into table cells?
I think your screen capture shows a blue table, correct?
| PubCom | Classes & Books for Accessible InDesign, PDFs & MS Office |
Copy link to clipboard
Copied
I use Windows 10, Microsoft Word 2010. I have been using 2 methods via PDF maker.
1. From MS Word, I click the Acrobat tab and click "Create PDF"
2. From Acrobat DC >>> Tools >>> Create PDF
Yes, I have graphic images in the table cells that are now blacked out.
Copy link to clipboard
Copied
There are 4 areas that could be the problem:
- The version of Word
- The version of Acrobat PDFMaker used to export the PDF from Word (that's the Acrobat Ribbon bar)
- The conversion settings when making the PDF.
- The method used to create the PDF.
Taking them one at a time...
1. The first recommendation I have is to update your version of Word to at least ver. 2013, but 2016 / 365 is an even better option. The 2010 version is 8 years out of date and has some serious "deficiencies" especially relating to graphics. Graphics in table cells is a more recent feature of Word.
There's a quick test to check if this is the problem: Open the Word file in a current version of Word, re-export to PDF, and view the result. If your graphics are now visible, then the outdated software was the problem.
2. The Acrobat Ribbon/bar is Adobe's PDF Maker plug-in that's installed with a full license of Acrobat Pro or Standard. It's the module that converts your Word document to a PDF. Like any other software, it is periodically updated, usually when Acrobat itself is updated.
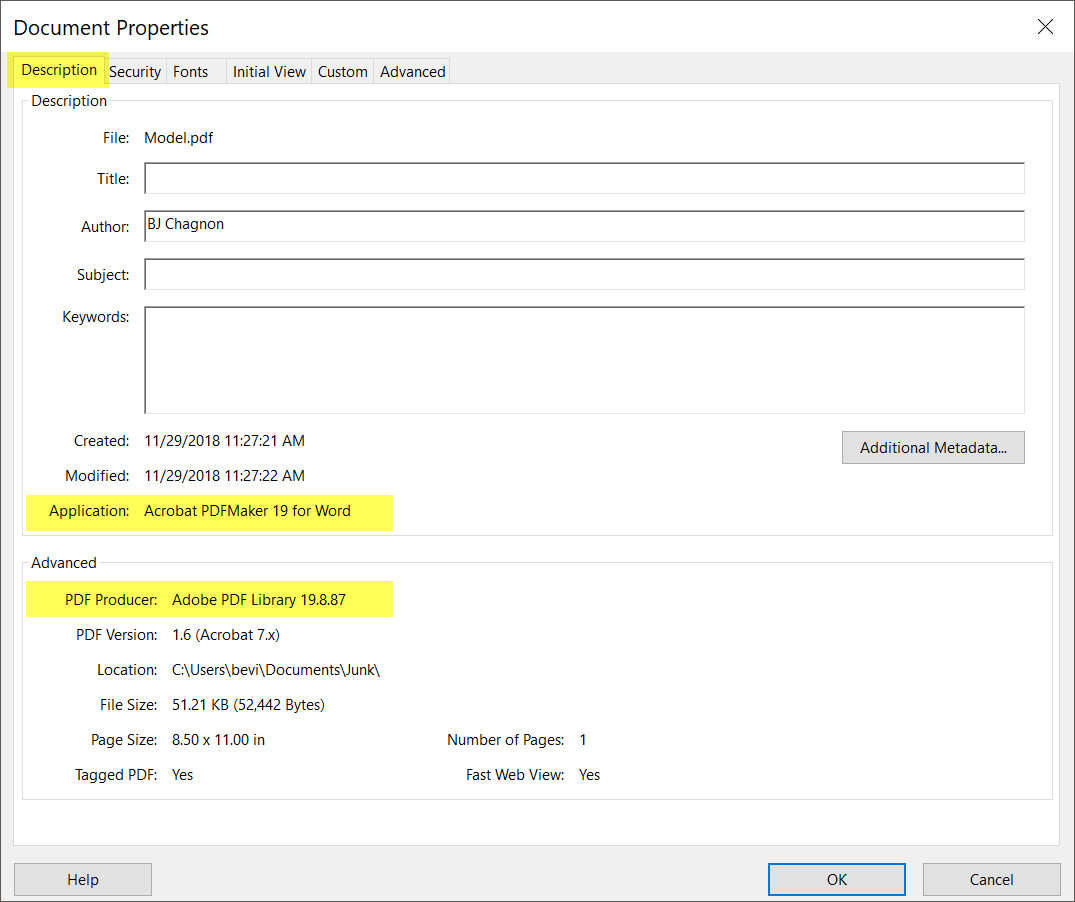
Currently, PDFMaker is now at version 19, but version 17 and later should do the trick. You can check your version by exporting a PDF from Word and then viewing the PDF's File / Properties / Description information. Here's what to look for:

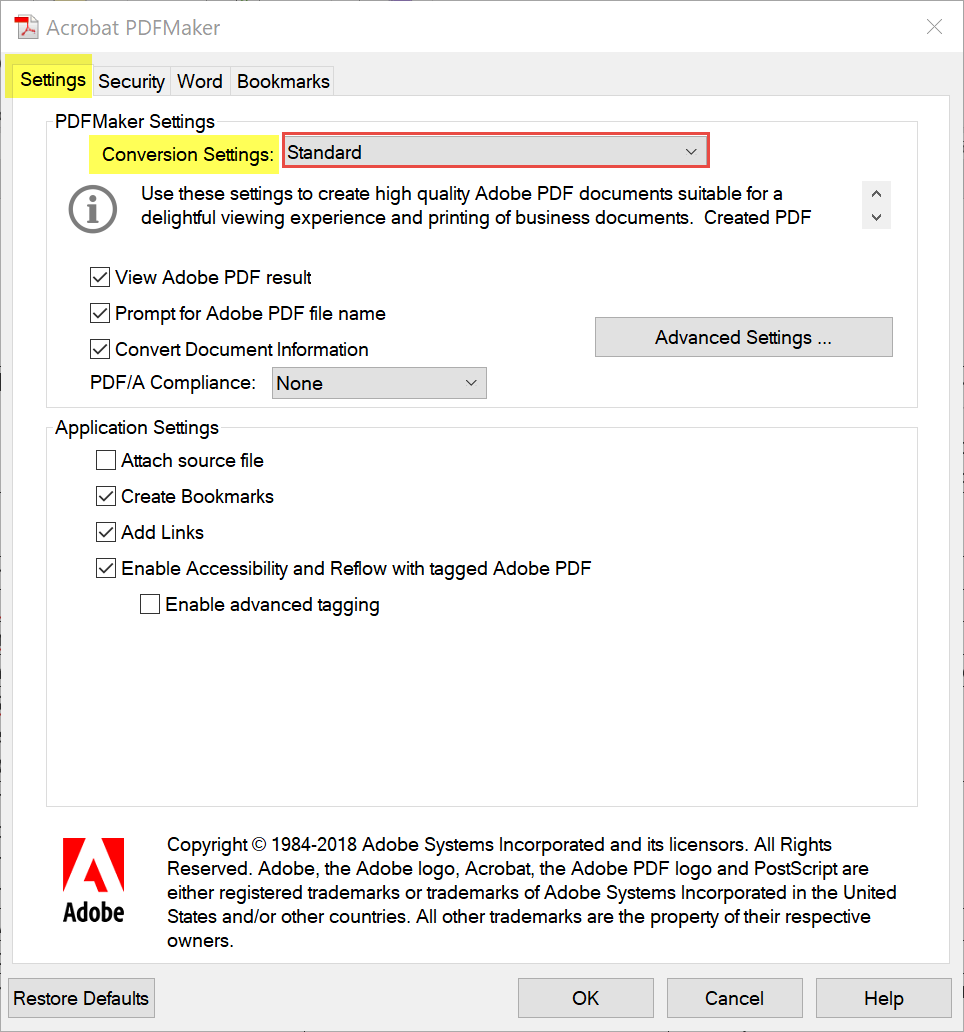
3. Next, check your PDF conversion settings. Do this in Word's Acrobat Ribbon/bar. Select the Preferences icon, and then choose the Standard conversion settings [see screen cap below]. (Note: you might need to adjust the other settings for accessible or print-quality PDFs, but just use the default "Standard" settings for this test.)

4. Lastly, using the Acrobat PDFMaker plug-in (the Acrobat Ribbon/bar) is the best method to make PDFs from Word and other Office programs because it contains the most controls/settings and is developed specifically to mesh with MS Word's features and files.
Making the PDF from Acrobat itself is also fine, but doesn't have as many conversion controls as PDFMaker.
Looks like you're using these 2 methods already. That's great!
When you get an updated version of Word installed, you'll have another option: the PDF exporter by Microsoft, not Adobe. That's invoked by selecting File / Save As and then selecting PDF from the Save as Type drop-down list. But this converter should only be used from Word 2016/365 and later as previous versions had serious shortcomings. (And don't confuse it with File / Save as Adobe PDF...that's just another way to use PDFMaker but it doesn't have a full set of controls/settings. The Acrobat Ribbon/bar is the better way.)
And never use File / Print to Adobe PDF virtual printer or other variations of the same. It contains only the data needed by a printer and usually doesn't have the other features you need.
I know this is long, but your issue could have several factors. Hope this helps you figure out what's going wrong. Get back to us with whatever you discover.
| PubCom | Classes & Books for Accessible InDesign, PDFs & MS Office |
Find more inspiration, events, and resources on the new Adobe Community
Explore Now