opacity on animate
Copy link to clipboard
Copied
I'm pretty new to adobe animate so if someone could help me out that would be great. I set the opacity to some of the layers on my aniation to 50%, but when I preview the animation all the layers are back to 100%. Is there anyway I can prevent this?
Copy link to clipboard
Copied
Layer opacity is a feature like outline view, that only exists in the editor. It's working as designed.
Copy link to clipboard
Copied
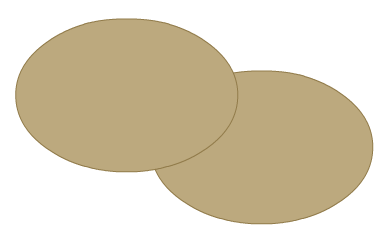
Lets see if I can help. : ) To help me explain I'm gonna use some really basic art. . . two overlapping brown ovals!
If you want everything on a layer to be 50% transparent probably the easiest solution is:
- Select everything on that layer
- Hit F8 to convert everything to a Symbol
- Name the symbol whatever you want, and click [OK]
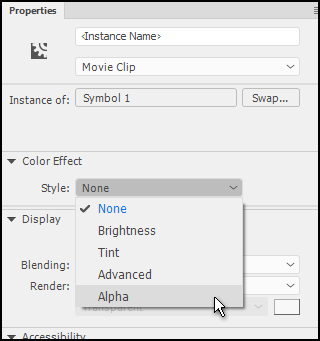
- With the symbol selected go to the Properties panel
- Go to Color Effect, and select Style: Alpha
- Set the alpha to 50%
- Go to Color Effect, and select Style: Alpha
Now everything on that layer should be 50% transparent. 🙂
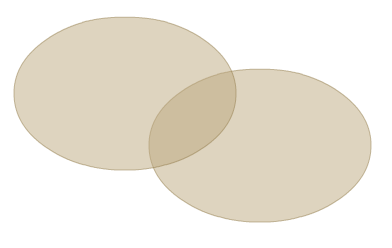
However you might get a visual error where two objects are overlapping eachother, and the overlapping section is more opaque, like this:
To fix this:
Select the symbol and go to the Properties panelGo to Display, and select Blending: Layernext select Render: Original (No Change)
Now when you export the image it will look like this:*
*Nope, this doesn't work any more. .. Is this a bug? : (
Sigh-* let's do a work-around:
To really fix this:
- Select the symbol and go to the Properties panel
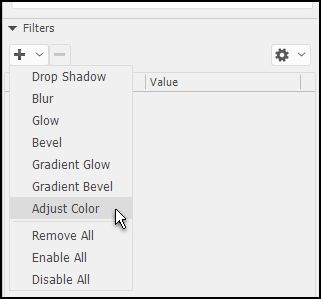
- Go to Filters, and select Color Adjustment
- Go to Filters, and select Color Adjustment
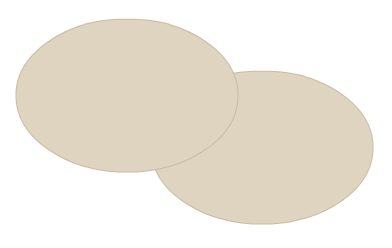
Now your symbol will look like this! No gross overlapping alphas.
Hope this helps!
Copy link to clipboard
Copied
Using a filter in a Canvas document is usually a bad idea, because they aren't natively implemented by the browser. Filters are all implemented in JavaScript, so for performance reasons they can't be tweened. They get rendered once and then cached.
Copy link to clipboard
Copied
This worked for me and saved me so much hassle! Wish it wasn't so hard to animate opacity without going through so many hoops. Thank you so much!
Find more inspiration, events, and resources on the new Adobe Community
Explore Now