- Home
- Captivate
- Discussions
- Re: How do I place text upon a photo?
- Re: How do I place text upon a photo?
How do I place text upon a photo?
Copy link to clipboard
Copied
Hello. I am designing my first e-learning project in Captivate for my class. I am using responsive design. I would like to use a photo and be able to type text upon it within Captivate. Think of it as a layered slide/image, the kind one could create using Photoshop.
Is this possible to do in Captivate? I realize that I could place the text upon the photo in Photoshop, but it obviously won't adjust to different platforms once I use it in my project (i..e., the text will cut off on smart phones, tablets, etc.).
Copy link to clipboard
Copied
You are talking about a responsive project. Is it with Fluid Boxes (CP2017 only) or with Breakpoint views? That difference is very important, because you cannot have layered objects in the samel location when using Fluid Boxes. My explanatino is for Fluid boxes, to have one single object: text on photo.
Moreover if you have a Text layer in Photoshop and you flatten the image when importing in Captivate you also end up with one single object. I don't understand your sentence that it wouldn't adjust to smaller screens, since the fluid box is rescaled. Same with text in fluid boxes (like in the described workflow below): it is rescaled fluidly when in a fluid box. If you do use Breakpoint Views, would propose another work flow.
A way ti gave ibkt one object could be done with this work flow:
- Check the present size of the photo (best size is exactly the one you'll use in Primary view, for desktop) in pixels
- Create a rectangylar shape with exactly the same size.
- Fill the shape with the Photo
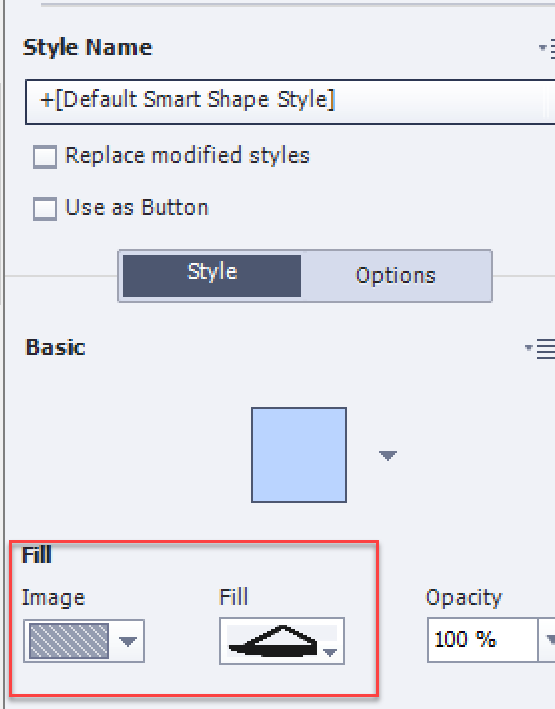
- Double-click the shape (or use F2) to go into Text Edit mode and and type the text
- To move the text you'll have to use the Margins and/or the alingnment options
Copy link to clipboard
Copied
Hello. Since I am new to Captivate, I don't know what Break Point is yet. I am currently working with fluid boxes. Here's what I did:
(1) I imported a JPG.
(2) I created a fluid box--vertical with four sections--over the image.
(3) I used text captions in the first two sections.
(4) I imported PNGs in the final two sections, which I had to resize to fit each fluid box.
I didn't even consider importing a PSD, but I guess that would give me more flexibility(?). So far, it appears to work fine when I view it in different platforms. I'm not sure that I traveled the easiest or best route here, but at least it's working. Thanks.
Copy link to clipboard
Copied
Hmmmm.... did you use static fluid boxes? You cannot have a text container (shape or caption) layered over an image in a normal fluid box. Why not try the workaround with the image and text in one shape as I explained step by step?
As for difference between breakpoint views and fluid boxes for responsive projects, I wrote a blog post about it:
Copy link to clipboard
Copied
I do not see an option for static fluid boxes. From the drop-down menu, it just gives me the options of vertical and horizontal. Again, I placed the original image that I'm using as background in a rectangular box. I guess that's why it's working OK(?).
Copy link to clipboard
Copied
Oh, you filled the fluid box with that image, that will work as well. You have the same options to fill a fluid box as exist for a shape. From the explanation in words I couldn't detect that was the workflow. You have to make sure that the width/height ratio cannot be changed in this case.
You can choose for static only if the FB is empty: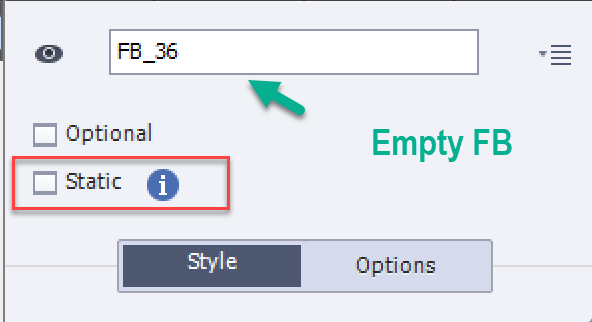
If you had used a shape, it could have been a circular shape, you don't have circular fluid boxes ![]()
Flattening is a term used in Photoshop where you merge all layers ibto one layer. That happens automatically when you save in an image format like jpeg, which isnot supporting layers. You have a 'flattened' image. Captivate allows, when importing a Photoshop source file (with Import under File menu), to select layers which will be converted to indiviidual PNG images, or to flatten the selected layers into one PNG image. PNG is preferred over JPEG because it can have transparent pixels (alpha channel).
Copy link to clipboard
Copied
OK, now I am unable to place fluid boxes over the image that I have placed in a rectangular shape on a slide. I did this an hour ago. What am I now doing wrong?
Copy link to clipboard
Copied
Not sure to understand. You can only create fluid boxes in a parent fluid box that has no items at all. Drag the items in the parent fluid box out of the stage, create the fluid boxes, then drag the items in the appropriate FB
Copy link to clipboard
Copied
OK--I solved my issue. Instead of creating the fluid boxes over the image (which I have in a rectangle box), I started it on the edge of the canvas, and than I was able to pull the boxes over the image. I was previously trying to create the fluid boxes directly onto the image. Again, this is my first ever Captivate experience.
Copy link to clipboard
Copied
Allow me to say that I would never recommend to start with a responsive project in Captivate if you are a newbie. When I coach a basic training, it will only be after 3 days of working with non-responsive projects that I will add the complexity of Fluid Boxes. What you are trying to do is like running a marathon before having proper shoes and rany unning training.
You don't drag a fluid box over an image, you drag an image IN a fluid box. That is why I told to drag the image in the scratch area when setting up the fkuid boxes, then you have two ways of dragging the image in the fluid box:
- Select the fluid box itself and drag the image in it.
- Just drag the image until the wanted fluid box changes state (has a thicker border), then release the image.
Copy link to clipboard
Copied
But I am just using the image as background. I am typing text over it. That's why I wanted it to fill 2 or 3 fluid vertical boxes at once.
I have no choice but to start with a responsive project because that's what my professor (who is not an expert in Captivate) has required.
The good news is that I only have to complete a brief rough draft today. I have 28 more days to learn and experiment with Captivate before the final project is due.
Copy link to clipboard
Copied
I was a professor, would never have required such a task from a newbie in an application. Students wouln't even have accepted in Belgium.
Post some screenshots, why not have one fluid box for that image? I don't usnderstand why you need to fill 2 or 3 at once?
Copy link to clipboard
Copied
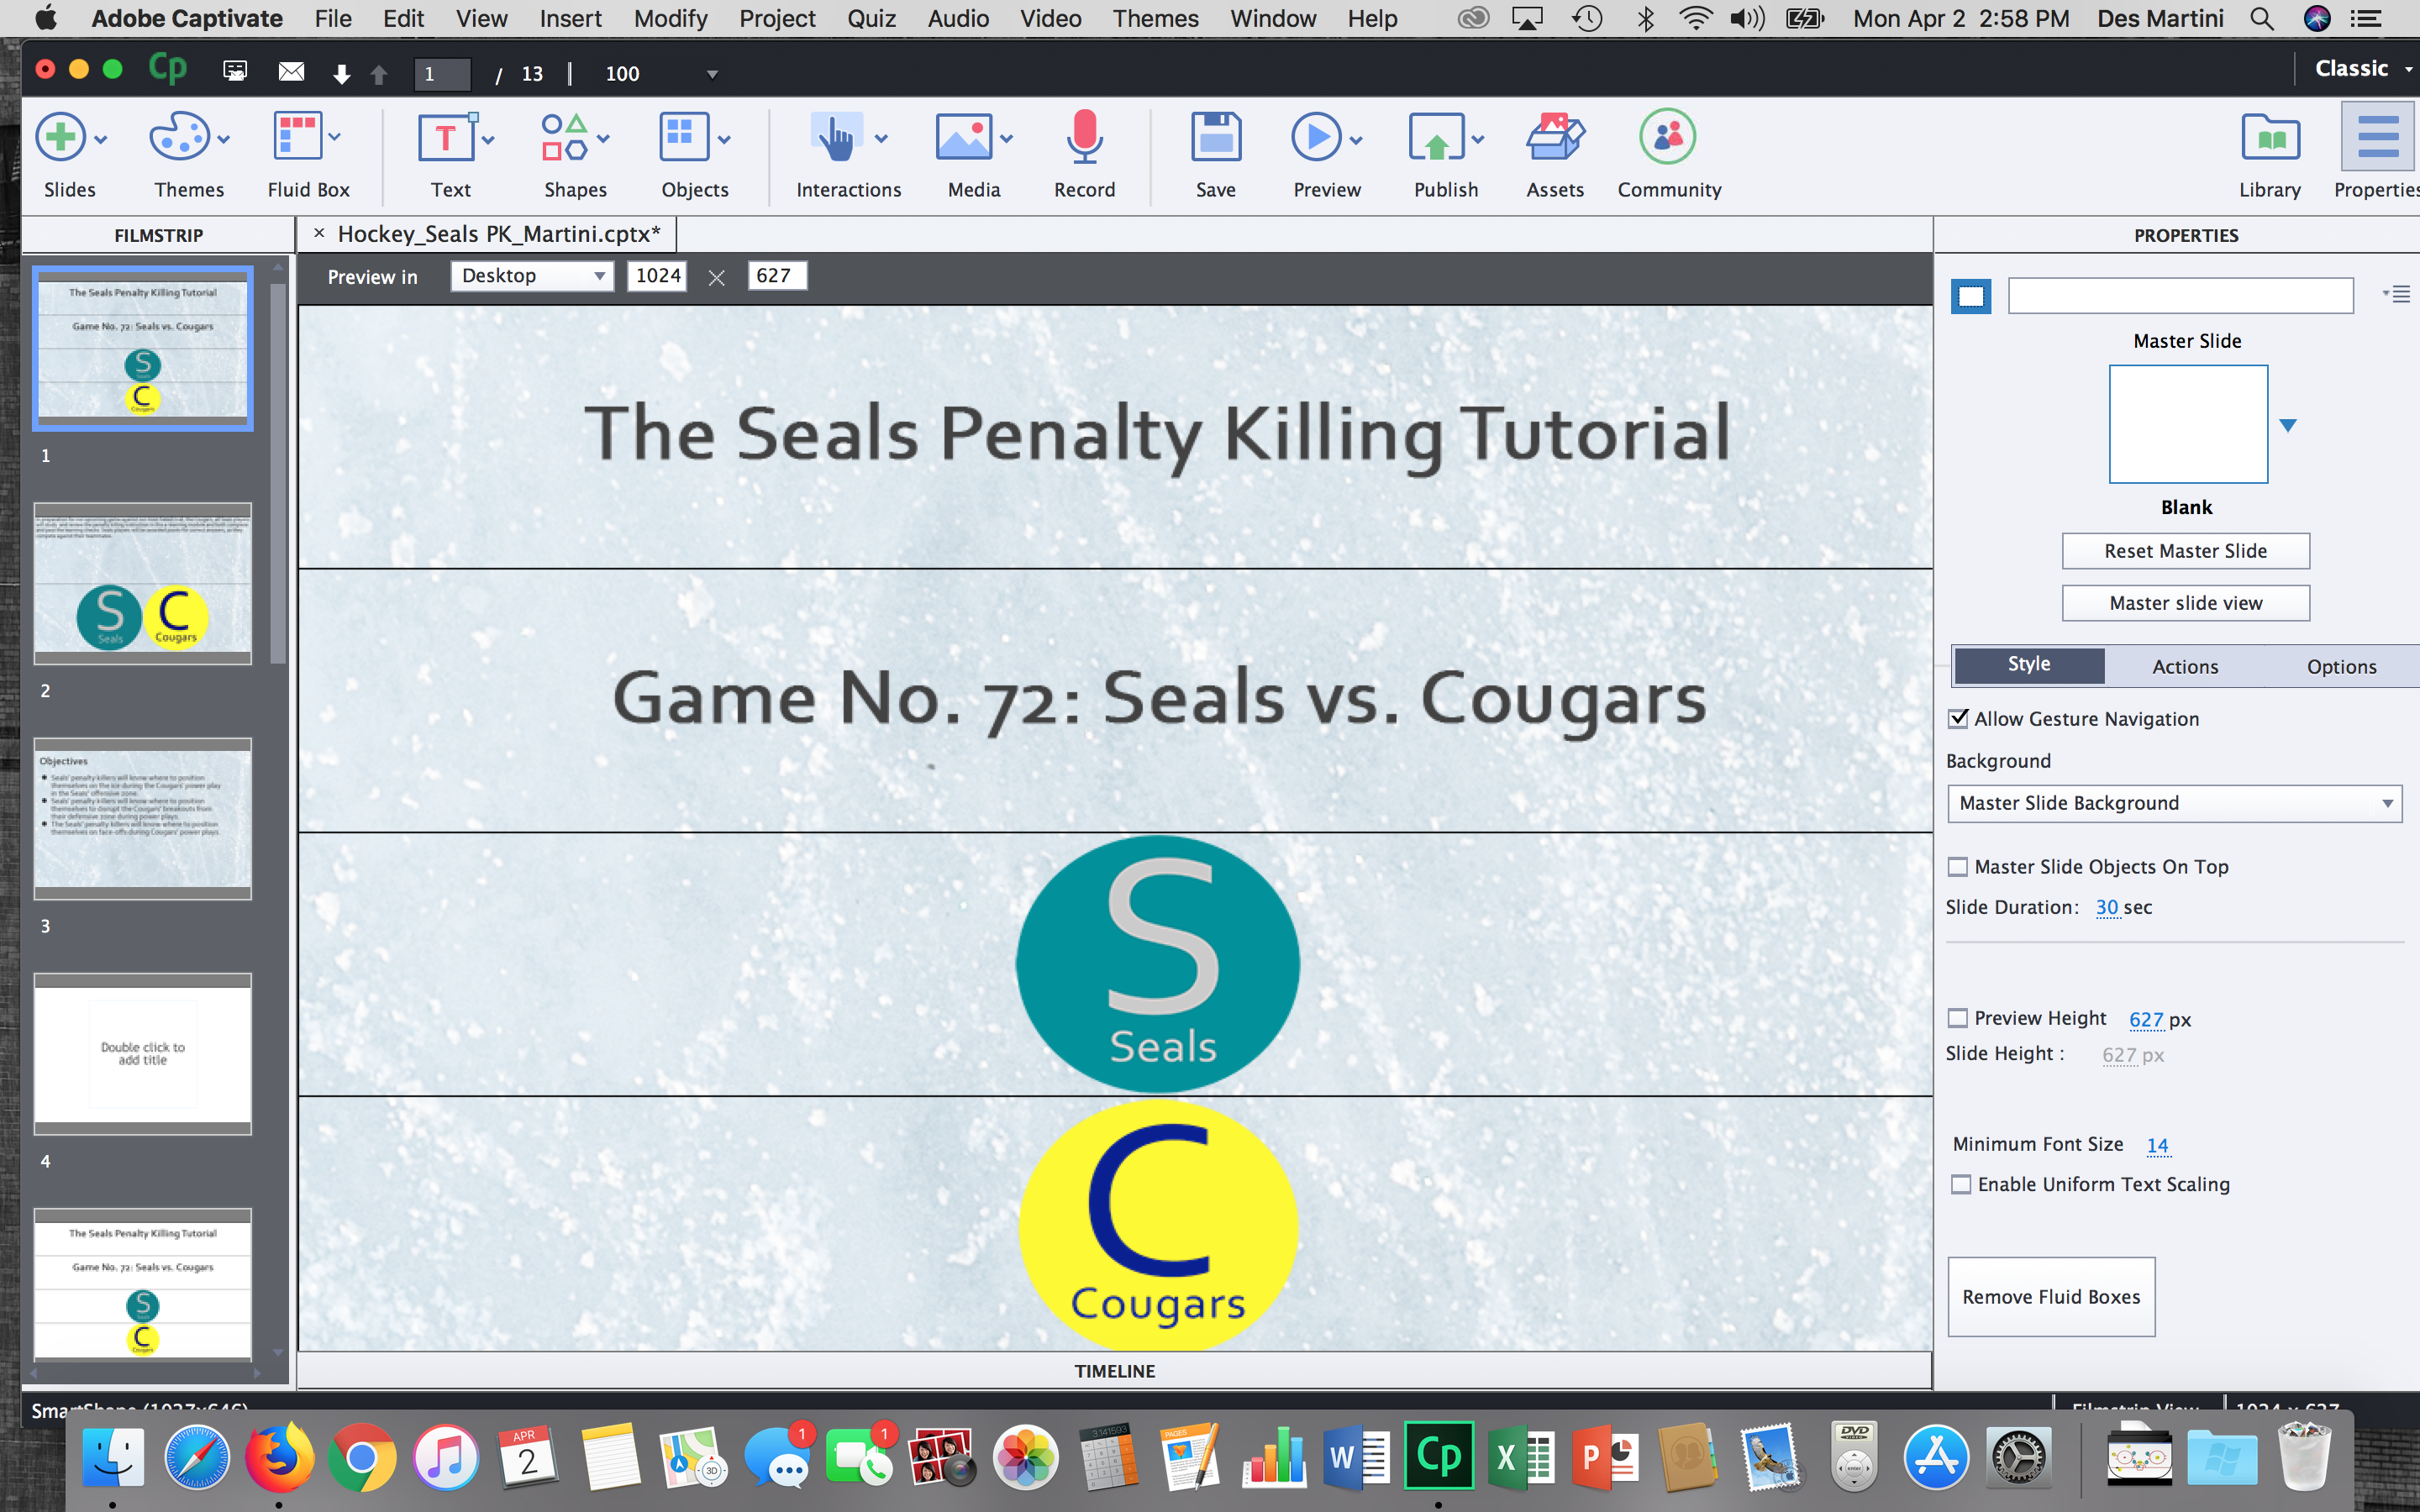
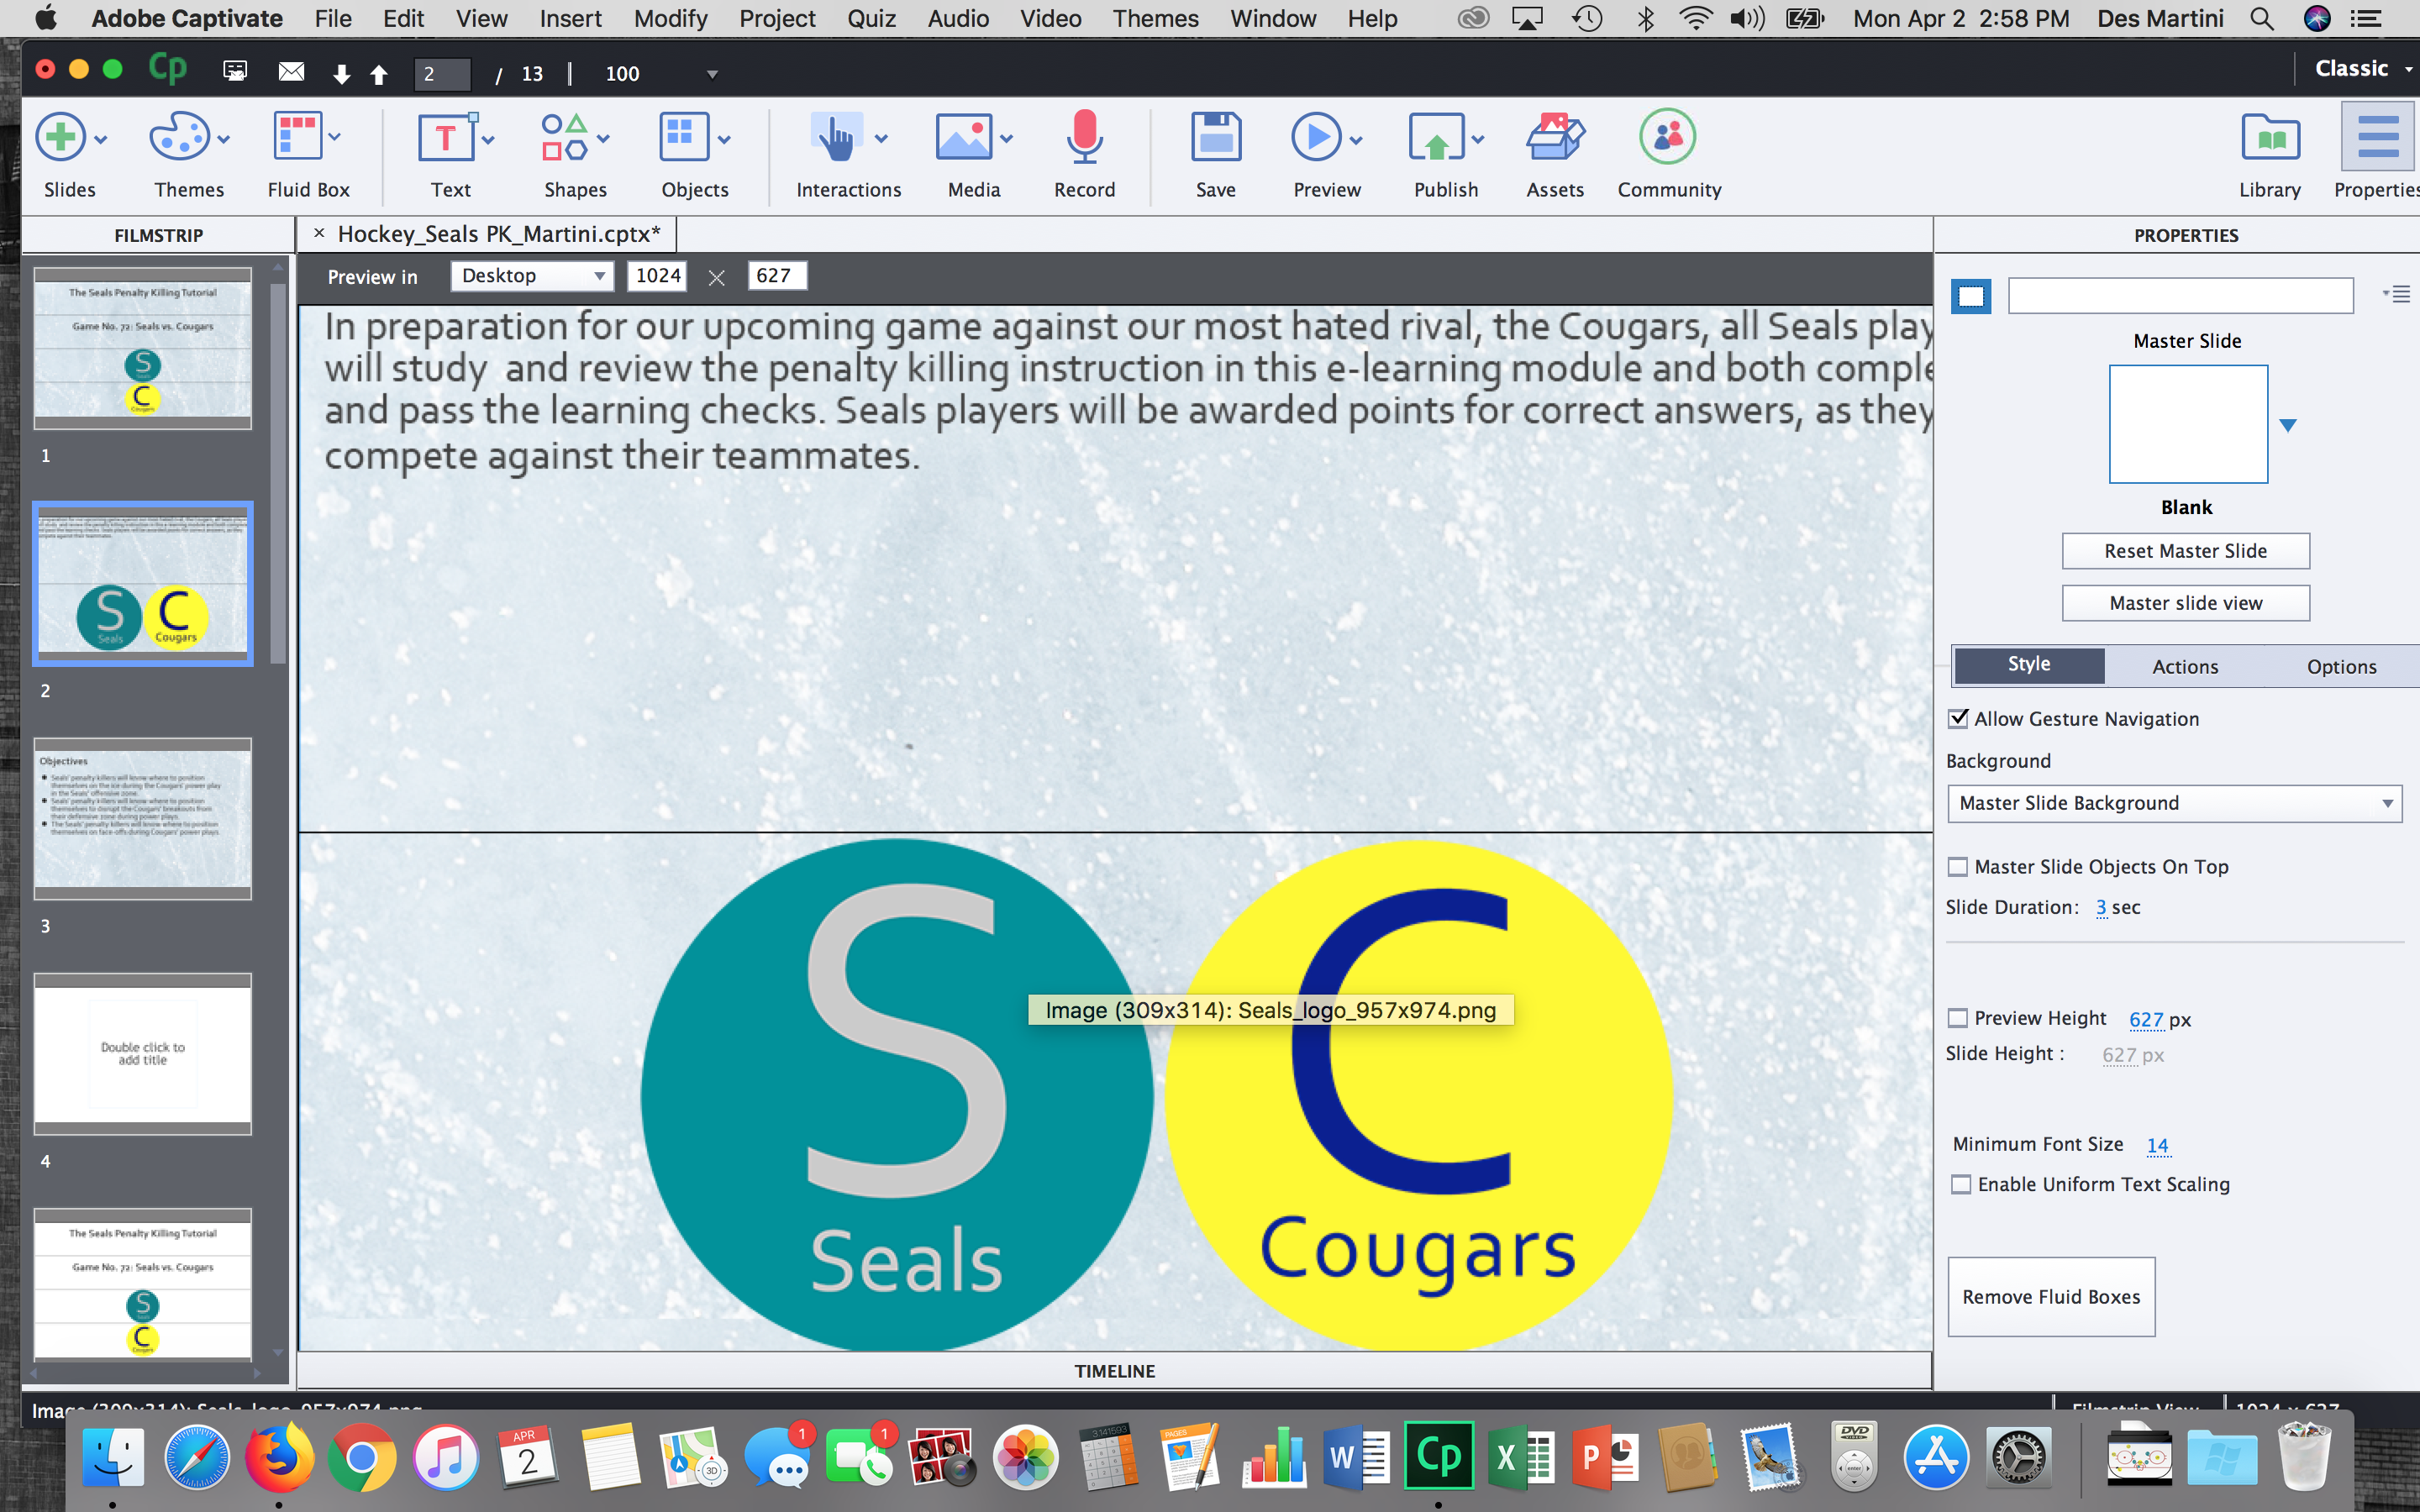
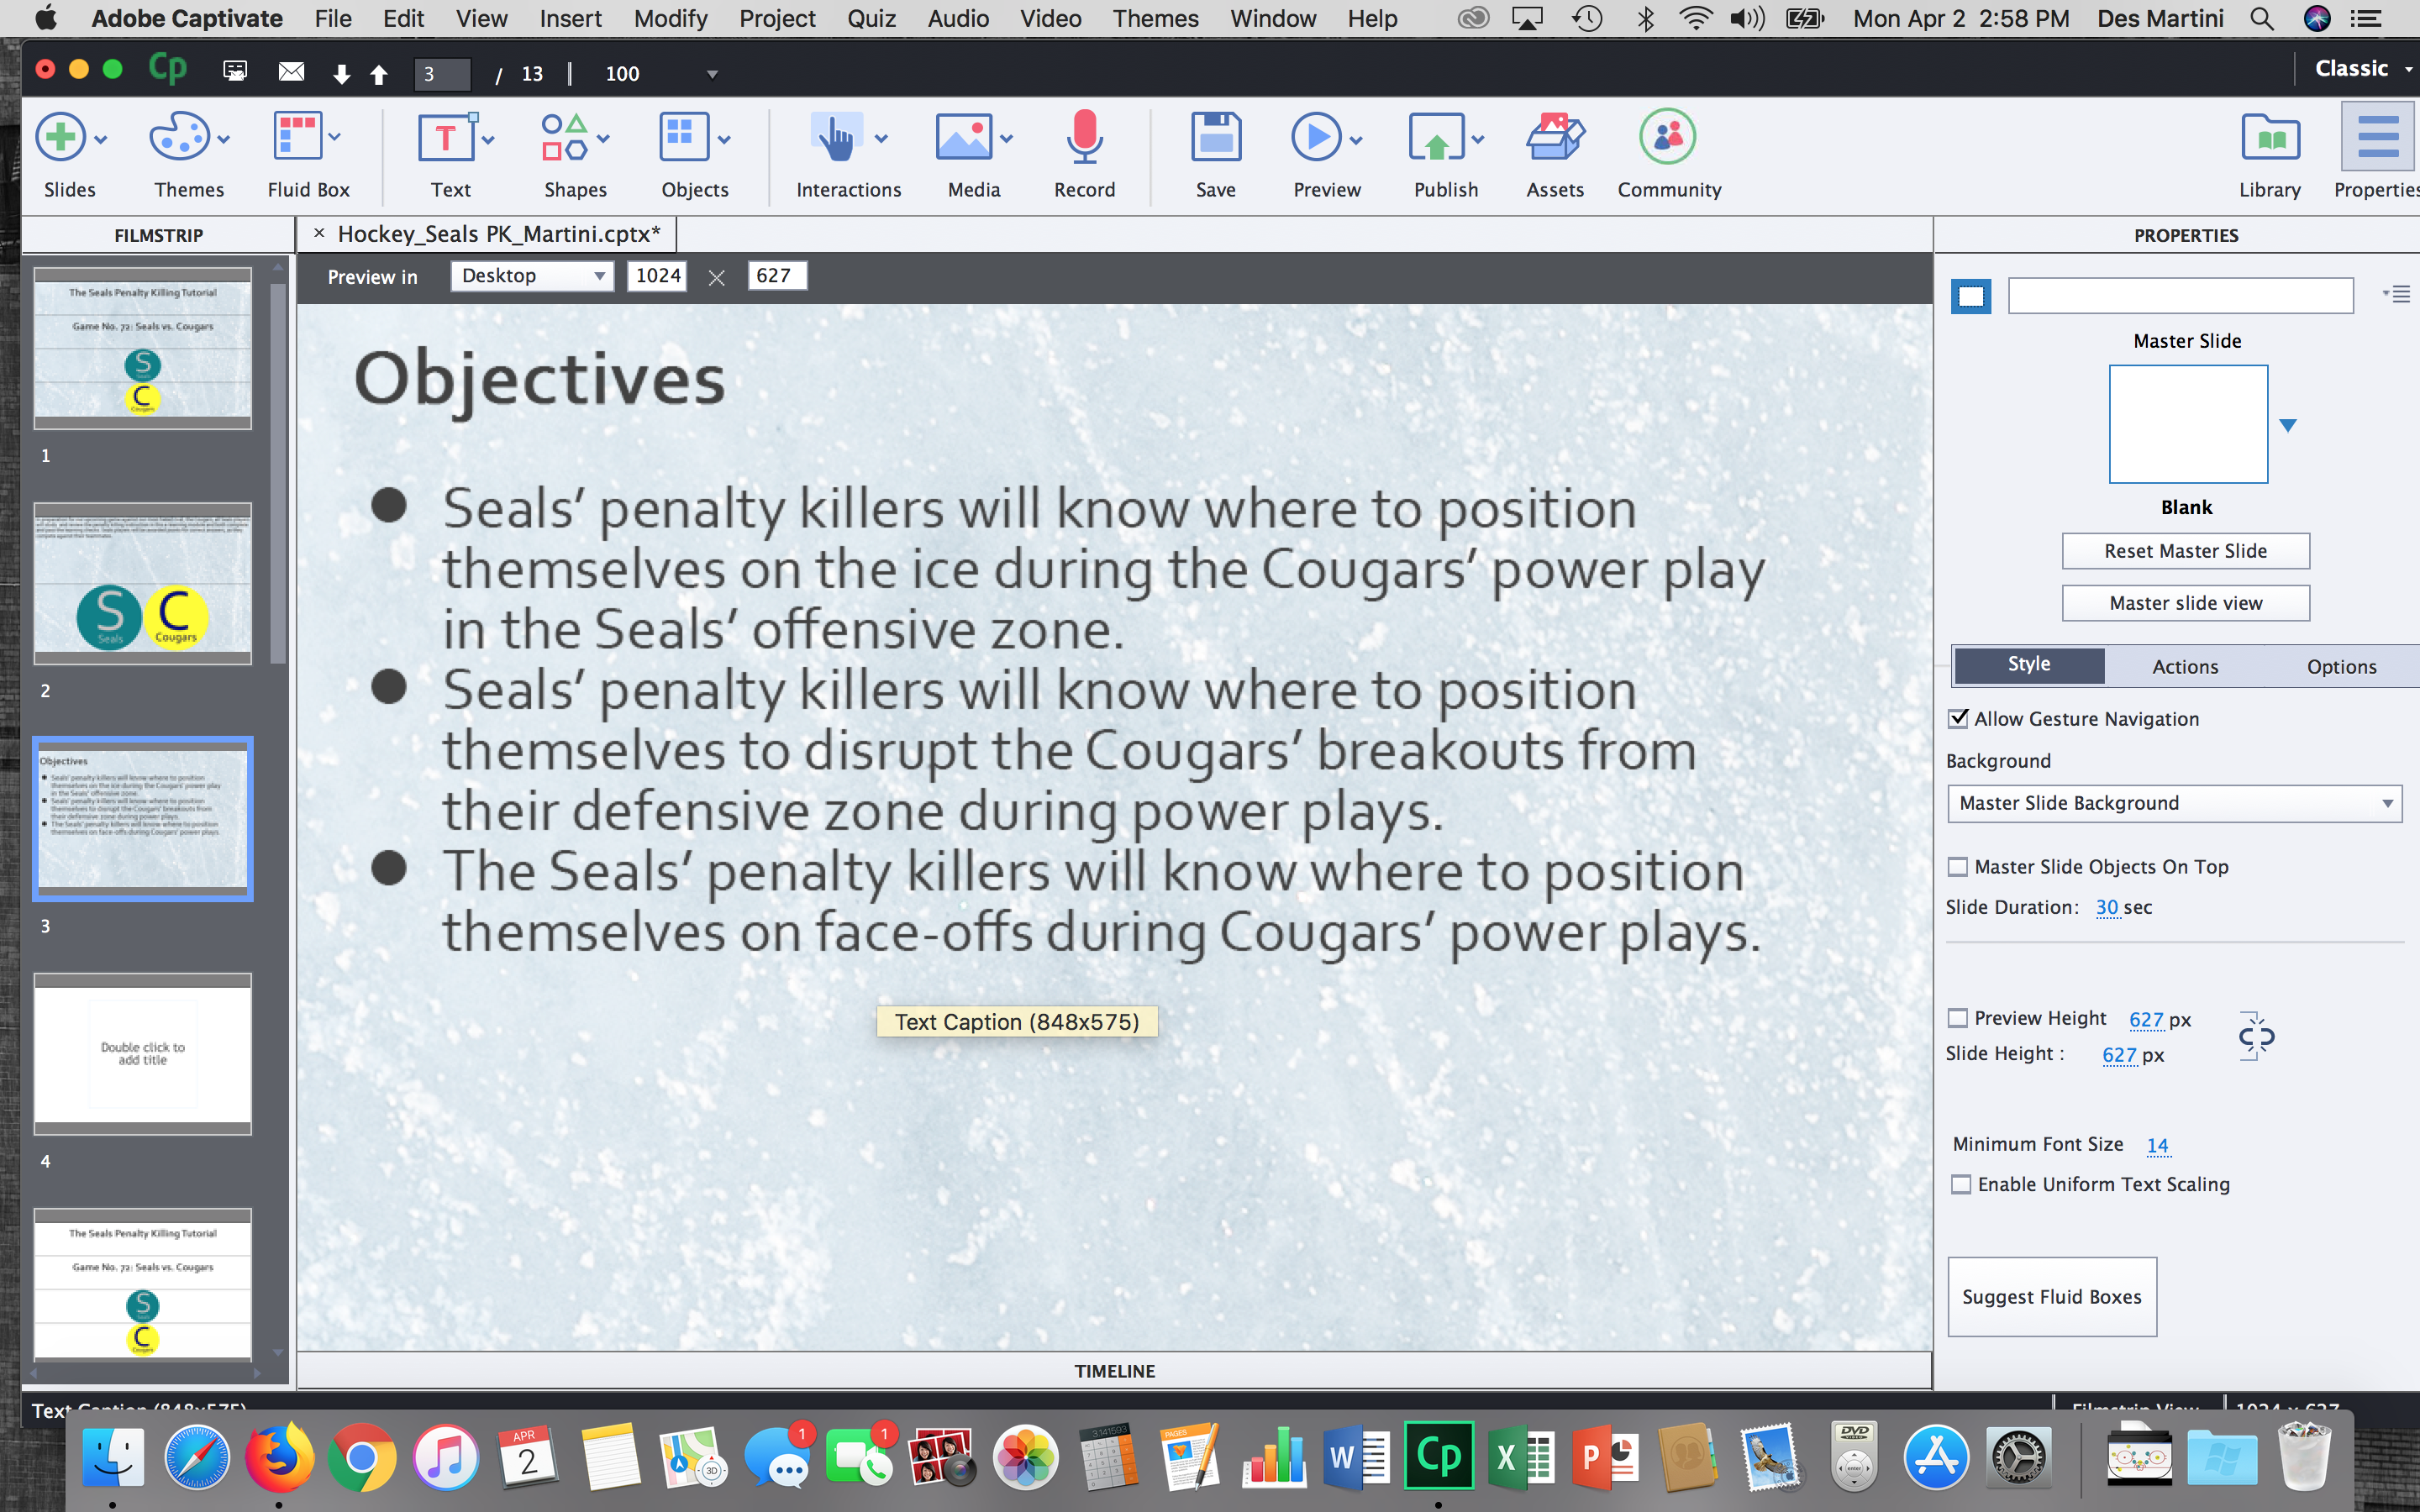
So, as you can see, I want an ice surface behind my text and logos, before I move into videos and test questions.
Copy link to clipboard
Copied
What do you want it to look like? You don't even need an image, both circular items can be created with a shape, filled with a solid colour and having formatted text in it. There is no 'photo' at all in the screenshots. How do you want the two circular items to behave when the screen changes from landscape to portrait, and the screen size shrinks?
Copy link to clipboard
Copied
The photo is the background ice surface. I used the circular logos because I want them to match the images in my video.
Copy link to clipboard
Copied
You don't need it on each slide? If that had been the case, you could have used that image as the Project Background. Look at the theme 'OldPaper' which is a respolnsive theme. Go to the Main Master slide, and look at the Properties:
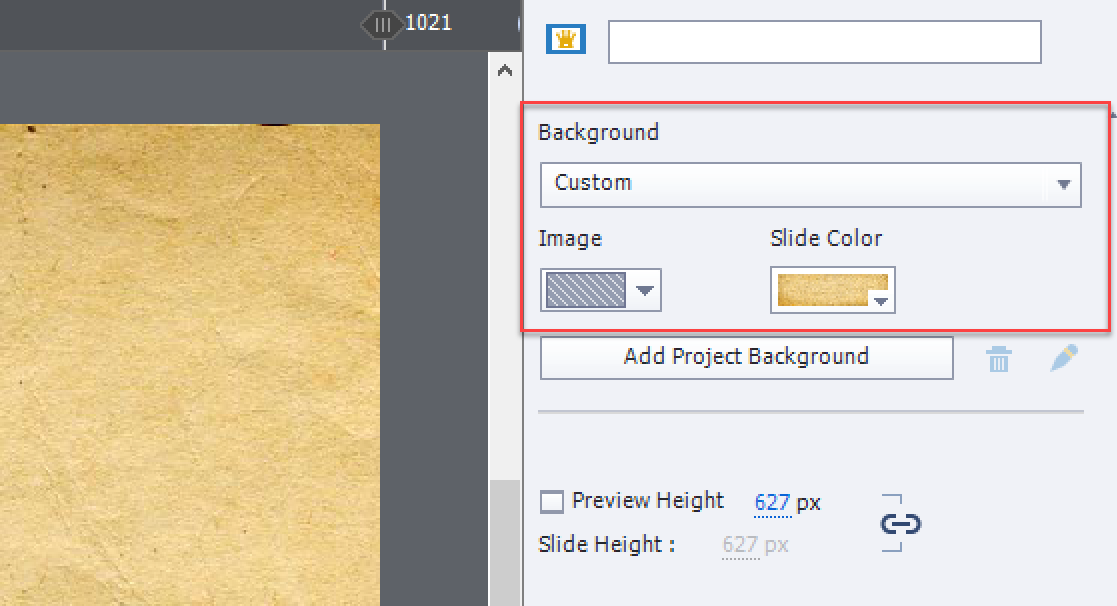
You could replace the present image filling the background by your image.
Iy will appear on each slide, is that a problem? No need to worry about the Fluid Boxes for this image, since it is the Project Background.
Copy link to clipboard
Copied
That helps a lot. Not sure why I made it so complicated, besides the fact that I'm a rookie. Thank you.
Copy link to clipboard
Copied
First of all are you making it Break Point or Fluid box.
For break point if you want the text to scale with the image as the image resizes then, import the Photoshop psd into Captivate and flatten the image when you import to Captivate.
Or import Photoshop psd into Captivate with layers. The image and text will have to be positioned independent of each other dependent on the break point. It may be better to use a smart shape or text caption to add the text.
In fluid box layout you can use the flatten image as well and text is part of the image.
If you bring it in with layers then you could unlock the text layer from the fluid box but it will be image text. You may want to use a smart shape or text caption so it will "reflow" rather than being fixed image text from Photoshop.
Copy link to clipboard
Copied
Thanks. I am not sure how to flatten an image. Should I have also placed the image inside of a shape? Will this automatically resize the images when they appear in different platforms?
My current images are just two circular logos, so I can't tell if an image--such as one with a longer rectangular shape--will be distorted in the format I have chosen.
Copy link to clipboard
Copied
Placing the image as a slide background would be your best bet as you have been directed. Your image is not a picture but a shape therefore can be created in Captivate, not in Photoshop.
Copy link to clipboard
Copied
That helps. Thank you.
Copy link to clipboard
Copied
No worries we all start somewhere - good luck with your project, I would love to see what you create (I'm an former amature hockey coach) as well as a Captivate Instructor.
Copy link to clipboard
Copied
Firstly welcome to the Forums good to hear you're developing. If I understand your problem you want text on top of an image? NOT a 'Text Entry Box'? Why not open your image in Power point put the text on top. Use Microsoft's 'snipping tool' and save it as a new image.
Voila. This should be a much easier way if you're new to responsive/ fluid boxes etc.
PS. if I've misread your question hope you get it answered soon.
Regards
Chris
Copy link to clipboard
Copied
Chris, did you read the trhead completely or only the question? Lot has been explained later on, and problem is solved: it was aout using a backgroud image in a responsive project with fluid boxes.