Summary: There is the project panel up in the top left corner (normally). First step is to load up the puppet you want to use. Second, you want to create a new puppet from your background image. It won't have arms or anything like that, but you load background images just like other puppets so you can scale, move, etc them if you want to using all the puppet tools. You then add both puppets to the timeline panel. On the left side you can drag them up and down to put one in front of the other. If you want furnature, use a PNG file (or Illustrator or Photoshop file) with transparency (not a GIF or JPEG file which do not support transparency). Then you just put your real puppet in front of the background but behind the desk puppet. All 3 are puppets.
Steps:
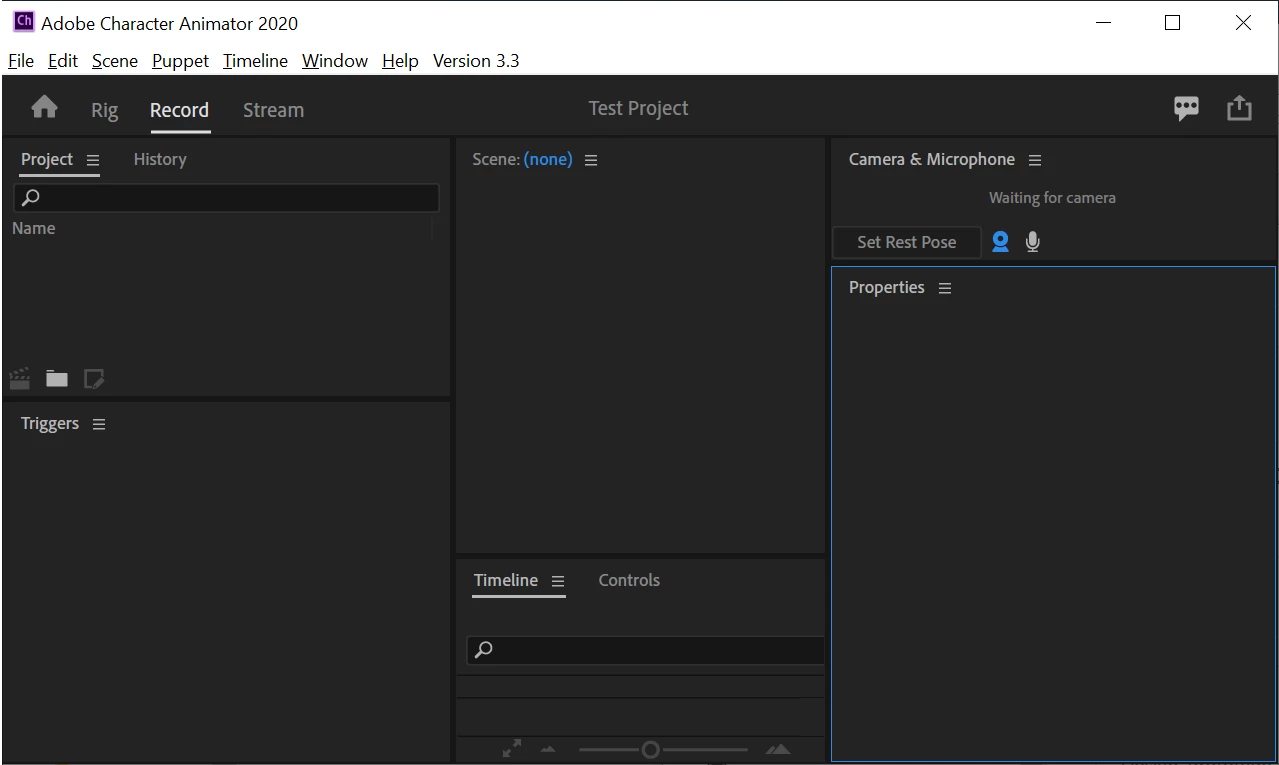
I picked "create new project" to start a fresh, empty project.
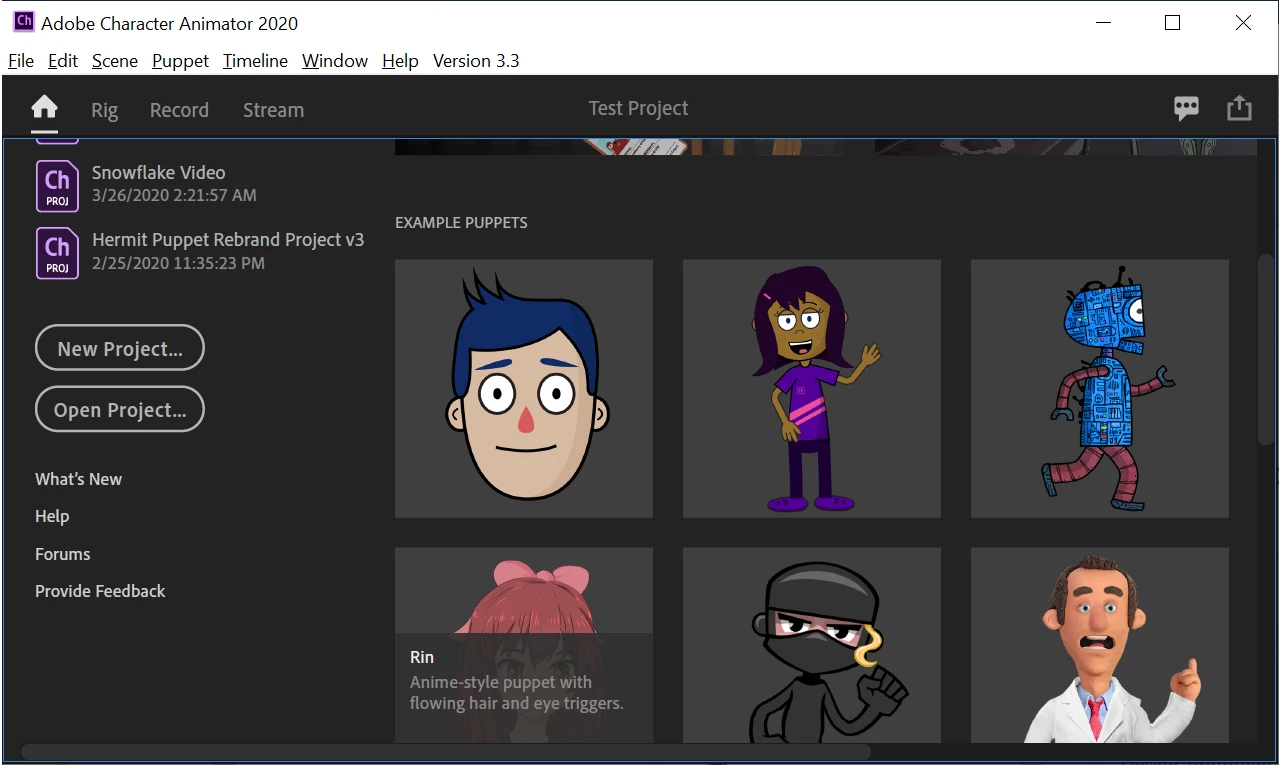
Import an exiting puppet. I clicked the "Home" icon top left (next to "Rig") and clicked on a puppet. I picked Rin.
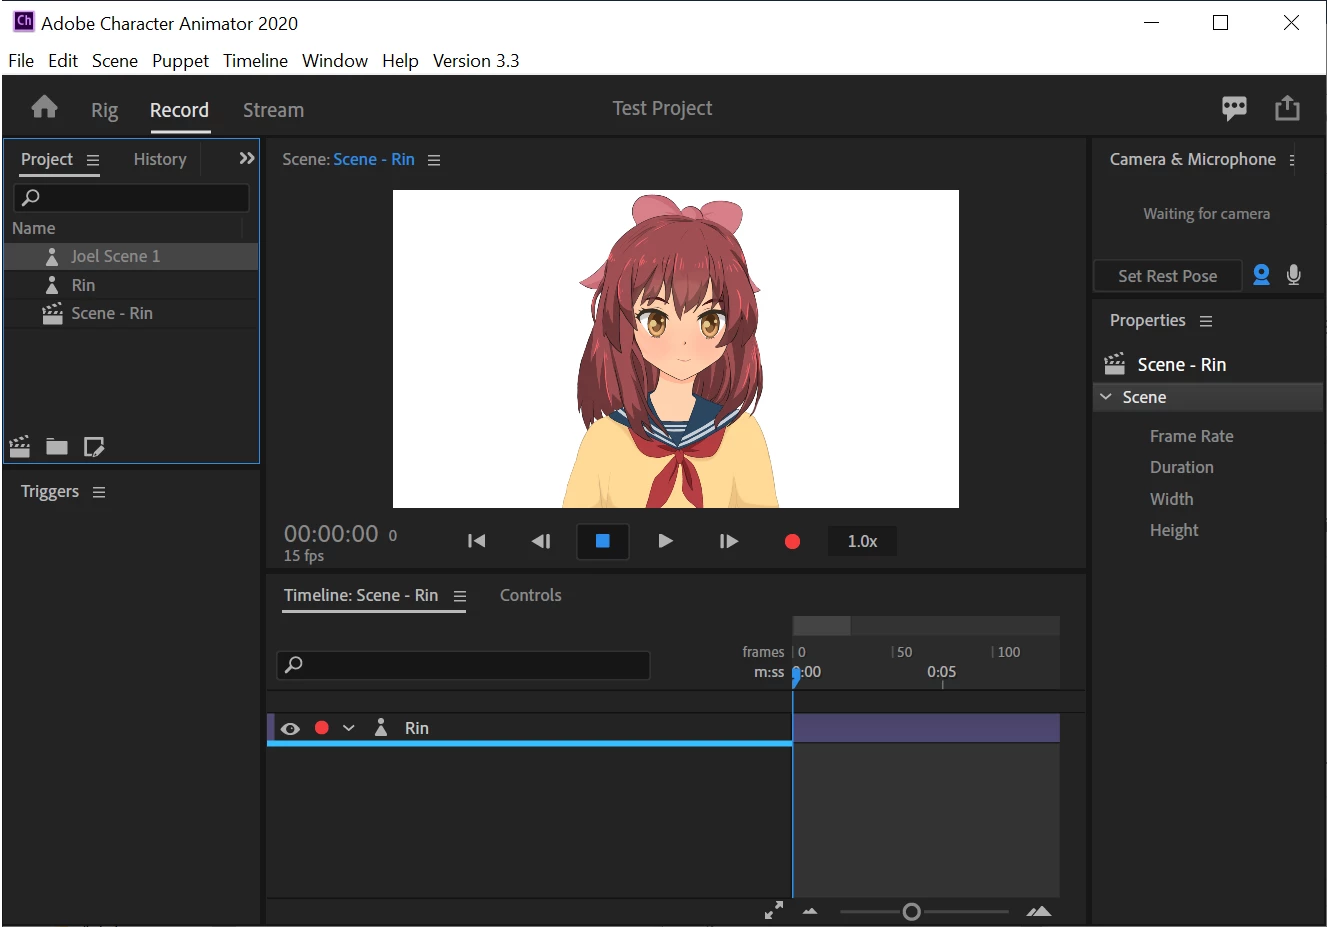
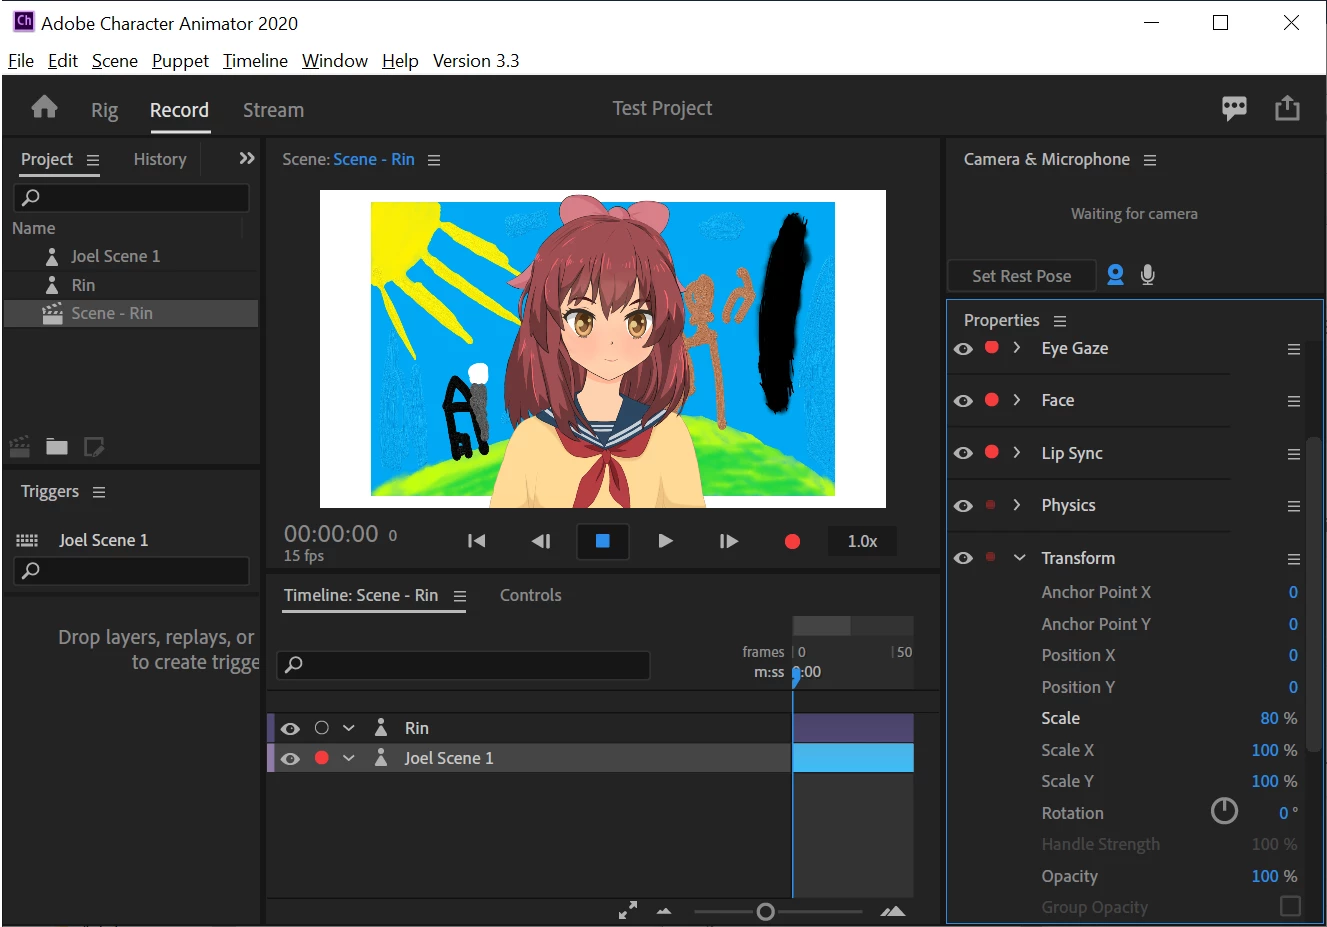
In the top left Project Panel you will see Rin with a puppet icon next to her and "Scene - Rin" which is a scene that Rin has been added to automatically for you.

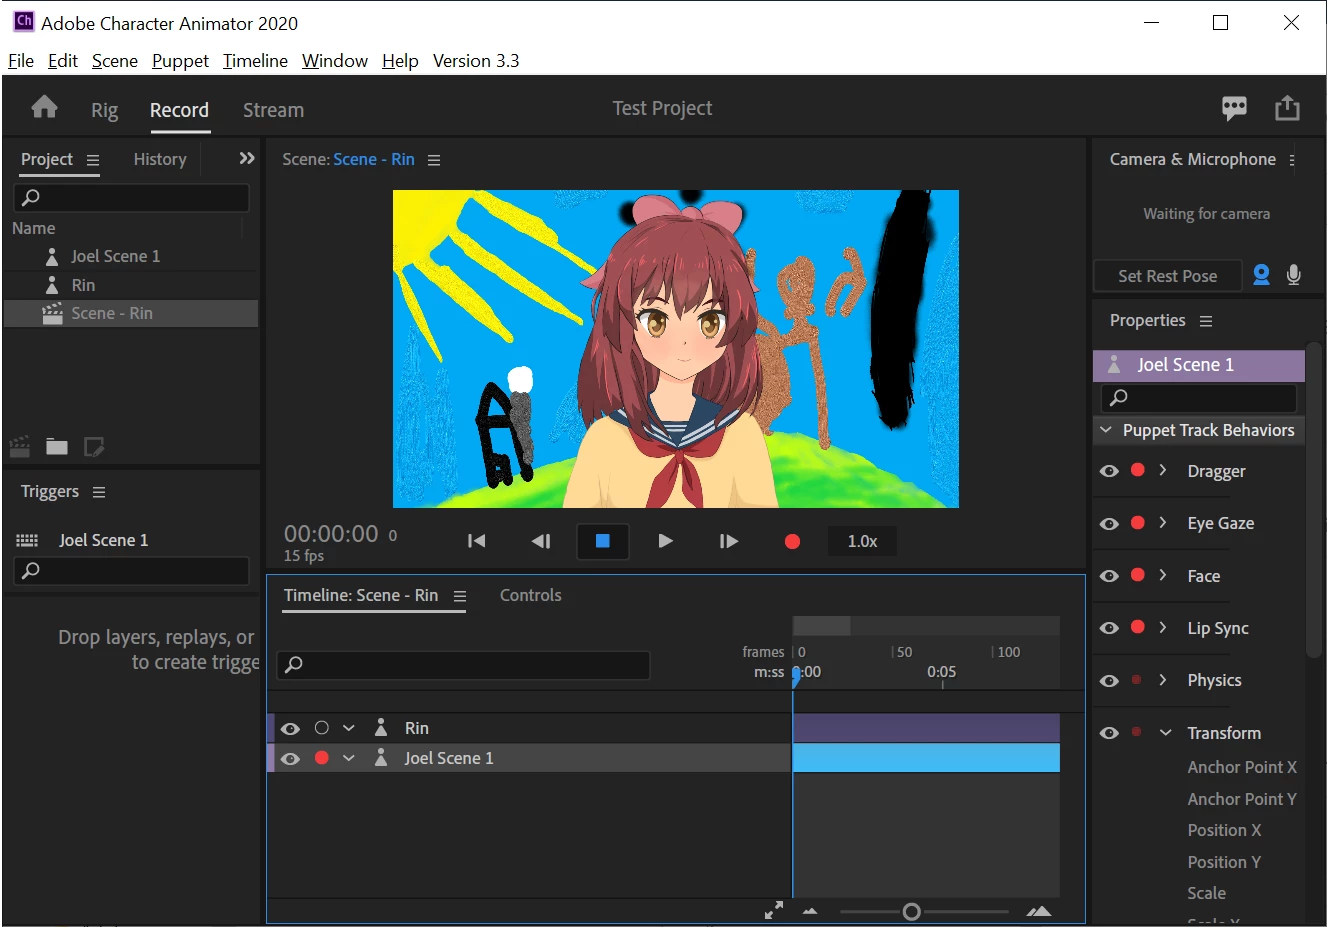
Find a file you want to use as a background. It can be most common image formats, illustrator file, photoshop file, etc. Open the file using "File" / "Import" in the menus. I used my kids artwork, "Joel Scene 1". It should be in the project panel with a puppet icon next to it.

Click and drag the new puppet icon from the Project panel (near top left) to the "Timeline: Scene - Rin" panel (middle bottom) just below "Rin". You should see a blue line while dragging just below Rin showing where its going to add the new puppet.
After you let go, the Joel Scene 1 puppet will appear behind the Rin puppet.
To rearrange the depth of puppets, drag them above/below each other in the timeline panel for the scene you have selected. If the size of the background image is wrong, click on it in the timeline panel so it is selected, go over to the right in the "Properties" panel and look for the "Transform" behavior. There is a "Scale" property. Change the value from 100% to the size you want (trial and error). If you click and drag on the "100%" it will increase/decrease it showing you real time (easier). Otherwise single click and type in new values. Here I changed it to 80% and you can see that is too small because you can see the edges of the background now. Fiddle with Position X and Position Y if you want to move it up and down.
For background puppets, behaviors other than Trasform were added but you wont use them. You can delete them if you want to (I am lazy so don't bother). The Trasform behavior is all I ever use for background puppets.
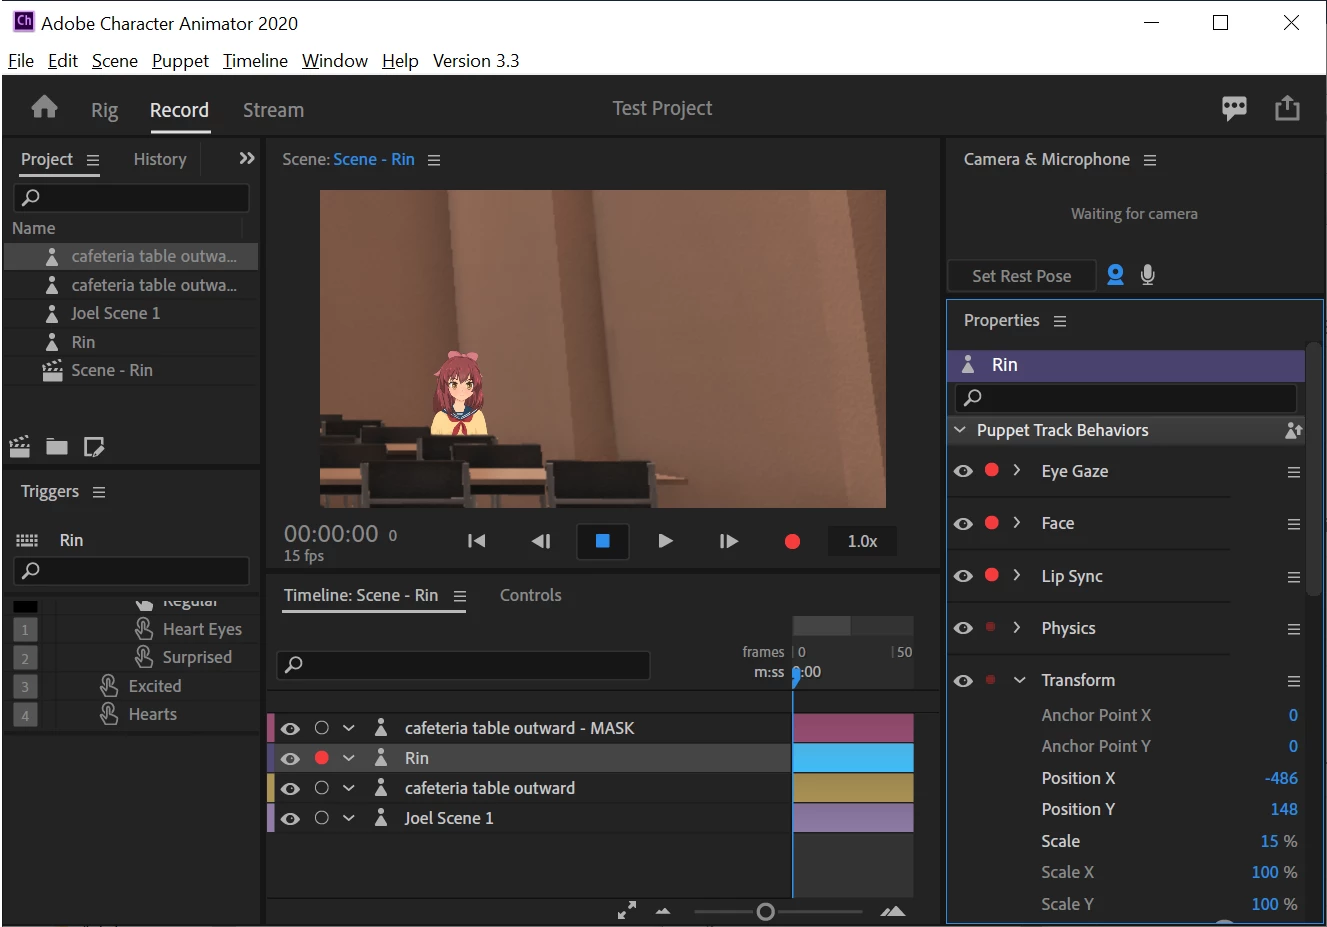
If you want to put a desk in front of Rin, load the puppet as before (File/Import) but when you drag it into the Timeline panel, drop it above Rin. Then it will be in front of her. You must use an file with transparency or else it will block what is behind. I sometimes take a photo, load it into photoshop, then erase the background so I just have the furniture left. I just found a file I had "cafeteria table outwards - MASK" that I loaded up. I imported, then dragged above Rin in the timeline. I fiddled with the scale and position to make it fit nicely. (Okay, it looks stupid in this scene...)

What I actually frequently do is take a scene shot (a caferteria in this case), then make a copy and mask out (erase) most of it in the copy. That allows puppets to walk behind that furnature. So my MASK file also has a non mask file. I write down the Scale, Position X, and Position Y values so they are identical for both layers. The puppet can then be in the scene better. Note I dragged the new background above Joel Scene 1 in the Timeline panel, hiding it (I should delete Joel Scene one from the timeline panel). Rin is now in front of the main background but behind the masked out foreground, so it looks like she is more in the scene.
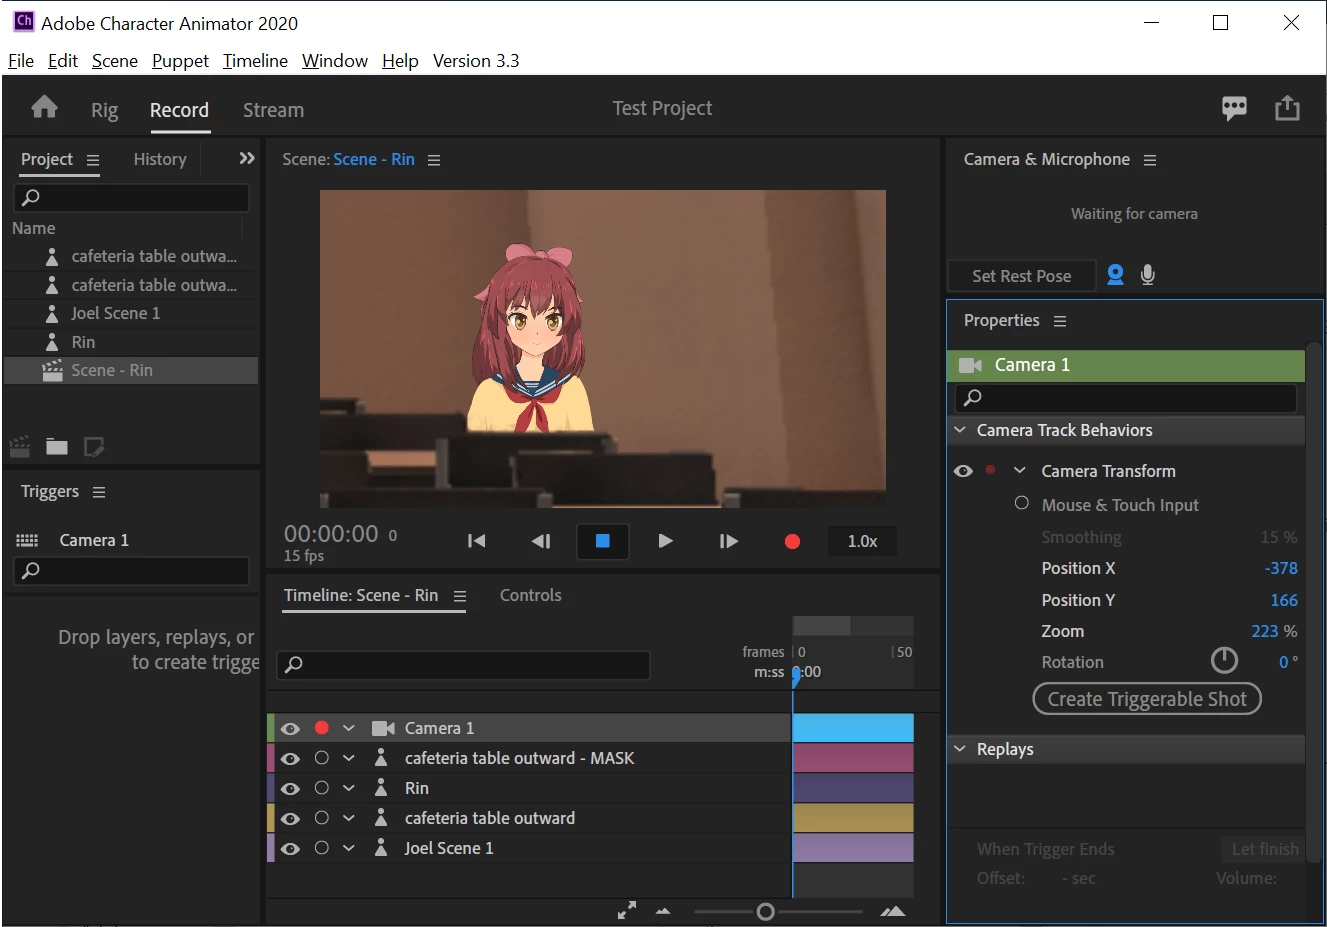
You can then do things like add a Camera (from menu, "Scene" / "New Scene Camera"). You can use the properties on the right (Position X, Position Y, Zoom) to focus on different parts of the scene. I zoomed in and fiddled with the position to make Rin look bigger again. This is where having higher resolution (or illustrator vector artwork which just scales perfectly, which is why I try to us Illustrator with CH as much as possible over Photoshop) helps. Zooming in can make pixelation visible. So you need to use high res images if you want to zoom in.
I hope that helps! 😉
