- Home
- Character Animator
- Discussions
- Re: Moving Head and Neck without Body
- Re: Moving Head and Neck without Body
Copy link to clipboard
Copied
I am creating a new character, based off of a previous character I created (that rigged up fine)... and for some reason I can't seem to figure out what I could have done to this new character based on the same file. I thought I would ask here to see if anyone has come across this?
When I move my head, the body and arms seem to sway with it... I want the head and neck to move without moving the body much.
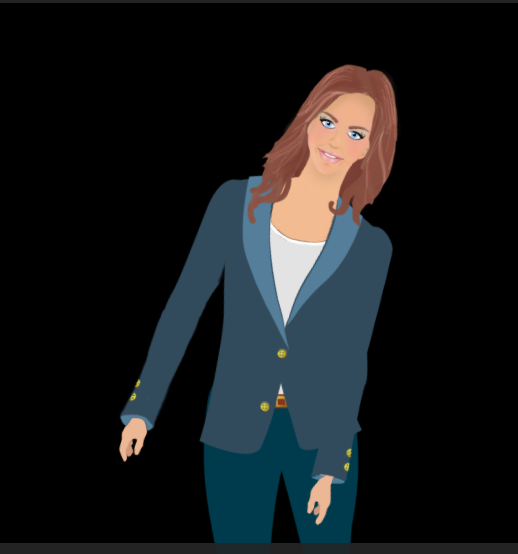
pic attached is exaggerated with a big lean to the right....

cheers and thanks!
mark
 1 Correct answer
> ...just not sure how I can go about fixing it?
One option is to delete the pants, belt, and belt buckle. Also, since the right arm is warp independent, the right arm on desk probabably can be as well. After I make those changes, the torso and head are a single mesh which uses contour by default.
> ...expand all the art with filler so things overlap?
This would be another option. Even with all the layers showing, I see a gap between the pants and the bottom edge of the jacket. By adding a new lay
...Copy link to clipboard
Copied
you have to click on the crown or the box next to the eye in rig mode. or in photoshop, add a + symbol before the name no spaces.
Copy link to clipboard
Copied
Thanks for trying to help. But the Head and Body should not be independent, they have to move as a unit. If they are independent the head detaches from the body.
Copy link to clipboard
Copied
If you select the group where your Head is tagged is the handle down in the body? The head tilt rotation is around that point, so maybe repositioning it could help? You may also be able to use sticks to further reduce the propagation of movement, though you have to be careful or it can make the warping look strange.
DT
Copy link to clipboard
Copied
Hi Dan!
Thanks for taking the time to respond. My head is tagged at the neck, but its just not bending at the neck. In trying to figure it out, i removed most layers and slowly added them back in. It seems like her hair is somehow affecting her head tilt?? I added a stick across her shoulders on the body, and it helps a little bit, but unless I hold her arm they are still moving too. There is no extra face tag... really not sure what is wrong here.
Copy link to clipboard
Copied
I was going to suggest more sticks as well. I often put one across the shoulders plus ones from the shoulders down the top part of the torso. If you have any sticks down the neck they would need removing. Or stray Head tags as suggested (or origin wrong). The fact that the neck does not look like its bending (much) is suspicious. It looks like the torso just below the shoulders are bending more than the neck. Maybe she needs some more spine!
Copy link to clipboard
Copied
Hi Alan!
Thanks for you response. It is nice to know about the little stick tricks. I added a stick across her shoulders as Dan recommended, and it did give her a little neck movement, but her arms are still swaying - I also added your suggested stick down the torso, but still same results.
I wanted to attach the puppet here but it did not allow it - hoping I could share it to see if somehow my eyes are missing something!
Hope this dropbox link works:
Dropbox - Andrea_Puppet-at-Desk.puppet
Thanks for your help! I've rigged a bunch of characters, and have never come across this.
cheers!
mark
Copy link to clipboard
Copied
Thanks for posting the puppet. This is a job for mesh visualization, as it turns out.
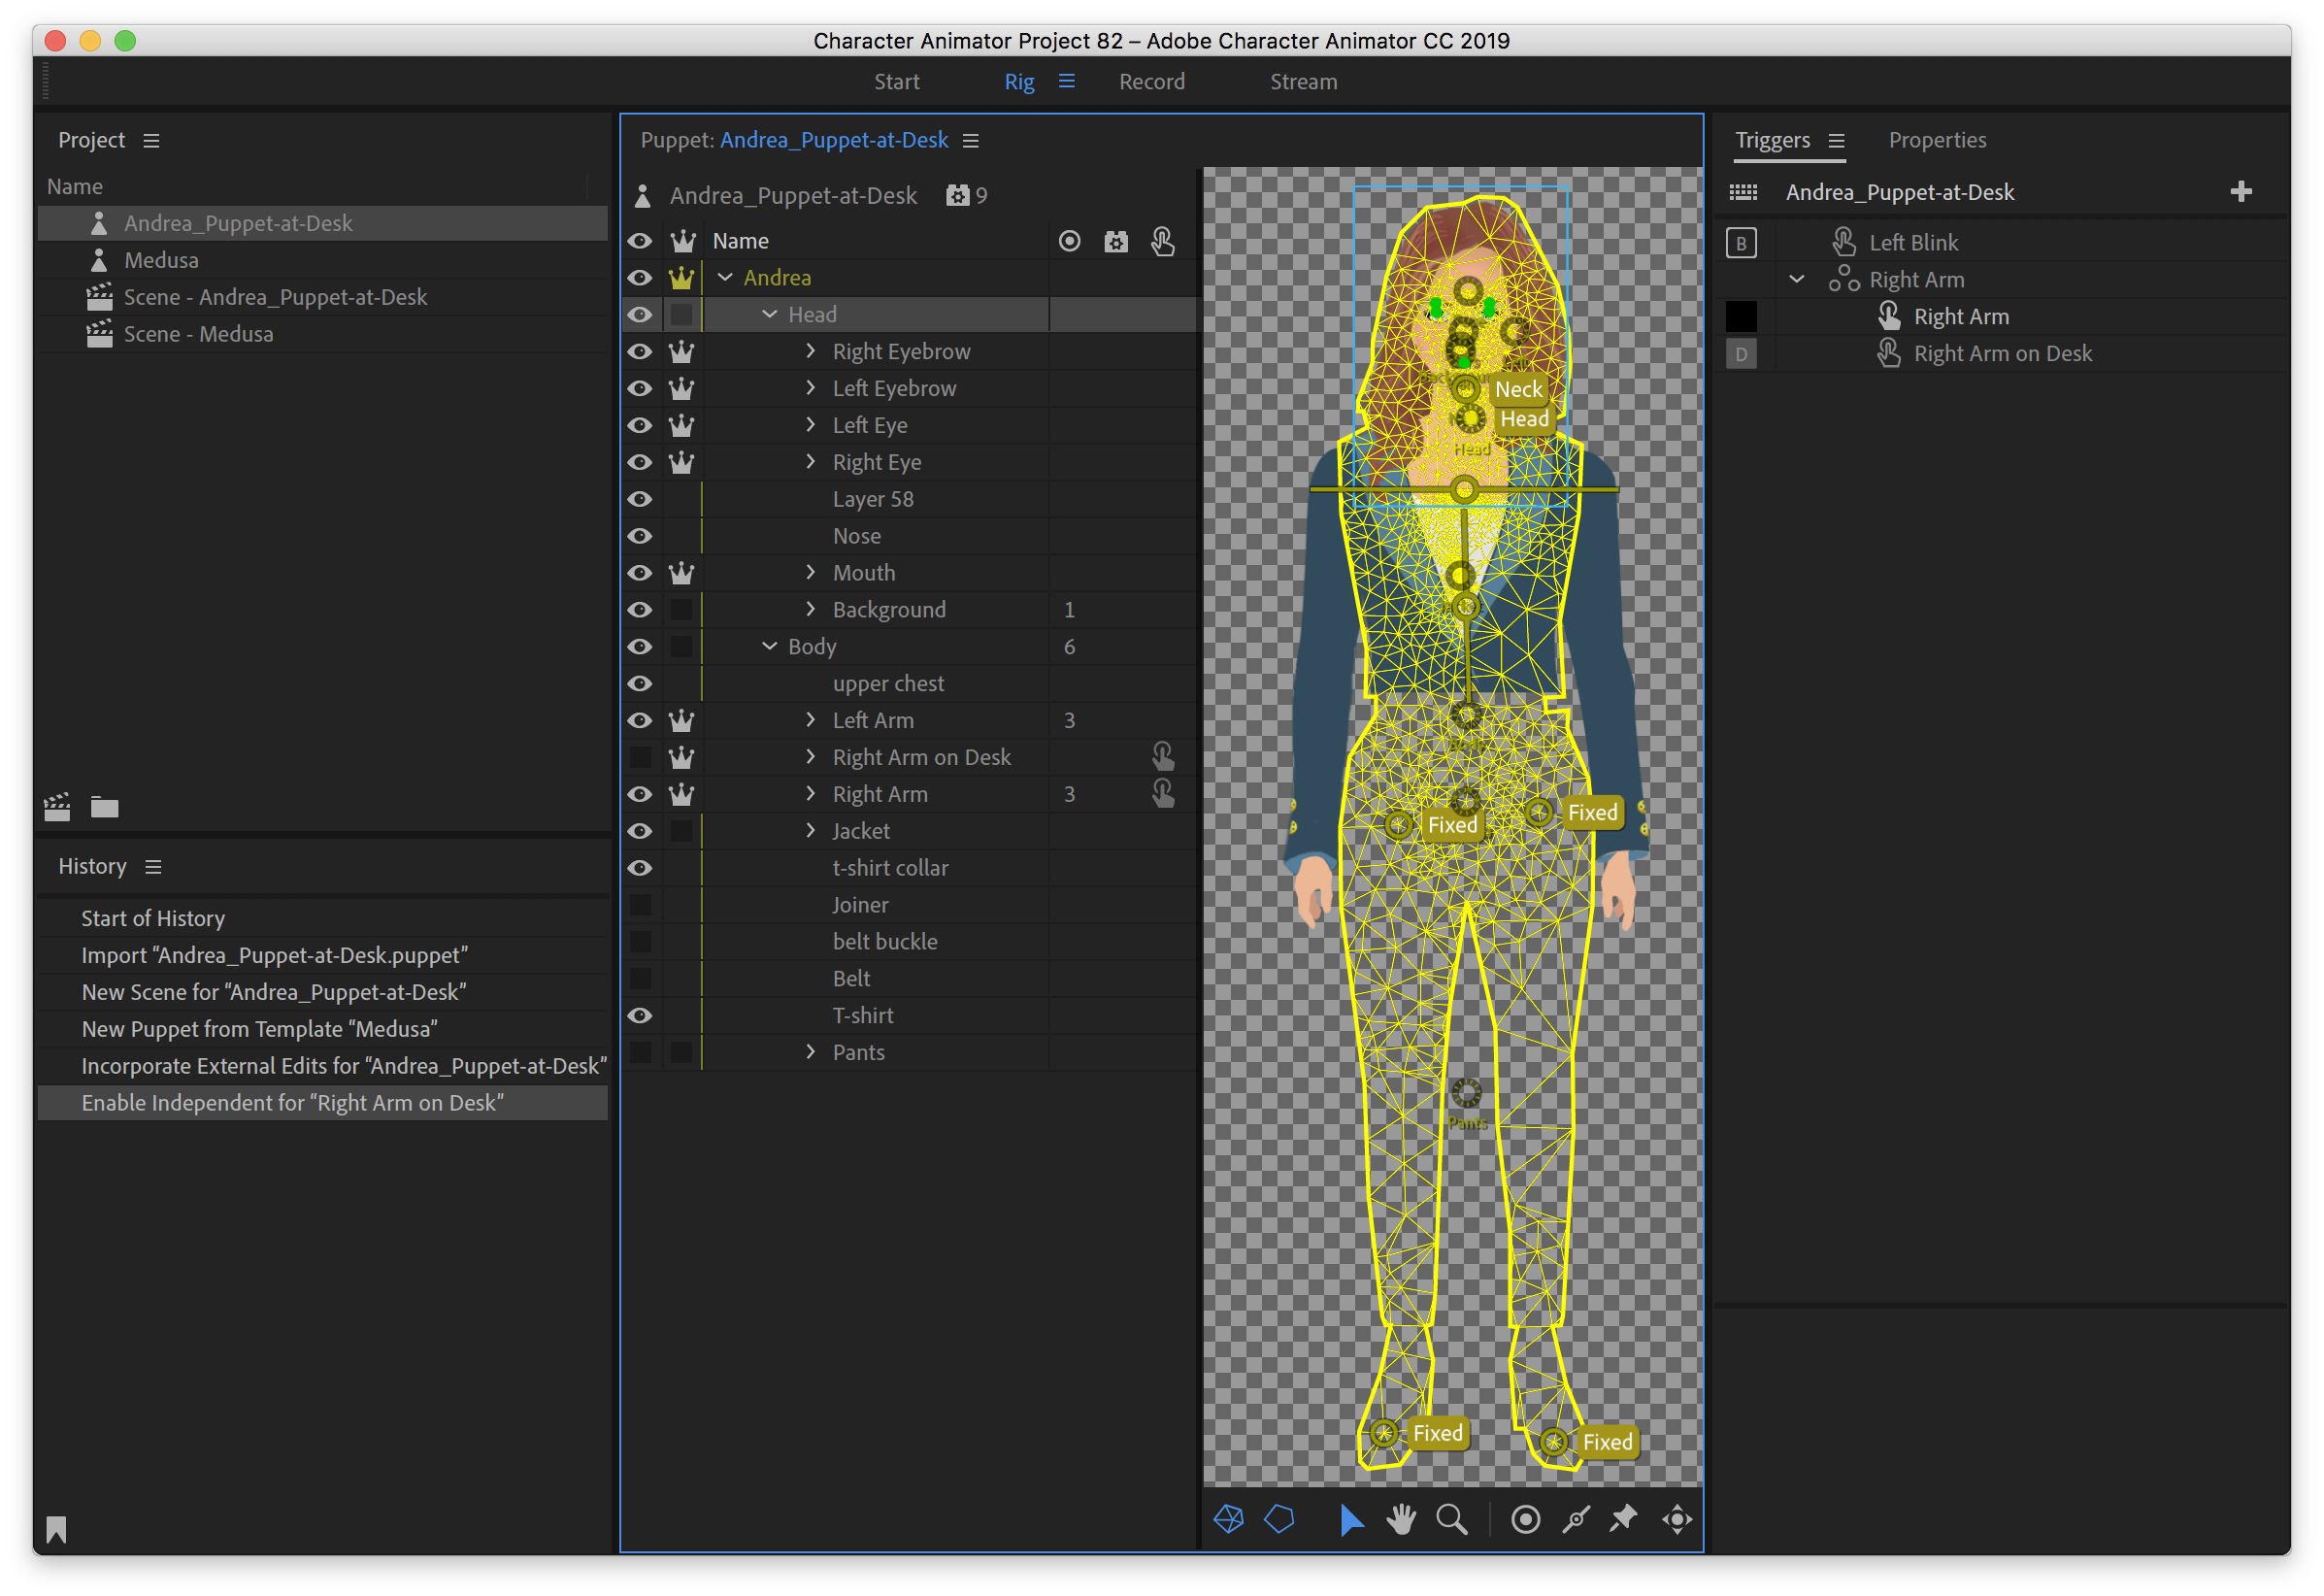
If you click the Show Mesh button in the lower left corner of the puppet panel and select one of the layers/groups that are part of the head/torso mesh, you'll see a very large rectangle of mesh. There are several "islands" that are part of the same mesh: Pants (even though it has its visibility disabled), Belt, belt buckle, and Right Arm on Desk are also part of the meshing group that includes Head, Body/upper chest, Body/Jacket, Body/T-shirt, and Body/t-shirt collar.
These do not form a contiguous region of pixels, so the mesh falls back to using a large rectangle filling the whole area. If you also turn on Show Mesh in the scene panel, you can see how the larger rectangle moves in response to face movements.
When I removed some of the non-contiguous parts and moved the head handle up a bit so the rotation , I was able to get movement that was more localized to the head and neck. This could also be accomplished by filling in the gaps so that these layers that are meshed together are connected.
If the reason for the rectangular mesh had been due to smaller accidental patches of pixels (a stray brush stroke, for example) it is also possible to change the Layer Mesh option from Auto to Contour, but in this case that does not work since it chooses the Pants layer (since it is the largest area, I think) and the other "islands" (the face and torso parts) disappear.
DT
P.S. This is a common enough problem that it is on our list to provide some better handling of multi-island meshes. The rectangular fallback almost always behaves badly.
Copy link to clipboard
Copied
hi Dan!
Thanks so much for taking the time to check out my puppet. I was using the mesh and went through and made sure to remove all extra pixels, but thanks for the contour tip.
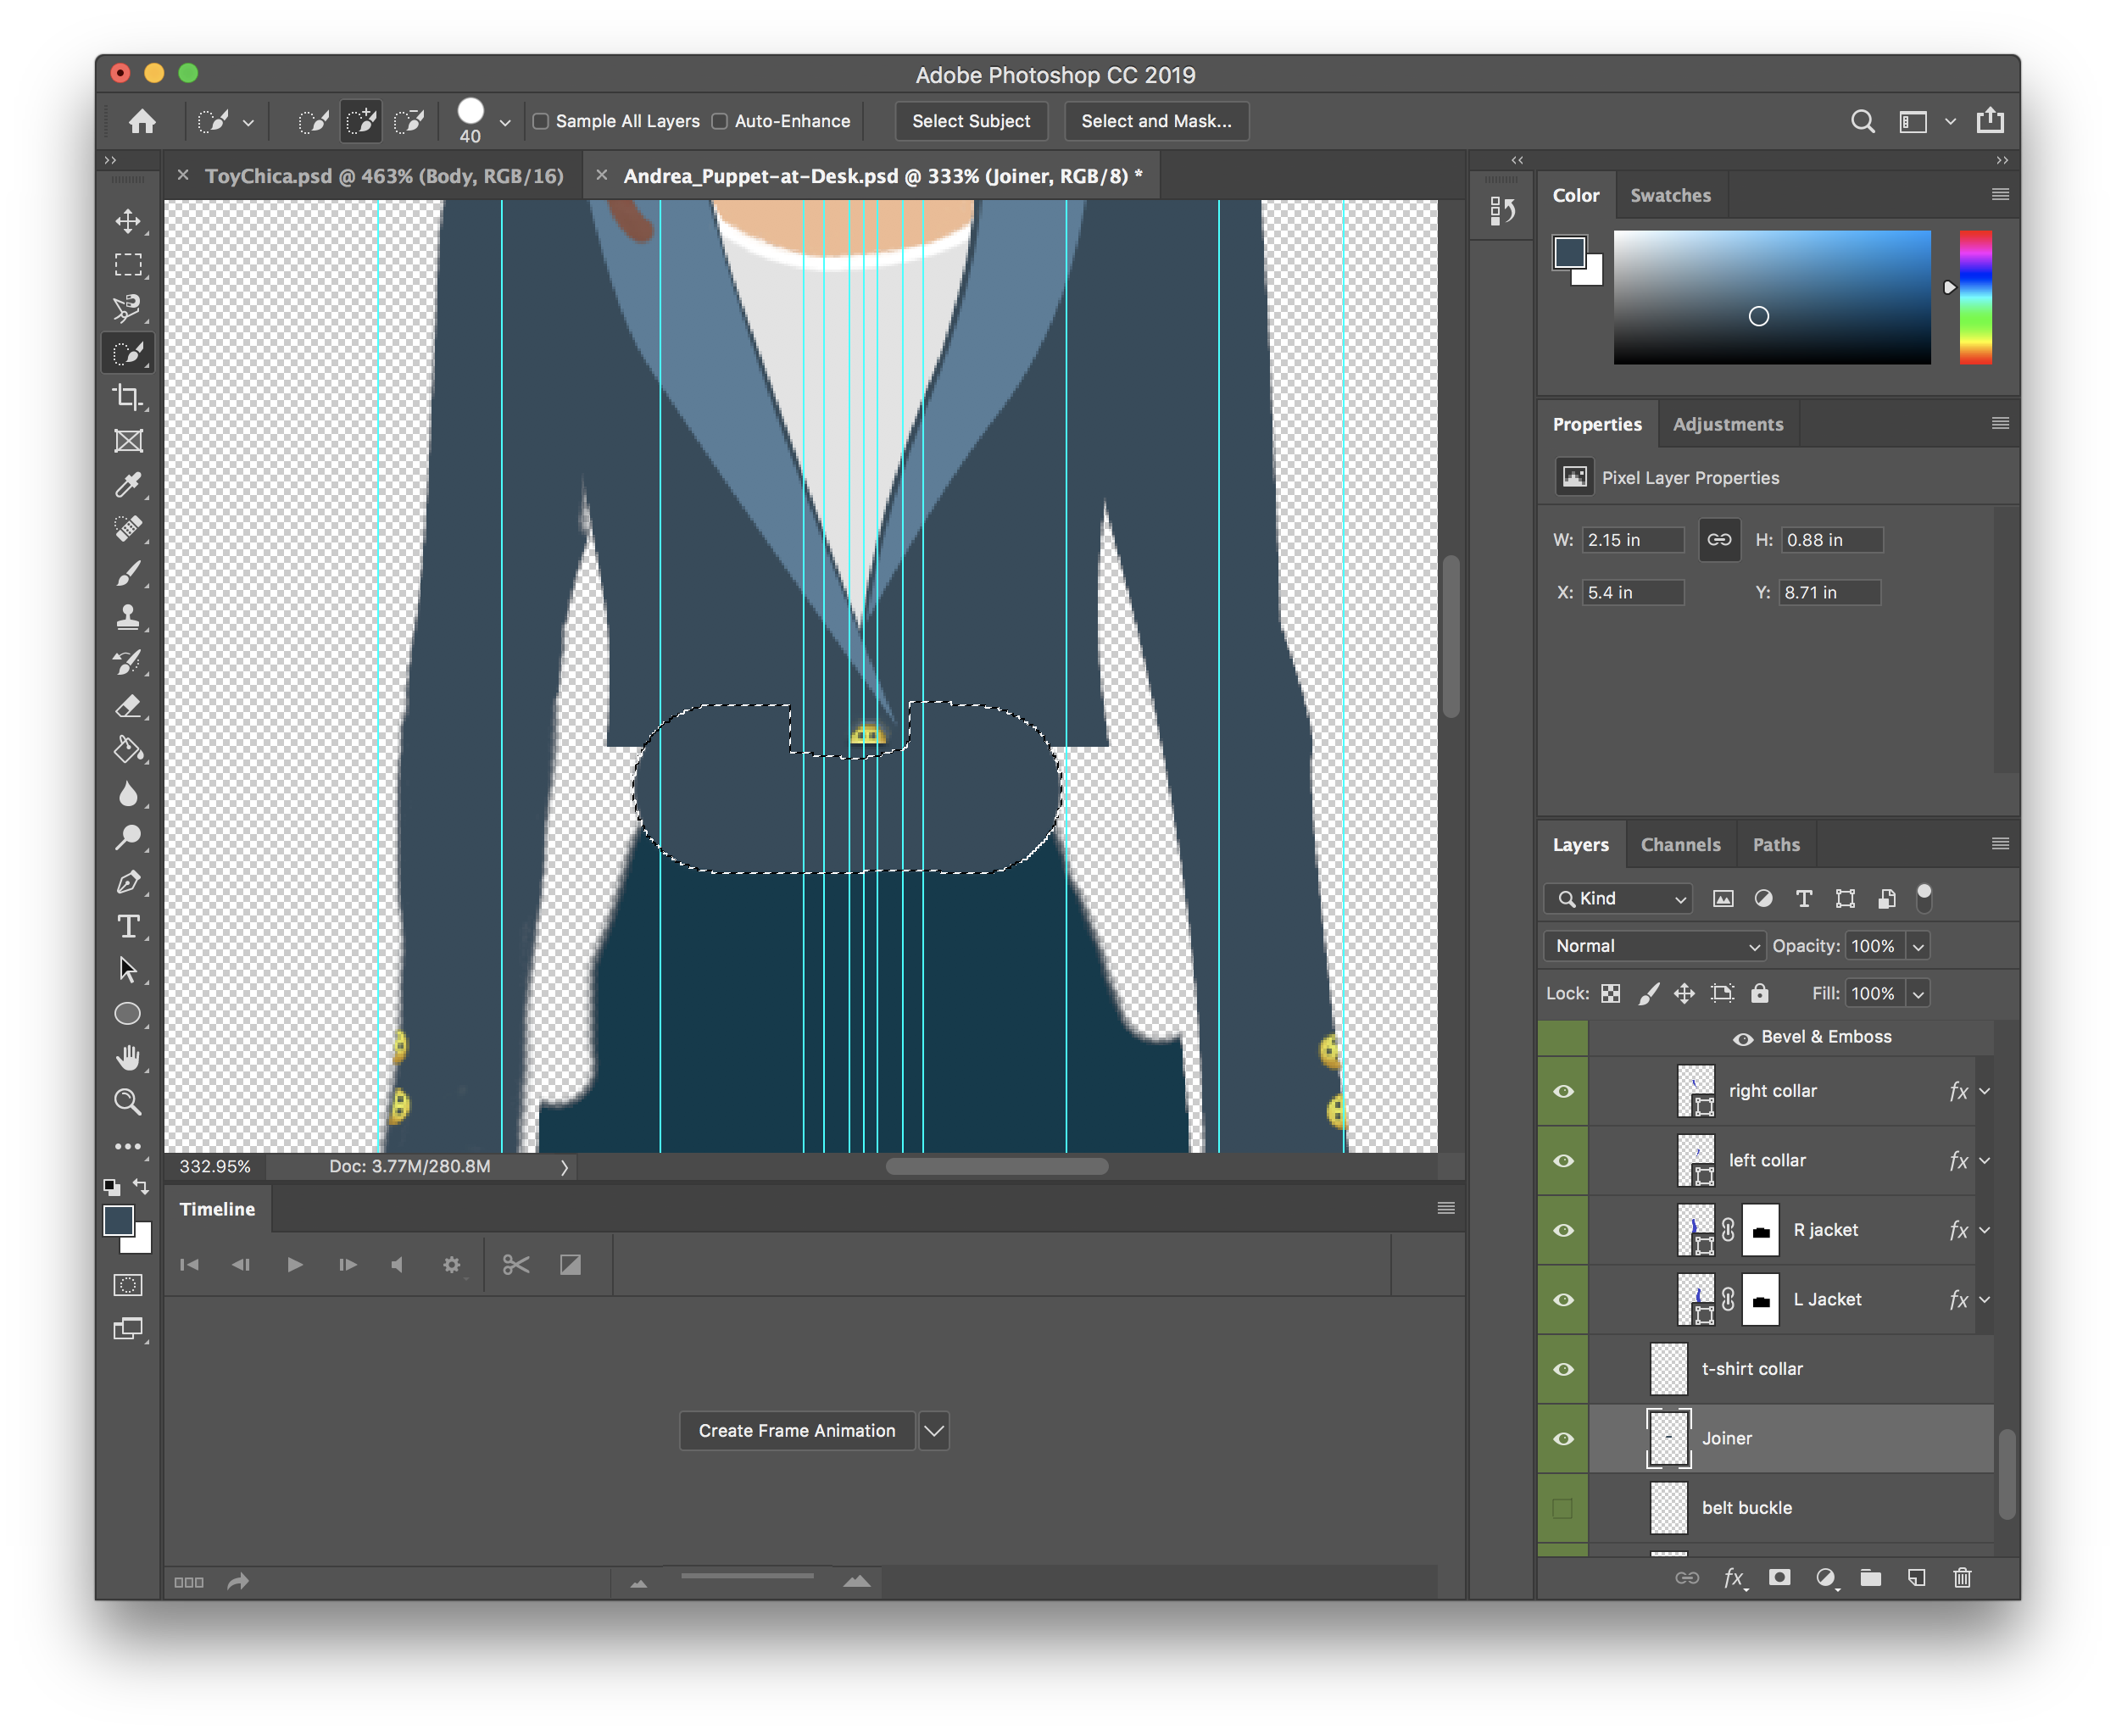
I am able to see the mesh that you are talking about, just not sure how I can go about fixing it? I can delete the pants layer for this scene, but can't delete the color for her shirt - would it help if they were in a folder? Or should I make them into a smart object (although then it wouldn't be so easy to edit the file if changes were needed. Also not sure how I can make them touch - expand all the art with filler so things overlap?
Thanks for helping on this... glad I caught a bug of sorts, so I might be able to help others decode their issues in the future!
Thanks again!
mark
Copy link to clipboard
Copied
> ...just not sure how I can go about fixing it?
One option is to delete the pants, belt, and belt buckle. Also, since the right arm is warp independent, the right arm on desk probabably can be as well. After I make those changes, the torso and head are a single mesh which uses contour by default.
> ...expand all the art with filler so things overlap?
This would be another option. Even with all the layers showing, I see a gap between the pants and the bottom edge of the jacket. By adding a new layer and painting in enough pixels to touch both layers, the mesh becomes contiguous. That layer, like the pants, can be hidden and it'll still work. If the right arm on desk layer is also warp independent, the mesh contours naturally around the head, torso, and legs.


Then position the head handle to get the rotation point that feels natural, and I think it'll work better than before.
DT
Copy link to clipboard
Copied
this was all very weird. So I took the pants and belt and moved them outside the body folder..... and then moved them back inside the body folder.... and somehow the neck is moving normally WITHOUT the arms. This was a mystery. But definitely gave me some things to look for in decoding errors. Thanks so much for your help, insight, and follow-thru!! So appreciated!
Cheers Dan!
best,
Mark
Copy link to clipboard
Copied
Not at a computer to try puppet just now, but is the hair independent? (The dangling part? If not its like making a really thick neck I guess. I do two hair groups with dangles - hair in front of the body and hair behind. You may have dont this already, just have not had a chance to look at the puppet yet.
