


Copy link to clipboard
Copied
Hi everyone,
I'm trying to mockup packshots in Dimensions. I had some testruns and it comes out OK.
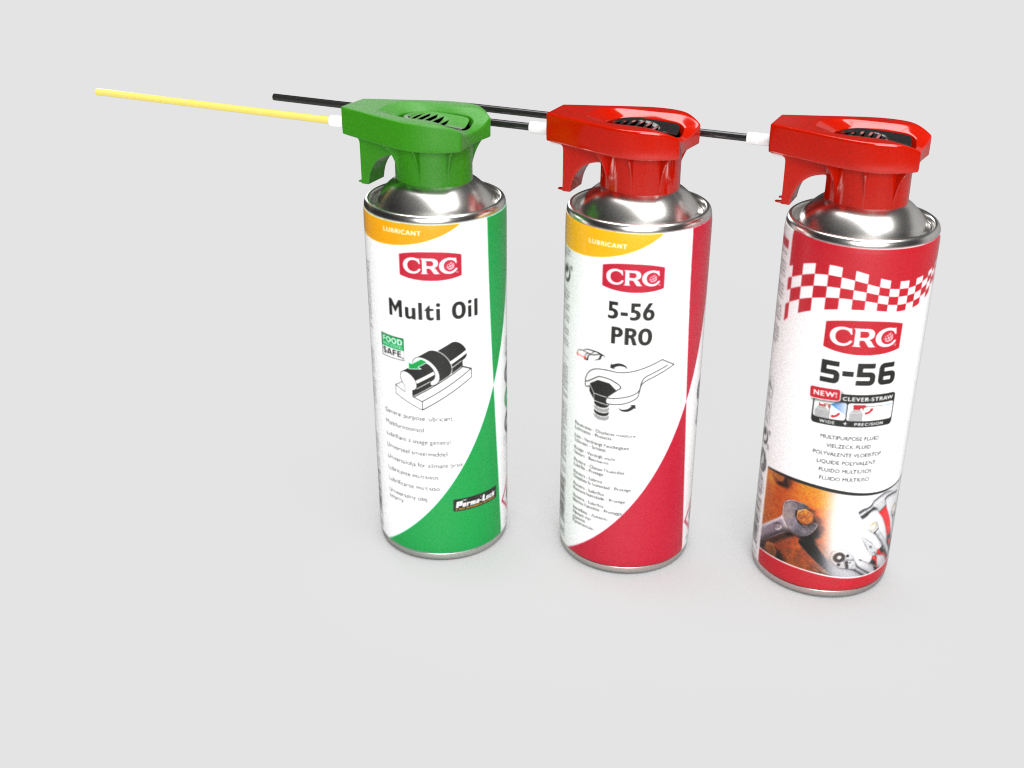
Now however, i have another button on the can and the green colour changes pretty badly. As you can see in the first image, that is more correct.
It's been a while since the first testrun and i'm not sure if i changed the colour settings to RGB/CMYK. Could this be the case?
The file in the decal:
I've tried adjusting the lighting but that made no difference!
I've also read that the next update could include an export setting (for 300DPI). Is there an ETA for this?
Kind regards,
Olivier


 1 Correct answer
Hi,
In response to my own question:
I've changed the settings from CMYK to RGB in the original file (decal) and now the color seems to be correct!
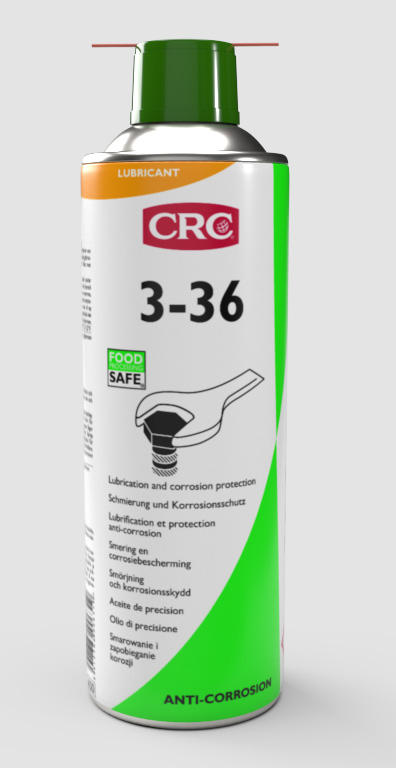
However, on this can i have this issue on the back:

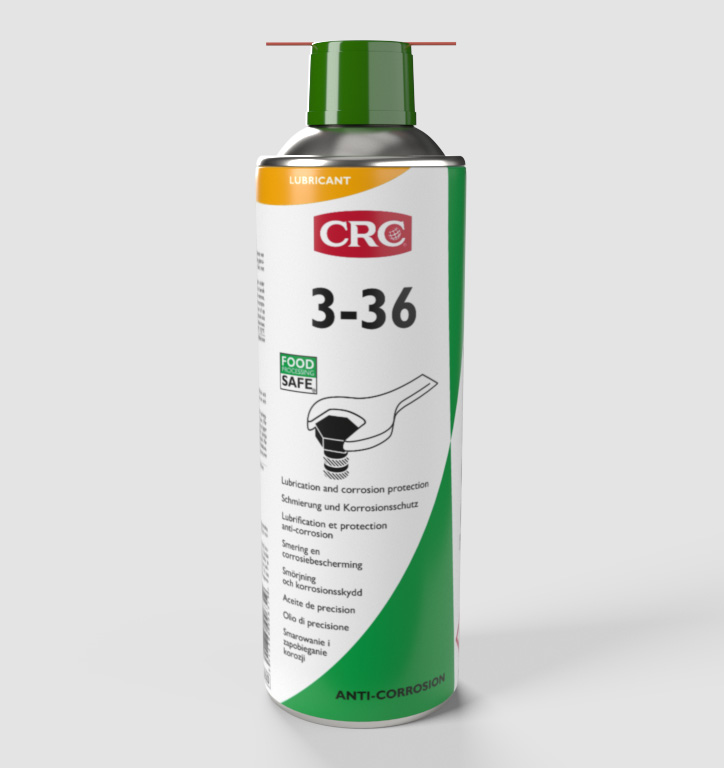
This model is different from the one with a different cap. We get our 3D models supplied.
Did get a message saying:

I chose Replace.
Would you recommend using one single file/object, and just place the caps on different layers and turn on the correct one each time?
Or how can i go around making sure errors l
 5
Replies
5
5
Replies
5
Copy link to clipboard
Copied
Hi,
In response to my own question:
I've changed the settings from CMYK to RGB in the original file (decal) and now the color seems to be correct!
However, on this can i have this issue on the back:
This model is different from the one with a different cap. We get our 3D models supplied.
Did get a message saying:
I chose Replace.
Would you recommend using one single file/object, and just place the caps on different layers and turn on the correct one each time?
Or how can i go around making sure errors like these don't happen?!
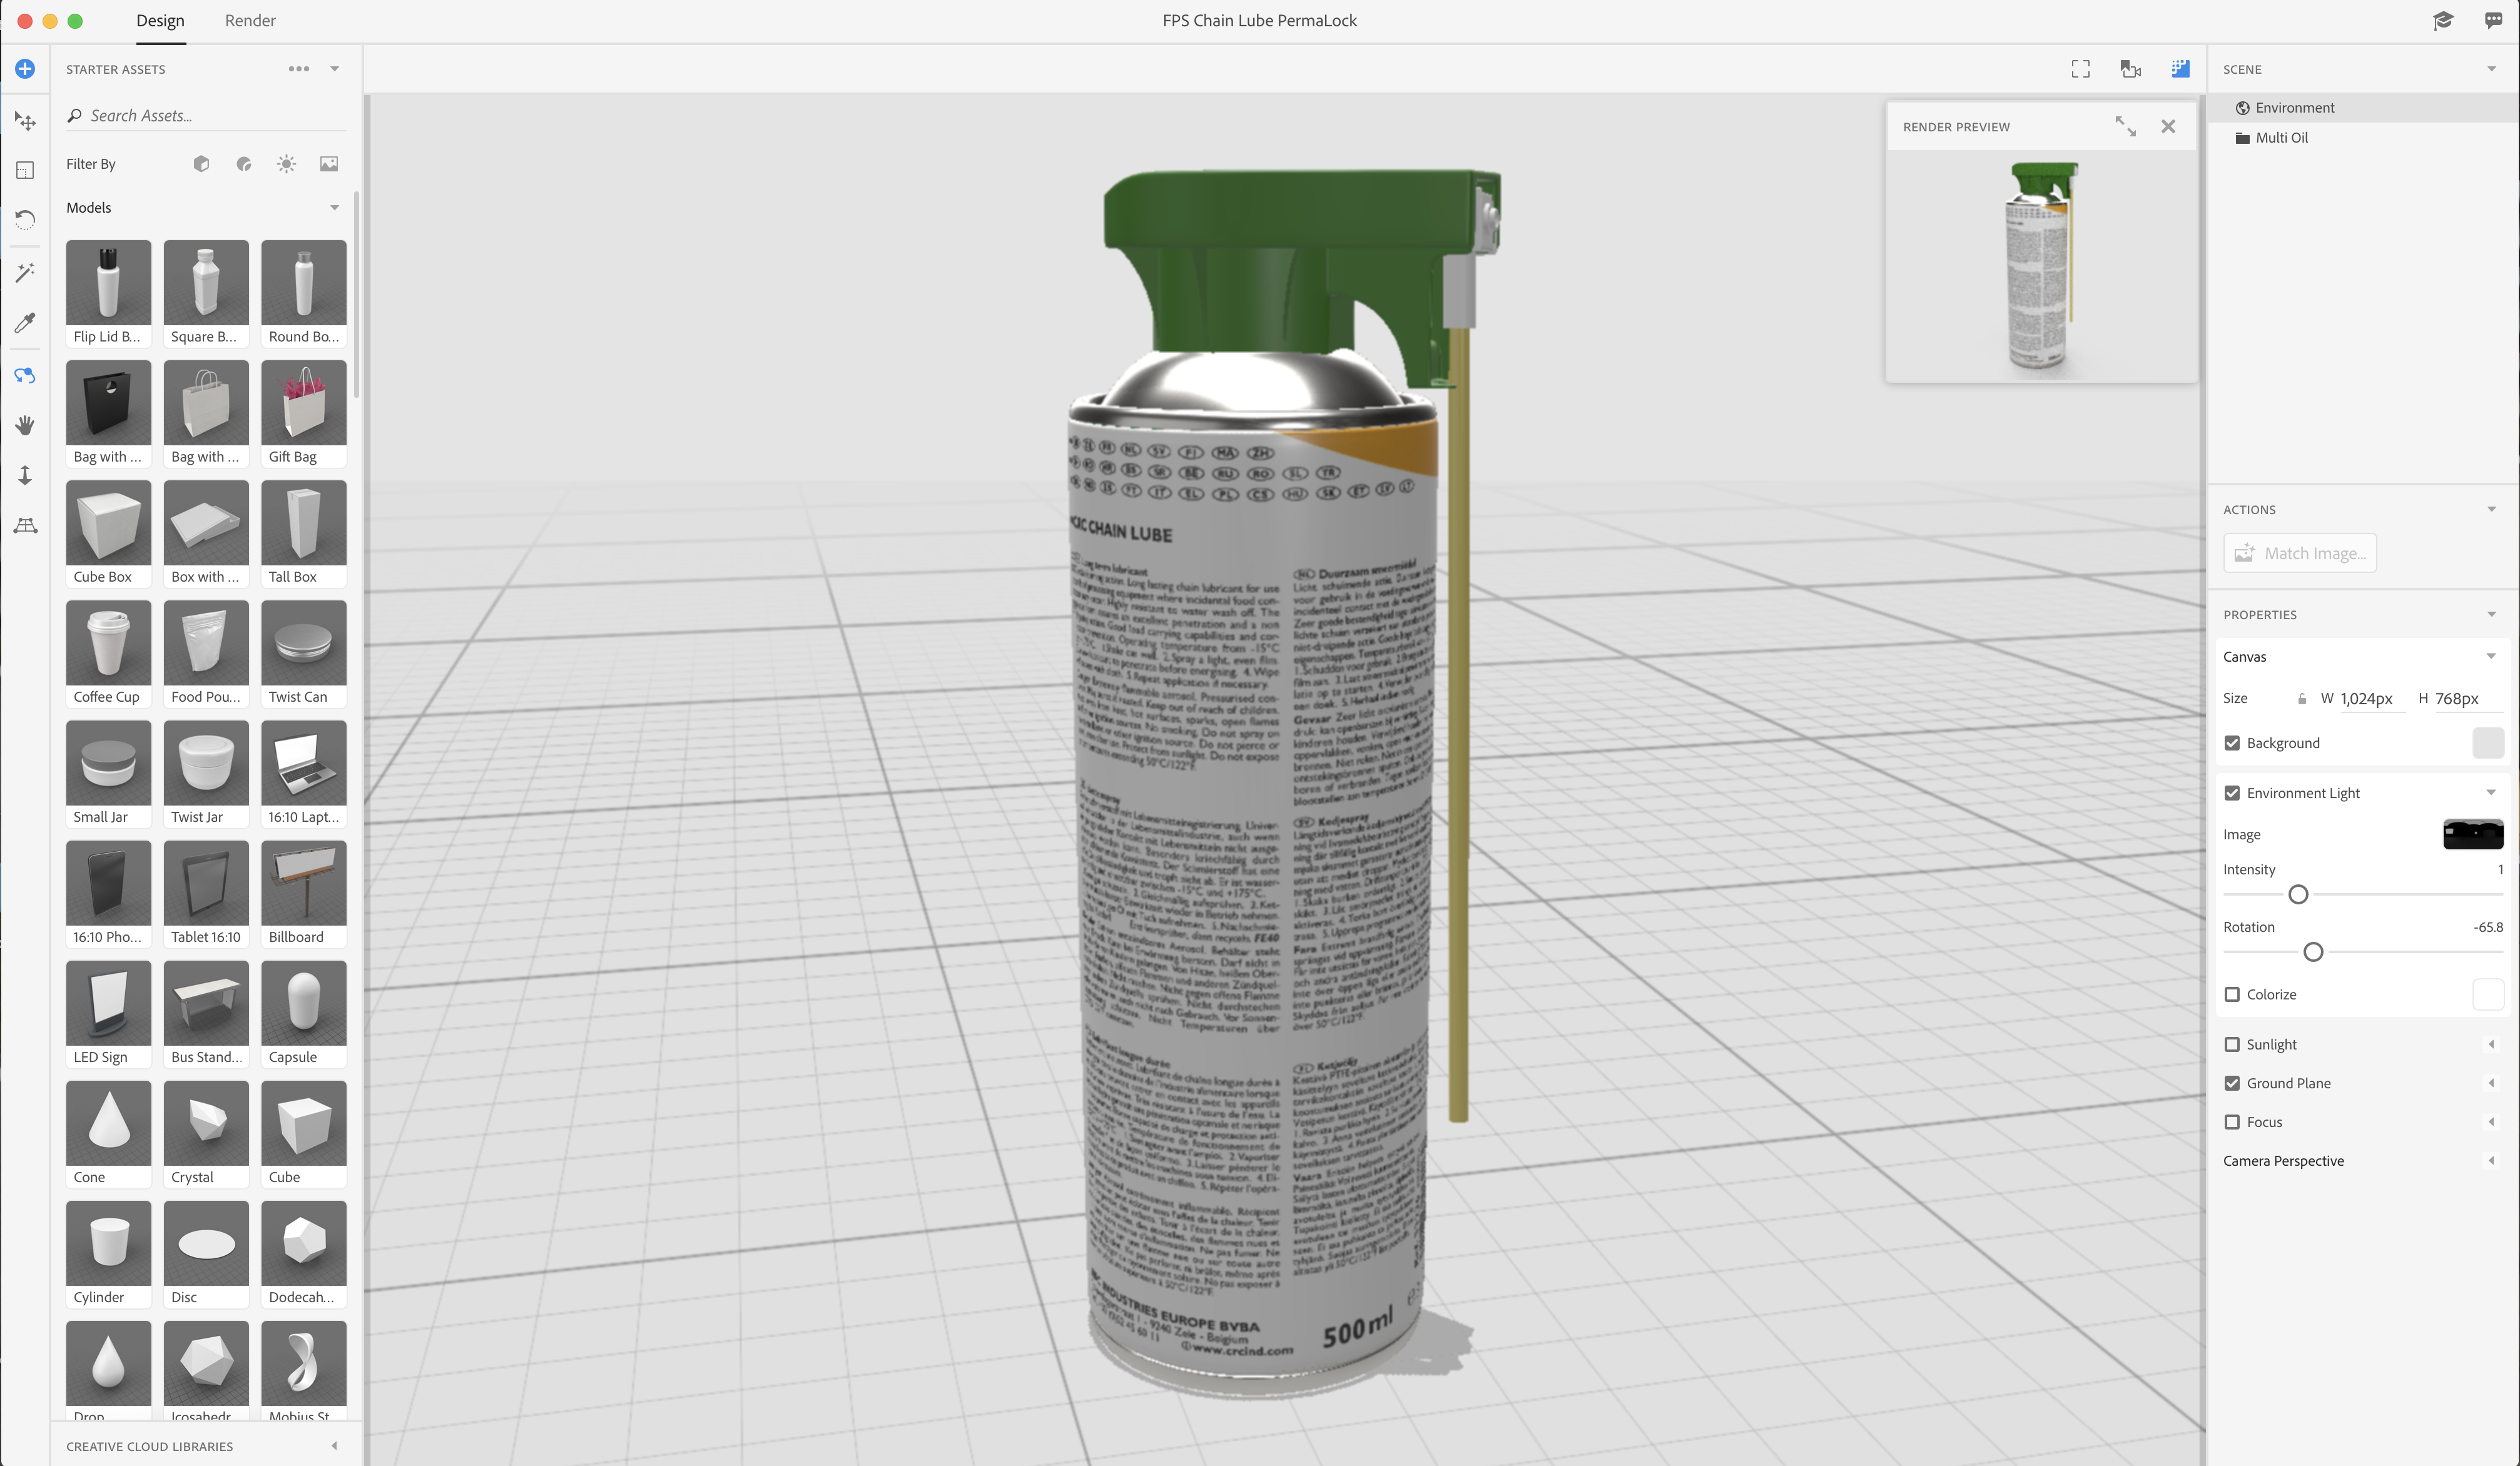
(The other one that doesn't has this issue)

Copy link to clipboard
Copied
We're going to work on adjusting the UV error messaging flow. The problem is that it's a potential error. it could be perfectly fine. I would recommend skipping first and seeing if your UVs work as they were given to you, then if there is an issue you can re-load and try the replace flow.
This particular dialog shows on 3 detected issues:
- If you have UVs that are out of the 0-1 space. In UV space 0-1 is where the texture is and anything 'outside' of that space is repeated. It's not inherintly wrong to have it out of the 0-1 space but is most usually unintentional.
- If you have UVs that are overlapping. UVs that are overlapping can't have different textures applied, they will always have identical textures for whatever UVs are overlapping. Again this isn't wrong and is often used by artists to save UV space, but often it also comes from having jumbled, bad UVs.
- Finally it checks for large pieces of the model that have very tiny or stretched UVs where textures would look particularly bad.
We're going to try to remove this dialog at import and make it a bit more clear when an actual problem is found. Potential problems are hard to message!
Copy link to clipboard
Copied
Thanks! As i do not have a 3D background, I'm aware of the basics but that's it 
Would you recommend building up our database in one file, changing the caps on the can enabling/disabling layers? So we can avoid the UV errors?
Also, when is export in 300dpi expected to be there?
Kind regards,
Olivier
Copy link to clipboard
Copied
I actually wouldn't recommend that because Dimension isn't really very performant with many models in one scene. It'll start to get really chuggy. That's something we're working on as well, but I'd recommend to just import and skip the error.
Dimension doesn't currently have a sense of "DPI". It's just pixels. So if you want 10 inches at 300 DPI then just type in 3000 pixels for now. We're hoping to add more direct unit controls later this year.
Copy link to clipboard
Copied
Thanks a lot for the reply's! I'll be on the lookout for future updates from Dimensions!
Find more inspiration, events, and resources on the new Adobe Community
Explore Now
 AdChoices