

- Home
- Dimension
- Discussions
- Re: Difference Between Design and Render Quality
- Re: Difference Between Design and Render Quality

Copy link to clipboard
Copied
When I look at the shadows in the design view I can see the wood grain from the floor through the shadows. But once rendered the shadows look like blurry dark patches on the ground.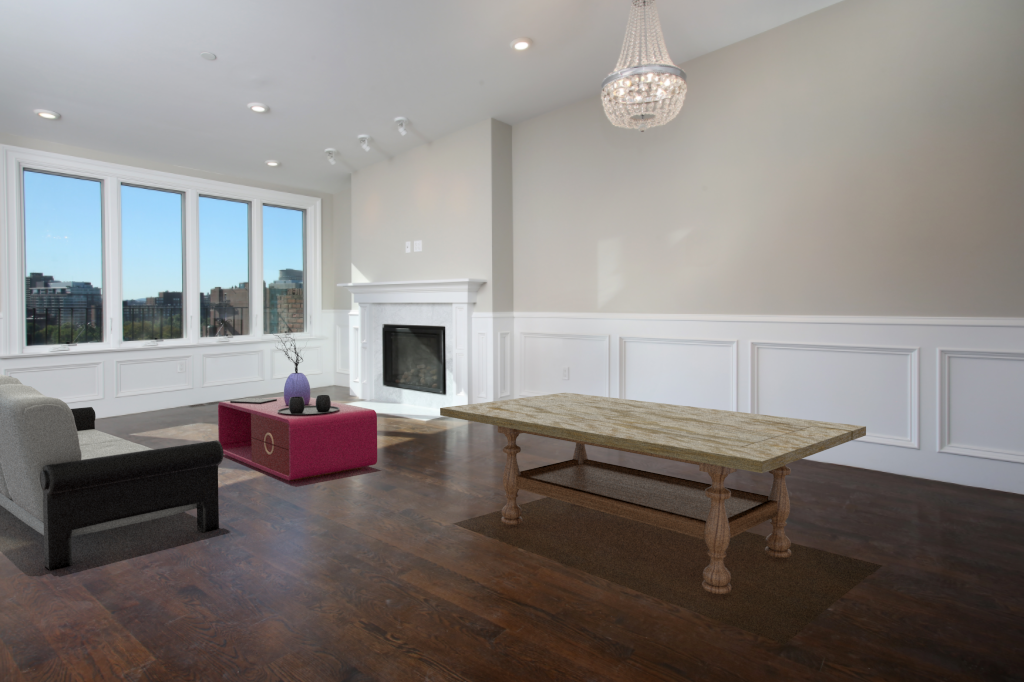


 1 Correct answer

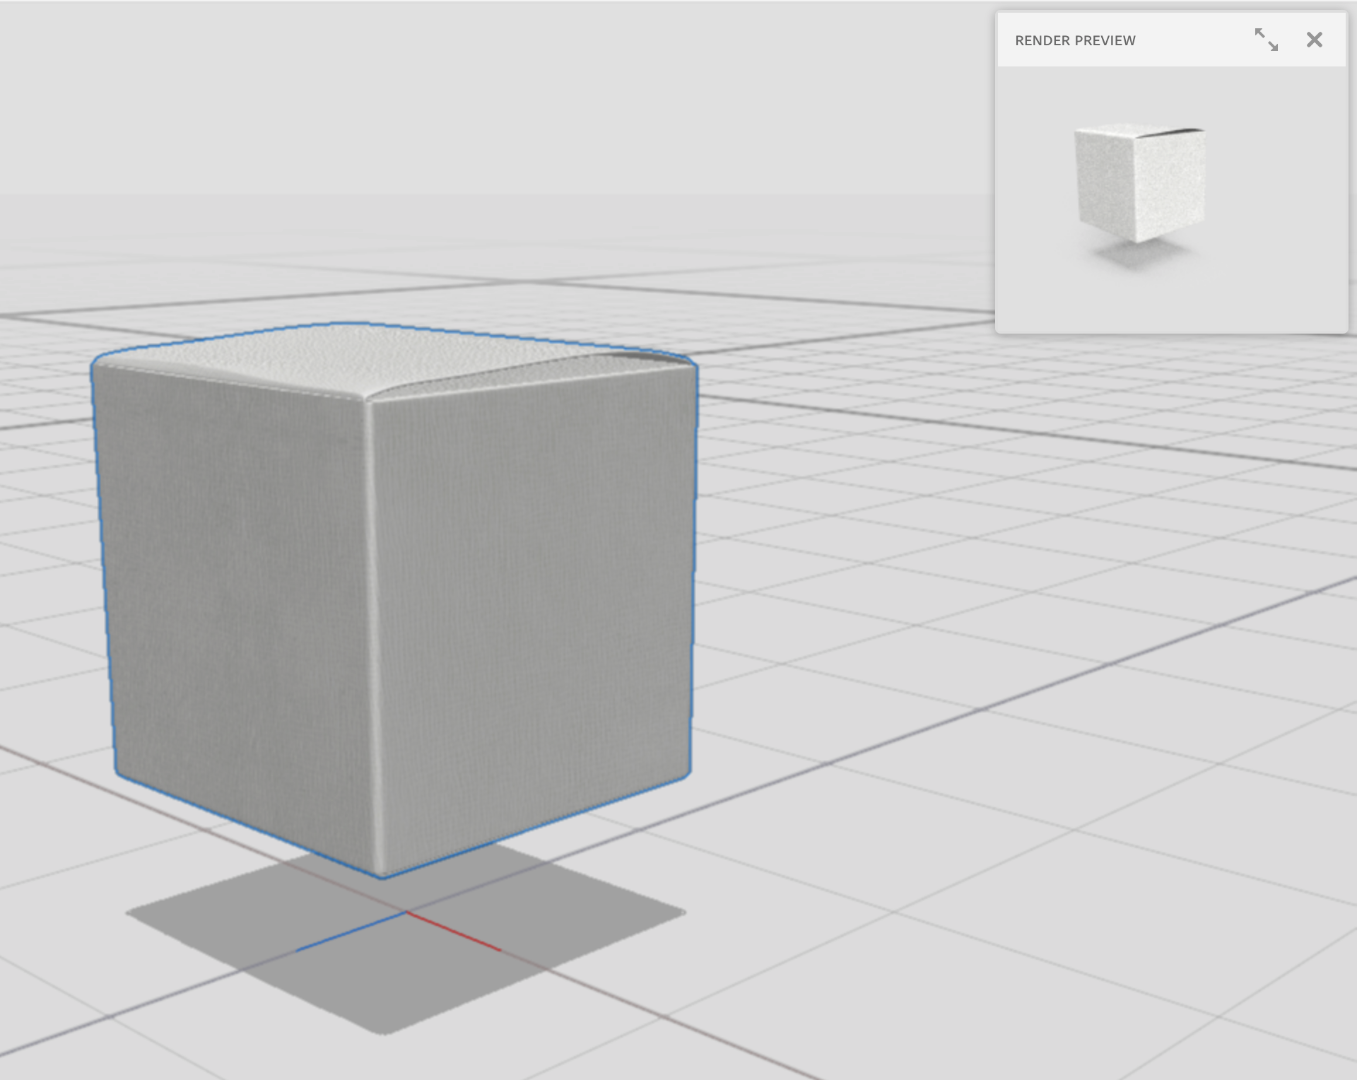
Thank you for posting the images! The canvas in design mode is designed to be very fast, but it's not very accurate. You can turn on the Render Preview window in design mode to check your design before doing a final render.
The shortcut for Render Preview is "\" or you can click the preview button just above the canvas.

The Render Preview is always the source of truth for lighting, shadows, translucency, and reflections.
 11
Replies
11
11
Replies
11

Copy link to clipboard
Copied
Hi
Apologies for delay in response.
I request you to post both screenshot from Design mode and Render mode for comparison.
Also check the option for " Enable viewport anti-aliasing" if it is unchecked.
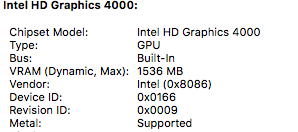
Please mention the GPU details as well.
Regards
Parth Vyas
Copy link to clipboard
Copied

In the design view i looks like a curves layer has been added to darken the area below the table, which is what I want. But when rendered the shadow looks like a slightly transparent brown layer has been added to the floor. Even when I try to compensate for the difference in rendered vs design view, the render still comes out with the same effect. In the rendered example below I removed the environmental light and put the cloudiness in the sunlight at zero. There is still this weird haze in the shadow.
I also tried enabling viewport anti-aliasing but the shadows in the design view still have very jagged edges.
thanks,
scott
Copy link to clipboard
Copied
Thank you for posting the images! The canvas in design mode is designed to be very fast, but it's not very accurate. You can turn on the Render Preview window in design mode to check your design before doing a final render.
The shortcut for Render Preview is "\" or you can click the preview button just above the canvas.

The Render Preview is always the source of truth for lighting, shadows, translucency, and reflections.

Copy link to clipboard
Copied
Thanks for the response. But that still doesn't help me get rid of the haziness in the rendered images
Copy link to clipboard
Copied
At this time there is no way to remove the slight haze at the edges because it is designed to be physically realistic. The lighting is bouncing off of other objects (the floor, the table) and that causes it to not be 100% sharp like a layer would be. This is actually more accurate to the world, but you would like the ability to override that, correct?
Copy link to clipboard
Copied
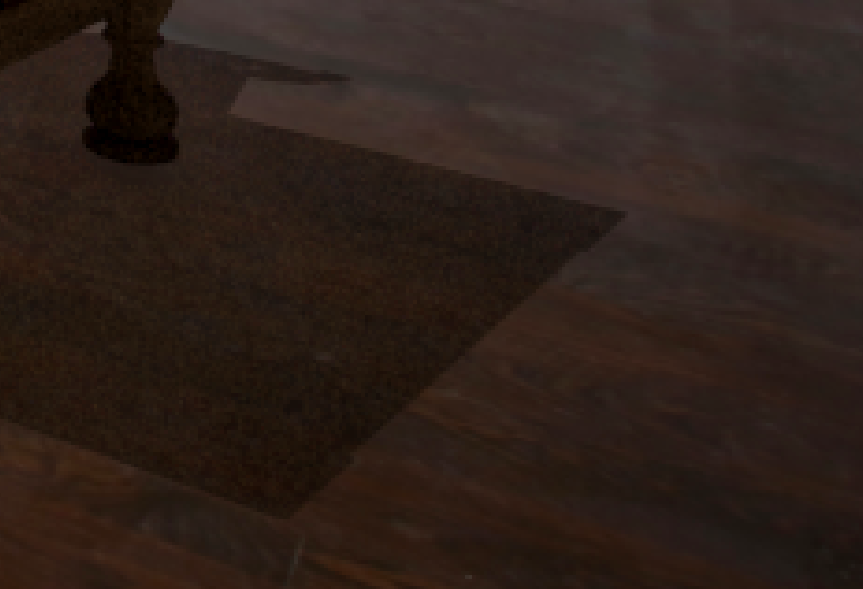
It looks like all your objects are floating about a foot~ of space above the ground plane which has a big gap between the 3D objects and the shadows as well. They might get a bit sharper when they have contact.
Copy link to clipboard
Copied
I checked and all my objects on the floor are touching the ground plane. If I move them any lower they disappear below it. I noticed you can put the y position in the properties panel to 0 to set the objects to the ground plane.
I wasn't referring to the feathering of the shadow around the edge, sorry if I was unclear. I was referring to the haze inside the shadow.
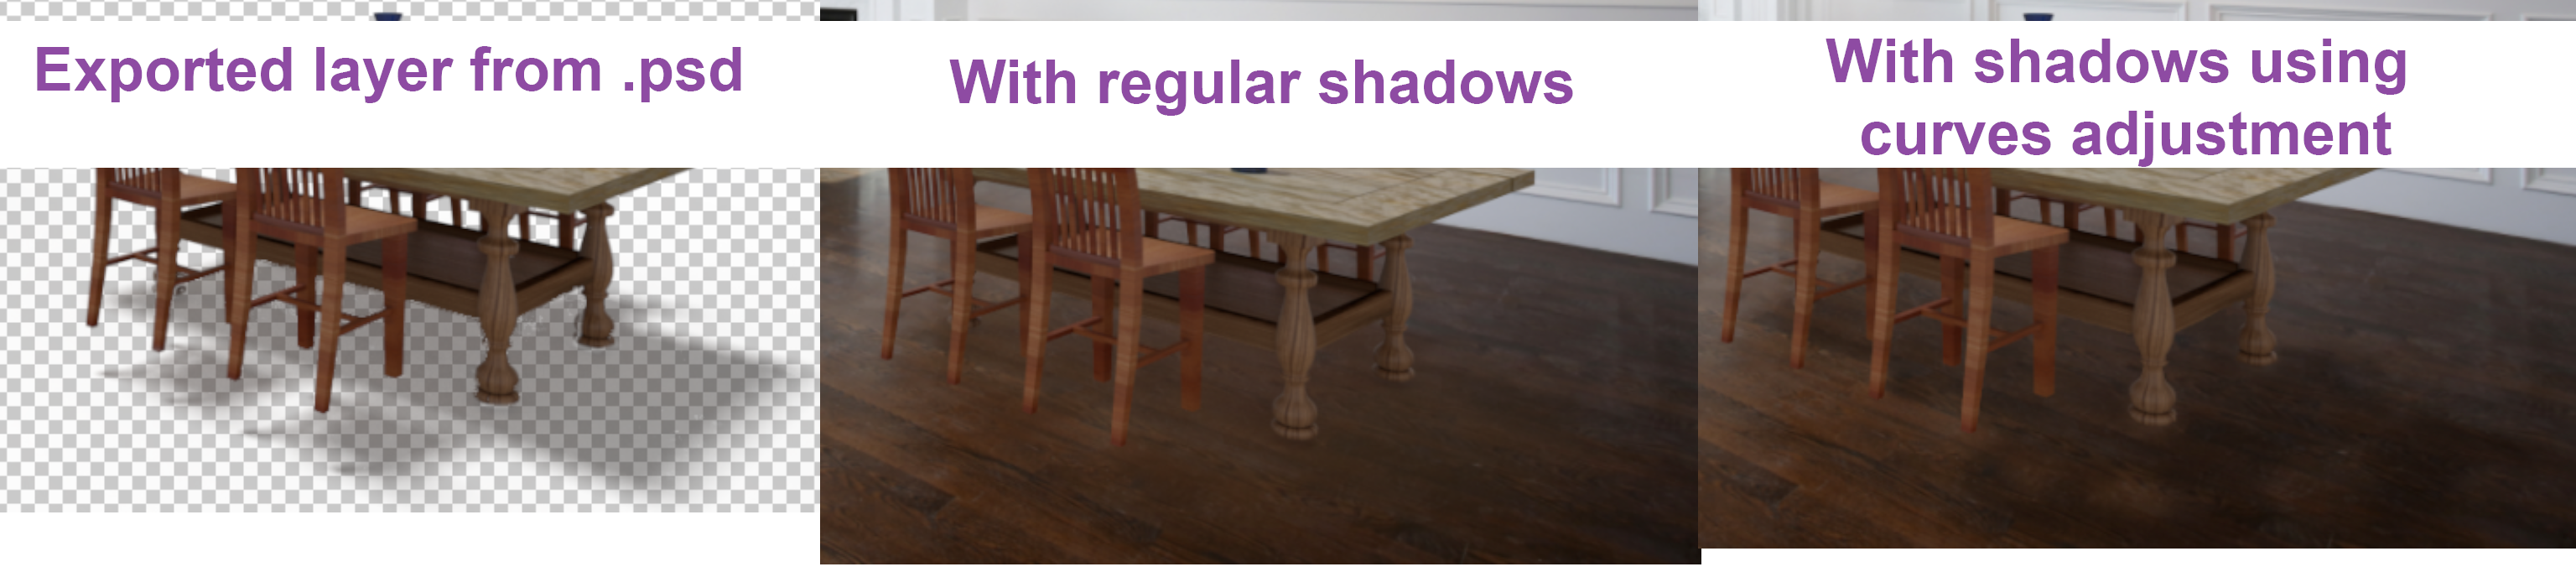
I used the rendered image layer from the .psd and separated the shadow and the objects. The shadow is just a semi-transparent shape. It looks more natural if that shadow could be selected and made into a curves adjustment on the background image. That way we aren't just covered up the image, causing the haze, but making the floor darker without losing definition.
I saw somewhere that a separate layer in the .psd export for shadows is in the works. I hope so because that is essential for creating realistic shadows on textured floors.
Copy link to clipboard
Copied
Hmm, there's definitely something off with the shadows. If you have the saved .dn scene I can take a look but these objects are definitely way above the ground. Can see here where the contact point of the shadow should be versus where it is (a large distance away from the feed of the chair).

Sorry for confusion, btw. Sometimes it's hard to tell with the small images if I'm looking at render mode or design mode, etc.
Copy link to clipboard
Copied
oh my mistake, i checked the table, the couch, and the coffee table, but not the chairs! They were .8 off the ground, thanks for the correction.
Any news on the separate shadows layer would be welcome, thanks
Copy link to clipboard
Copied
There's no separate shadow layer yet, but the new selection mask layers let you isolate it super fast! Here's an example of the selection layer. I can use the magic wand or quick select tools to isolate that black region as a selection, then go to the rendered 3D layer and cut / paste it as a new layer.

Copy link to clipboard
Copied
Great idea! Now I just need to find an easy way of transferring the image of the shadow into a curves adjustment layer
Get ready! An upgraded Adobe Community experience is coming in January.
Learn more
 AdChoices