- Home
- Dimension
- Discussions
- Re: How to add a second decal to the second side o...
- Re: How to add a second decal to the second side o...
Copy link to clipboard
Copied
Hi,
Adding one decal on the first side of a coin works pretty easy.
But when I try to add a second decal for the second side of the coin, it seems to replace the first previously created one.
What are the steps required to keep the artwork integrity?
Merci ![]()
G
 1 Correct answer
Dimension currently has a limit of 1 decal per material. This will be expanded in the future but for now you would have to use the magic wand to select one face of the coin and apply a different material to that section. Then you could add a second decal.
Copy link to clipboard
Copied
Dimension currently has a limit of 1 decal per material. This will be expanded in the future but for now you would have to use the magic wand to select one face of the coin and apply a different material to that section. Then you could add a second decal.
Copy link to clipboard
Copied
In order to use the software effectively, I think it's essential to be able to add more than one Decal on a material.
I think this software has great potential, but needs urgent implementation like precisely multiple Decals.
Thank you very much.
Luca
Copy link to clipboard
Copied
We're working on a lot of improvements to the materials and decals and multiple decals is definitely one of them. You can always see all of our roadmap and what we've got planned and in-progress here: Adobe Dimension CC Feedback Portal
Copy link to clipboard
Copied
SPHH wrote
What are the steps required to keep the artwork integrity?
make a copy of the coin and put the second decal on that one... then aline the image as needed
can I also ask the obvious... how does both sides of a coin show at the same time?
Copy link to clipboard
Copied
Hey Ussnorway,
thanks for your contribution.
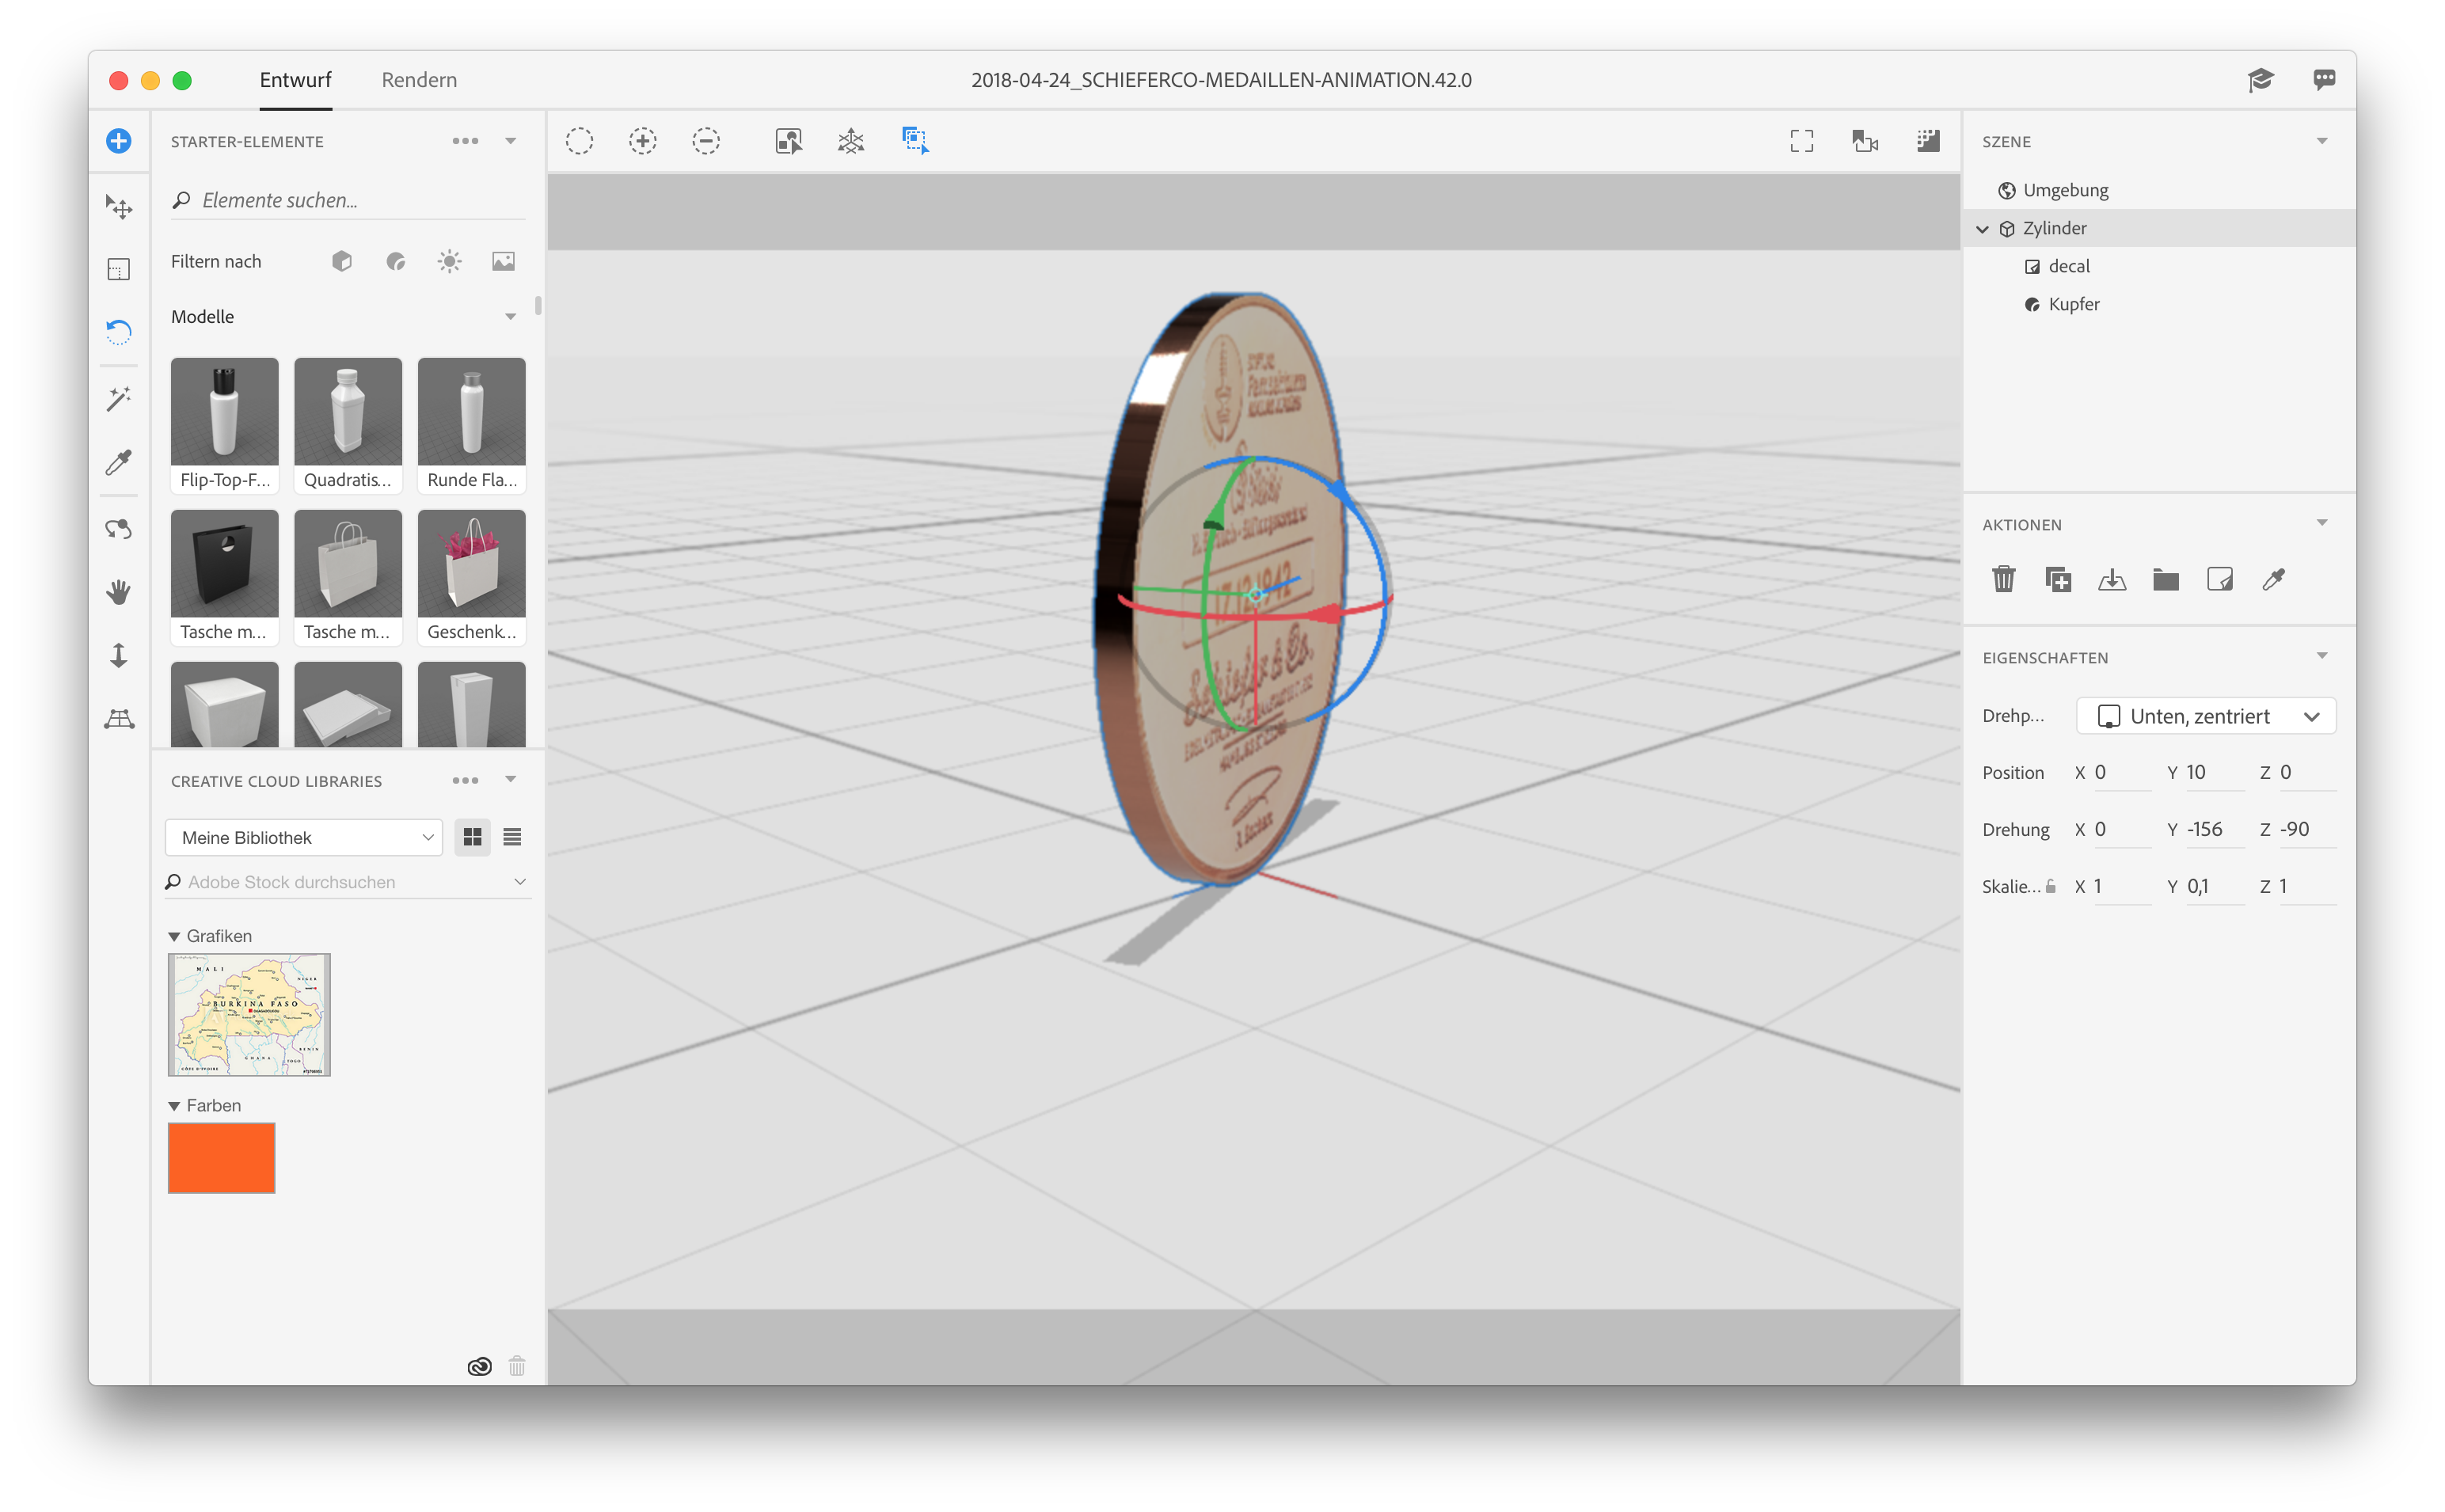
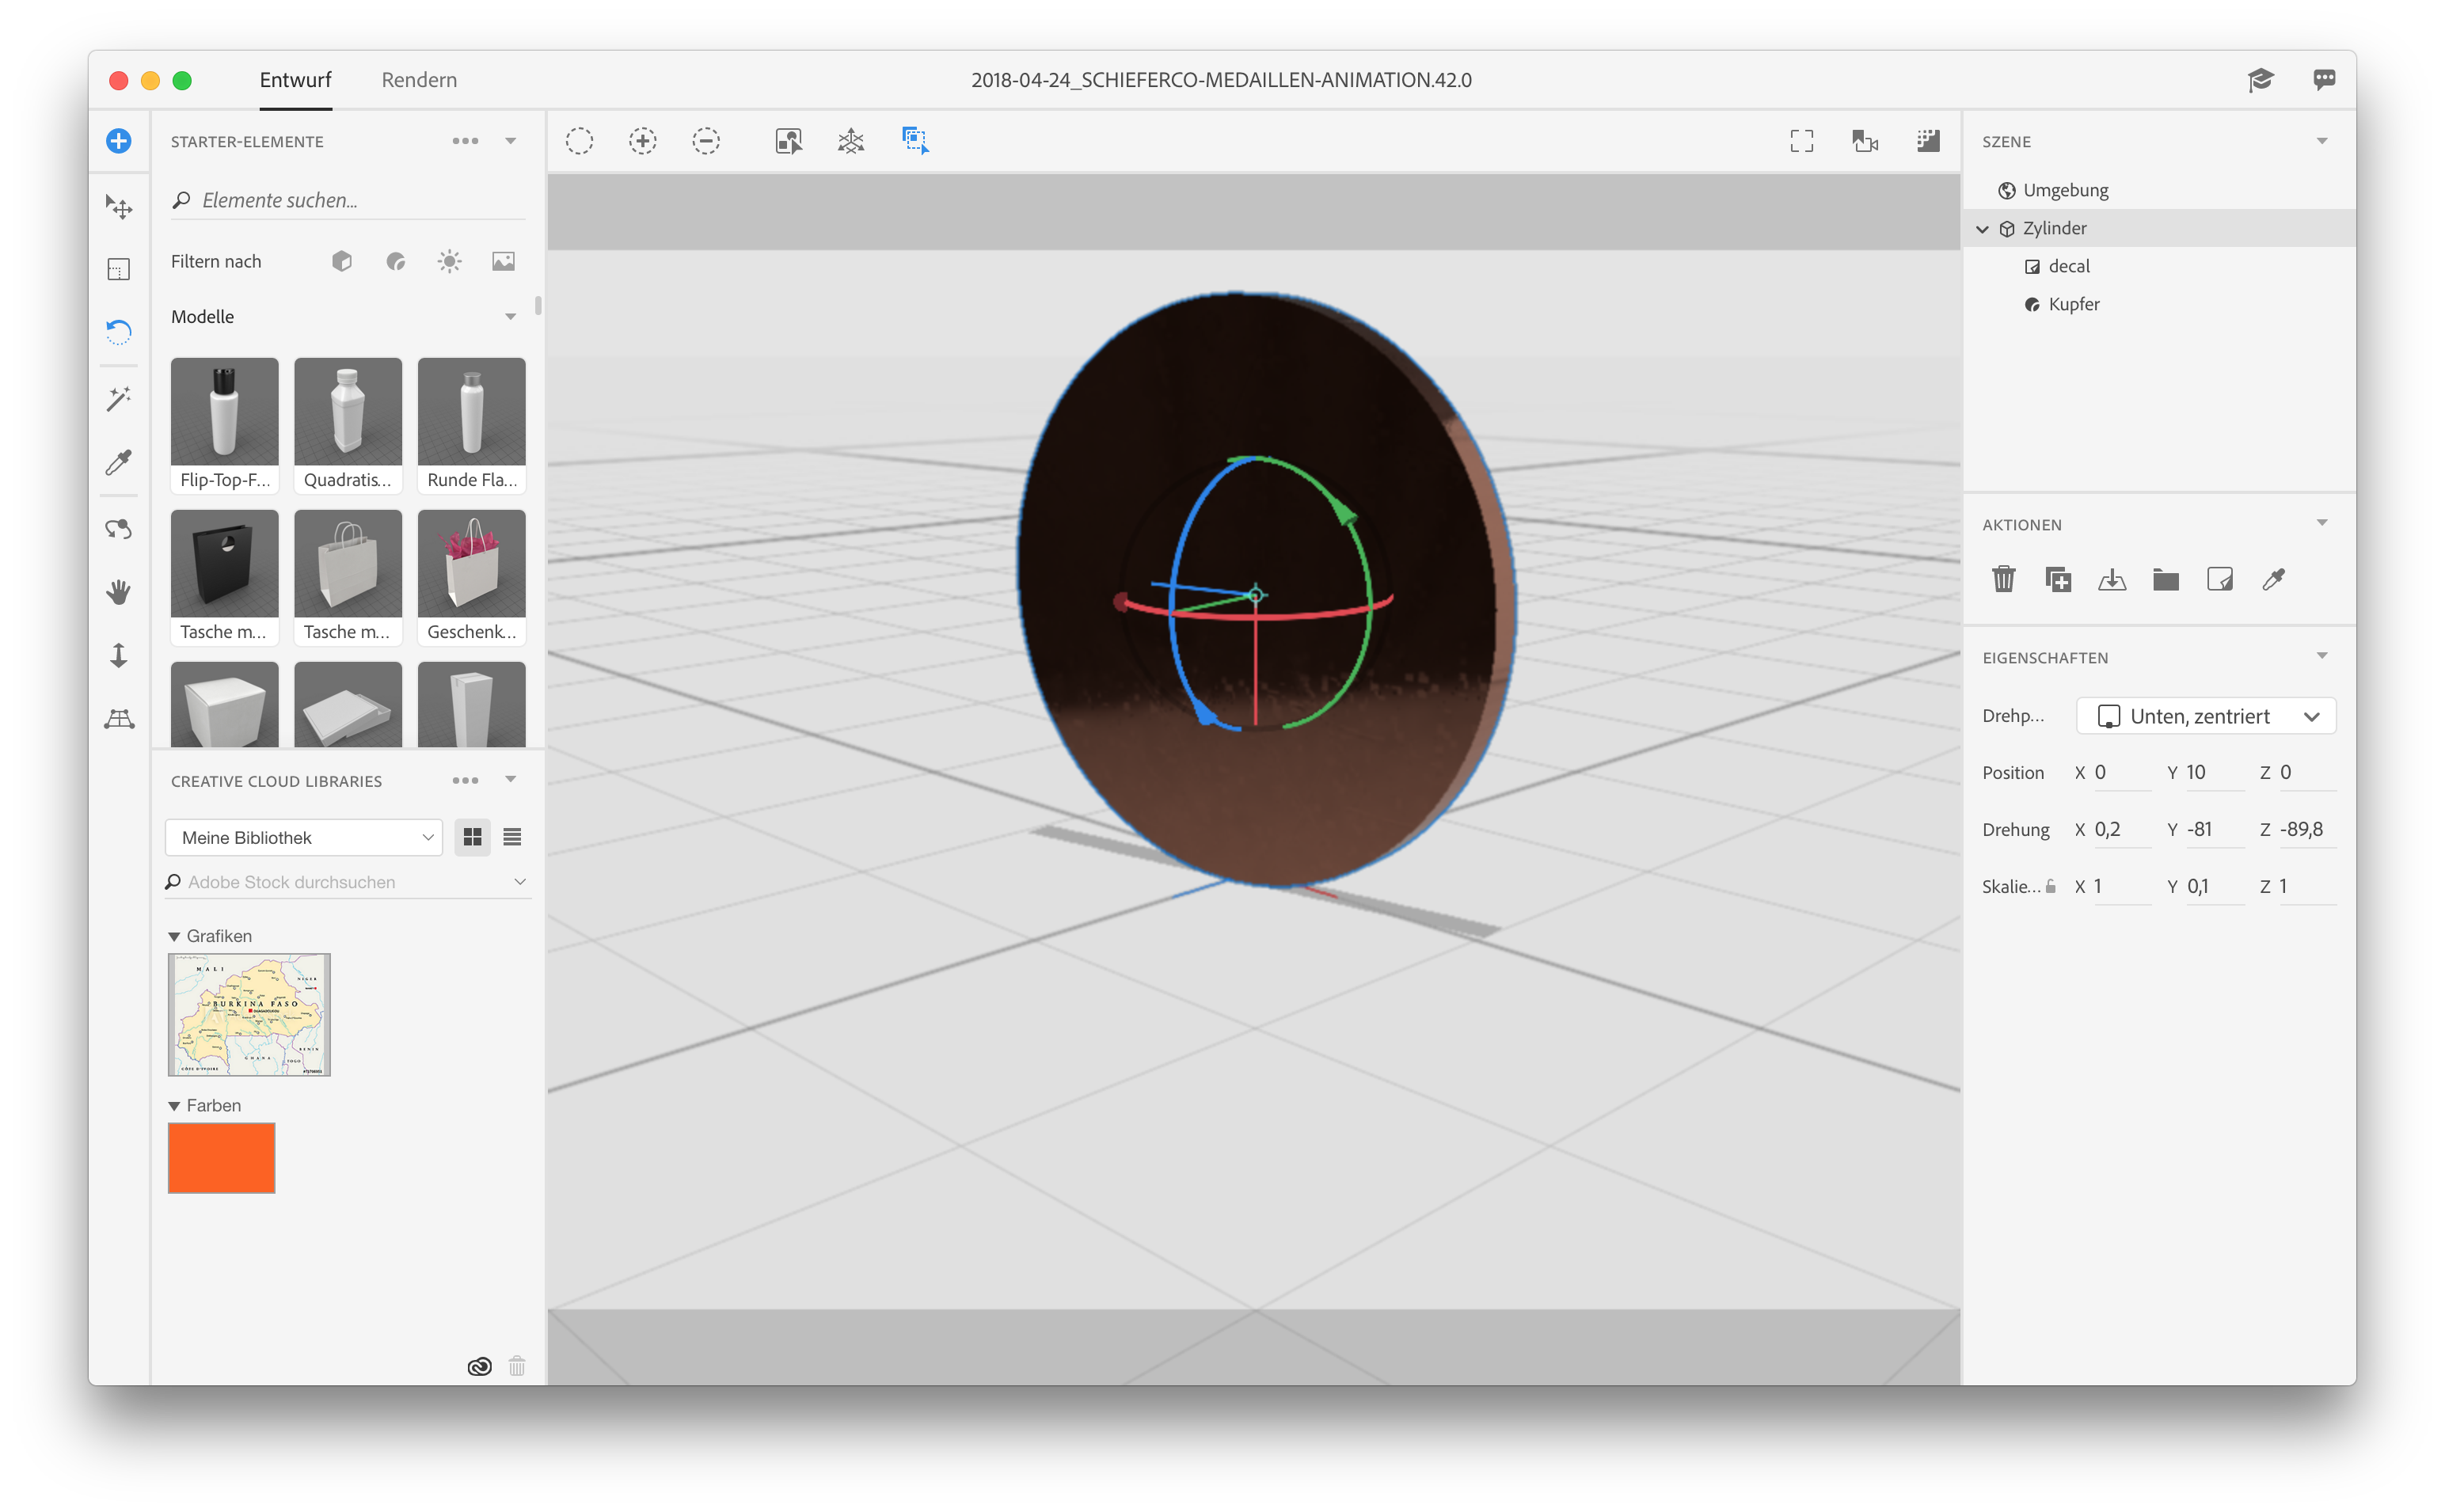
Regarding the second side of the coin, the idea was to shape the coin out of a cylinder, then animate it this way:
1) start showing the ribbing (left)
2) twisting around the Y-Axis in order to show the face
3) twisting around the Y-Axis in order to show the other ribbing’s side (right)
4) twisting around the Y-Axis in order to show the tail
5) ending with showing the first ribbing’s side (left)
Here are two screenshots – I think they make it clear:

How do I add a second decal to the back of the coin? (it seems there is no option for this):

Cheers
G
Copy link to clipboard
Copied
At the moment there is a limit of 1 decal per material region. The easiest way to add another decal is to use the magic wand to select the back-face of the coin, assign a new material there, then apply the decal on that. You can use the same material preset as you used on the first side (copper, etc.)
We're working on expanding the functionality of decals for multiple images in the next release.
