Copy link to clipboard
Copied
Hello again;
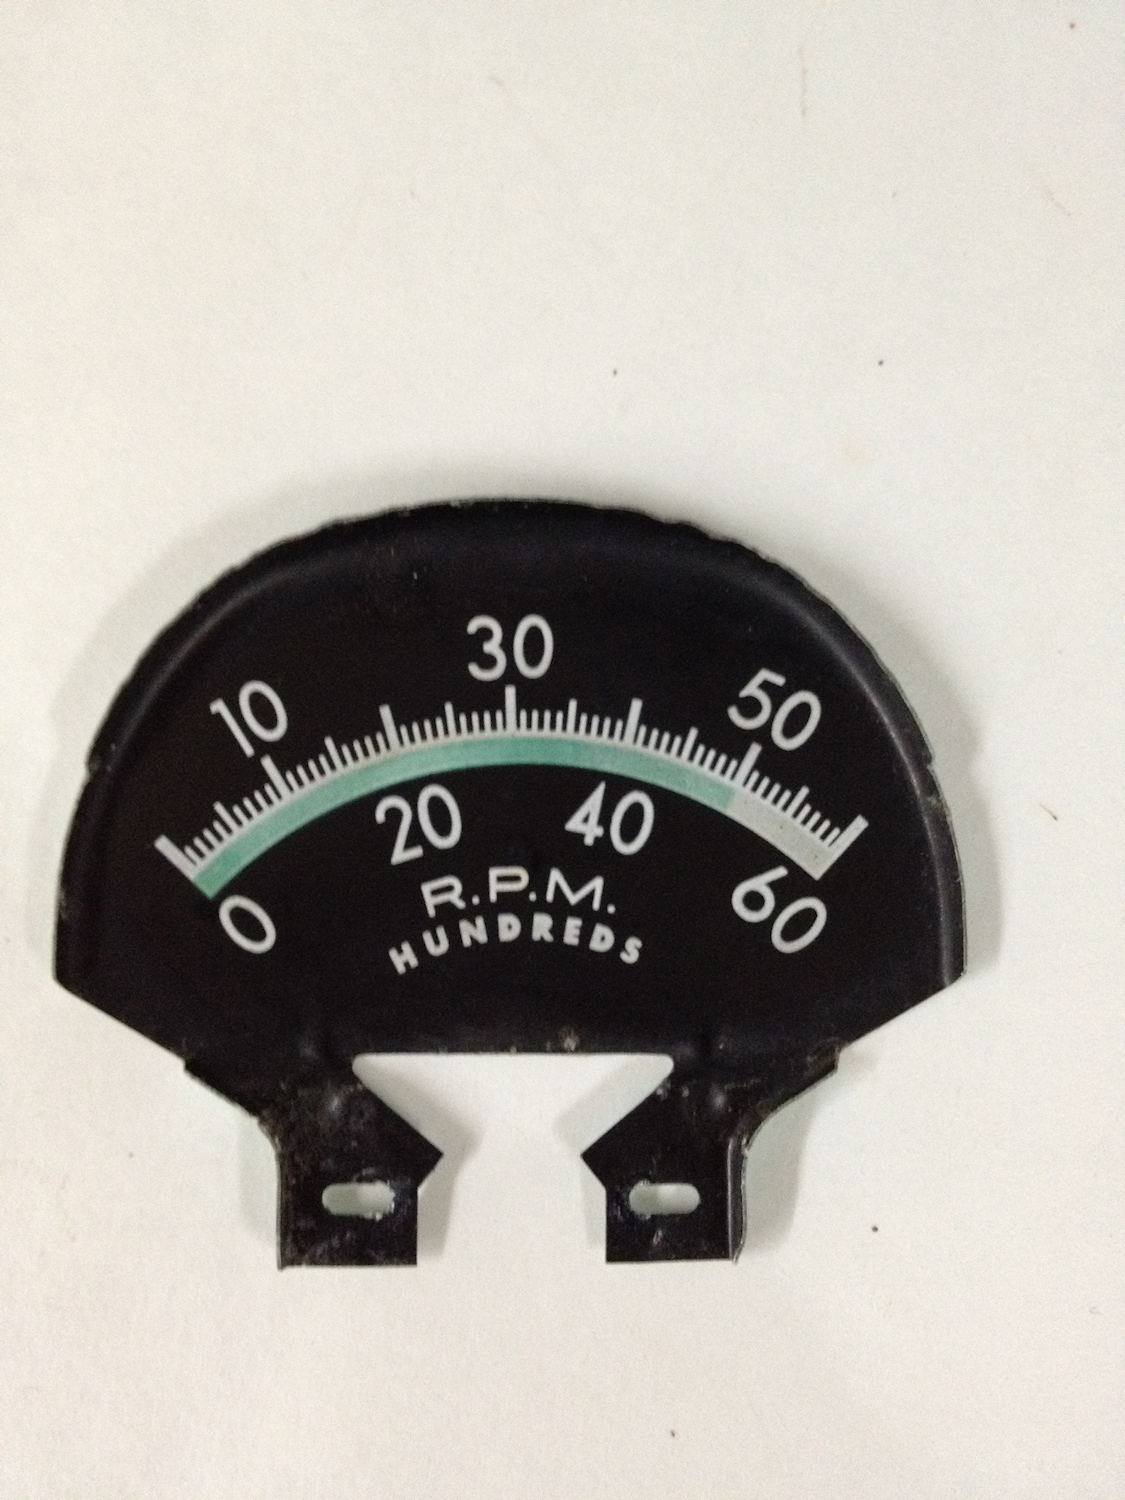
I'm sure that this is probably old hat to you guys, but I have no idea how to create the arch part of the dials, at least I think it would be an arch. With the top photo, the "arch" has 2 colors so I would need to have 2 layers, one holding one color and one holding the other color, but as I said I have no idea how to make them and I had no success with the "arc" tool.
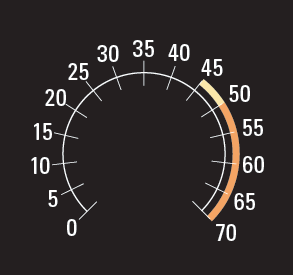
In the second photo, it's very difficult to tell, but the left side of the arch is green and the right is a pale yellow so again, I think I would need two archs. The second photo also these tick marks that are at the top of the arch and again, I have no idea how to recreate them.

I'm hoping someone that knows how to make these wouldn't mind putting together a step by step tutorial for me since I'm still a novice with Illustrator. Thanks!!!
 1 Correct answer
jber,
To create a new circle with the same centre as an existing one, you may select the existing circle and Object>Path>Offset with a positve or negative value (to make a larger on or a smaller one).
That will give you two concentric circles, and you may go on.
If you wish to make a simple stroked path that touches an existing path, set the Offset to (+/-) half the desired Stroke Weight.
If you wish to create closed paths based on inner and outer circles, set the Offset to (+/-) half the difference
...Explore related tutorials & articles
Copy link to clipboard
Copied
jber,
In both cases, you may start with concentric circles corresponding to the outer and inner edges of the coloured parts and cut/divide them where the colourings end; you may delete superfluous parts.
You may use radial lines to cut the circles; if you lock everything but the radial lines and the concentric circles to be cut, you may select the lines one by one and Object>Path>Divide Objects below.
After dividing, you may colour the individual parts of the (remaining) circular rings.
In the first one, you may give the tick marks a black stroke and ultimately place the coloured circular strips behind them; the stroke will only be seen on the background of the coloured strips.
Copy link to clipboard
Copied
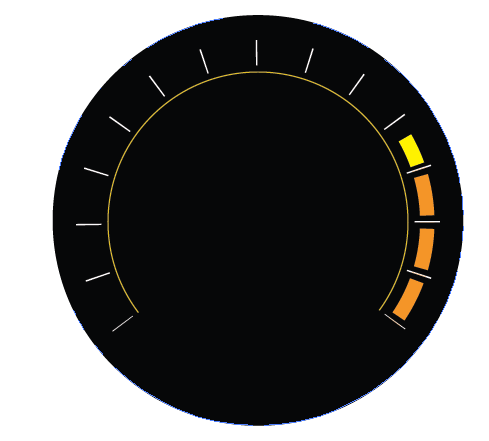
Just use a stroked path for what you see a an arc. Like here


Copy link to clipboard
Copied
... so I would need to have 2 layers ...
Not necessarily. Sub-layers in a stack, yes, but for a simple job like this you shouldn't need more than one layer.
It might help to drag ruler guides to mark the centres of your circles before you clip them. This will facilitate the positioning of the tick marks.
Otherwise Jacob and Larry have got it right.
Copy link to clipboard
Copied
jber,
What Larry and Steve said.
Obviously, it is easier to use a simple stroked path.
I was thinking of the precise sizing/positioning, against the outer/inner circle used for the tick marks part, but it is quite easy to adjust the circle size.
You can still put the circular strips behind the tick marks.
Hopefully without getting the tics.
Copy link to clipboard
Copied
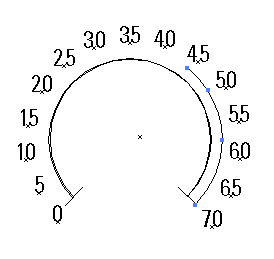
As the others are saying it just paths and the way they obtain the arcs ar by actually creating an circle elipse and trimmiing them. You can use the scissor tool for that if you still can't figure it out then later if I have time I will do a small video.
your get something like this

Copy link to clipboard
Copied
Thanks everyone, I haven't had time to try this out yet but I will. I did try the other day making two circles and moving them close together to get the arch, but had a lot of trouble getting an even gap. I'll be working on it Monday and will you all know how it goes!!
Copy link to clipboard
Copied
jber,
To create a new circle with the same centre as an existing one, you may select the existing circle and Object>Path>Offset with a positve or negative value (to make a larger on or a smaller one).
That will give you two concentric circles, and you may go on.
If you wish to make a simple stroked path that touches an existing path, set the Offset to (+/-) half the desired Stroke Weight.
If you wish to create closed paths based on inner and outer circles, set the Offset to (+/-) half the difference in Width/Height.
In any case, you should keep copies of the circles that determine the tick marks; always keep copies of crucial steps in the creation of artwork, to facilitate/enable editing and further work, like this.
Copy link to clipboard
Copied
Thank you Jacob, that should difinitely help to keep the gap size consistent between the two circles. Much appreciated.
Copy link to clipboard
Copied
You are welcome, jber.
I hope we shall see the final versions. Which models are they for?
Copy link to clipboard
Copied
Hello Jacob;
Yes, I will difinitely put up a photo of the finished dials. I've been having some computer problems so it might be a few days. As far as what models these are for...
The top is a 1970 Pontiac and the bottom is a 1970 Camaro.
See ya soon!
Copy link to clipboard
Copied
ok, I'm feeling really dumb now. I had to return to this post as I have another dial that requires part of the circle to be colored like the dial in the above post. I never did put up pictures of the finished dials because (and I hate to admit this) I was never able to figure it out. I tried creating a circle, then using object>path>offset and created another circle. I then cut the circles at both ends of the area that needs to be colored and then *sigh.... I simply could not figure out how to color it in. I tried using "fill" and that didn't work. Sooooo I humbly ask for specific steps to achieve the colored area.
Thanks.
Copy link to clipboard
Copied
Jber,
Based on the two circles, you should be able to create a closed path as follows:
1) With everything deselected, pick the Direct Selection Tool and click on a pair of corresponding end Anchor Points on the two circles, the Ctrl/Cmd+J to join them;
2) repeat 1) for the other pair or select the newly formed path with the (normal) Selection Tool and join.
Then you should be able to fill the newly formed partial circle, and remove the Stroke (if any).
Copy link to clipboard
Copied
Jber,
As a fresh approach (which are at least in part represented in the earlier posts by different contributors) would be to (Smart Guides are your friends):
1) Create a circle, concentric with the dial, with a Stroke weight corresponding to the desired width and a W/H to give the right size/position, and move it beneath the tick marks;
2) For each desired end of the circle part, or for each end of a (differently) coloured portion of it,
2a) If the end is under a tick mark (as the case in post #2): Select the circle part and switch to the Scissors Tool, then click each point in question where it crosses under a tick mark (Smart Guides will say intersect when you are there);
2b) If the end is not under a tick mark, create a line that crosses it in the right place (you may drag it out from the centre with the Line Tool or you may select two tick marks and make a blend with a number of steps that give you a line where you want it, then expand the blend, and delete the intermediate line(s) afterwards), then use the Scissors Tool as in 2a), or just use the Scissors Tool by eye or based on a locked template underneath;
3) If you wish to have a gap between the ends and the tick marks (as in the first OP image and post #5), you can:
3a) Select each tick mark in question and in the Appearance palette flyout tick New Stroke, still in the Appearance palette drag the new stroke down beneath the original stroke, give it a Stroke Weight to cover the gap, and either:
3a1) Give the copy stroke the colour of the background, or
3a2) Expand Appearance, then select the copy stroke path and Object>Path>Outline Stroke to get a filled path and use that path as the guide to cut the (portion(s)) of the partial circle as in 2a).
Did this have a sufficient unintelligibility to present a real challenge?
Copy link to clipboard
Copied
Hi Jacob;
lol I think that I'm the challenge! But, your instructions cleaned up the whole thing quite nicely, thank you. My only bit of confusion came at step 3a2, I expanded appearance, then selected the copied stroke path and created the outline stroke and it seemed to already be cut from when I used the scissors in an earlier step, so instead of "use that path as the guide to cut the portions of the partial circle as in 2a) I simply changed color of fill and stroke and it worked fine! Thank you very much. The dial that I'm currantly working on actually has the colored area as one color and it sits on top of the tick marks, makes it nice and easy but it's great to know how to color it beneath the ticks in different colors. Thanks again!
Copy link to clipboard
Copied
You are welcome, Jber, and nice to have it wound up.
Normally, I prefer the ending -ness to -ility, but in this case the -ility word has quite a rhythm. I wonder which presents the greater challenge in a drunk test, unintelligibleness or unintelligibility. It may also be hard to get the hyphens right in spelling them out.
