• Global community
    • Language:
      • Deutsch
      • English
      • Español
      • Français
      • Português
  • 日本語コミュニティ
    Dedicated community for Japanese speakers
  • 한국 커뮤니티
    Dedicated community for Korean speakers
Exit
0

Paint Bucket tool

New Here ,
Feb 09, 2018 Feb 09, 2018

Copy link to clipboard

Copied

I am attempting to change the colors of the Yellow and Red areas outlined:

Screen Shot 2018-02-04 at 11.png

Because these shapes are just paths that cross, I am unable to edit them without using the Live Paint Bucket tool

Which wouldn't be a problem, however, I want to fill the areas with a lower opacity purple. When I try to change the opacity in this toolbar and the Paint Bucket tool (Outlined in White) to apply it, the opacity isn't altered.

Screen Shot 2018-02-09 at 8.png

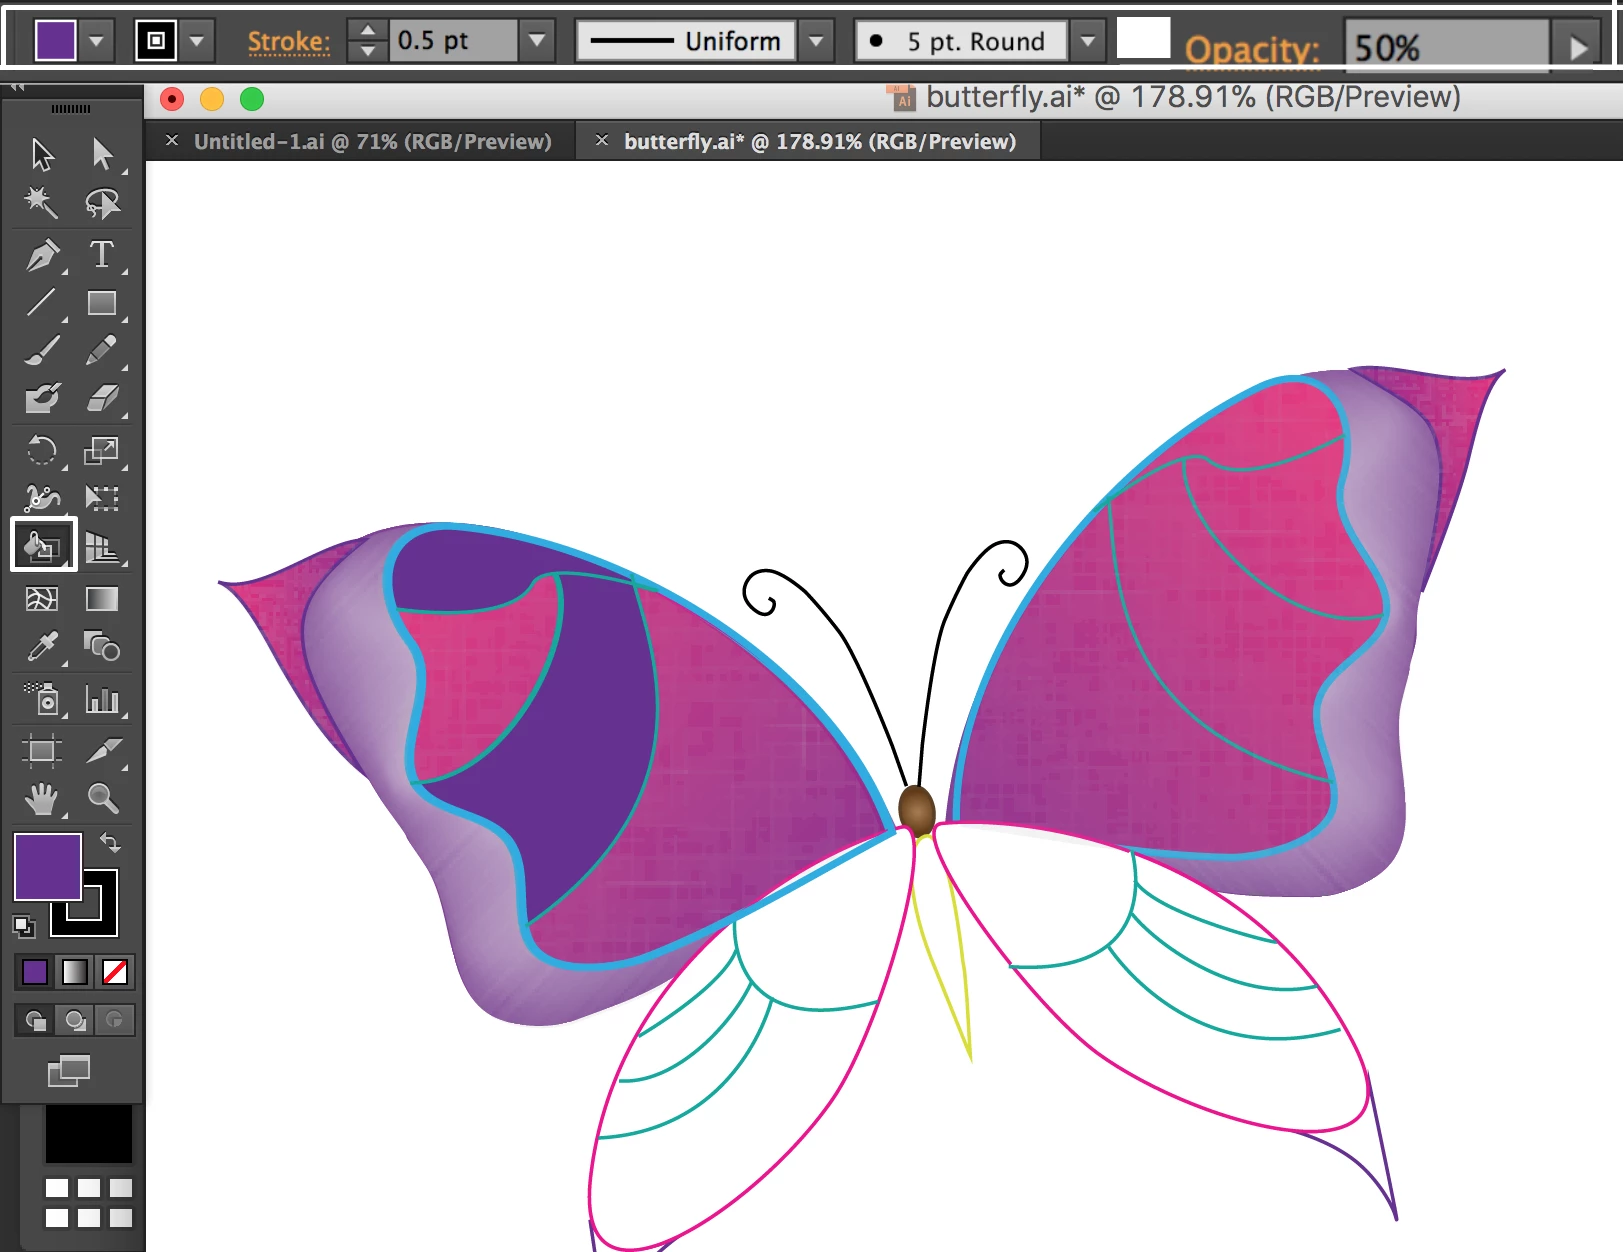
This seems like the only way to change the opacity; can I alter it with the "Fill" tool

Screen Shot 2018-02-09 at 82.png

Views

11.8K

Translate

Translate

Report

Report
Community guidelines
Be kind and respectful, give credit to the original source of content, and search for duplicates before posting. Learn more
community guidelines

correct answers 1 Correct answer

Community Expert , Feb 09, 2018 Feb 09, 2018

Using the Paint Bucket tool, fill all the shapes with the colors you want to use.

Select the Live Paint object, and choose Object > Live Paint > Expand. The paths will no longer be a Live Paint Object and each of the filled areas will be closed paths and they will be grouped.

You can either ungroup or use the group selection or direct selection tool to select the paths you want to make semi-transparent. Then lower the opacity as desired in the Transparency panel.

Votes

Translate

Translate
Adobe
Community Expert ,
Feb 09, 2018 Feb 09, 2018

Copy link to clipboard

Copied

Using the Paint Bucket tool, fill all the shapes with the colors you want to use.

Select the Live Paint object, and choose Object > Live Paint > Expand. The paths will no longer be a Live Paint Object and each of the filled areas will be closed paths and they will be grouped.

You can either ungroup or use the group selection or direct selection tool to select the paths you want to make semi-transparent. Then lower the opacity as desired in the Transparency panel.

Votes

Translate

Translate

Report

Report
Community guidelines
Be kind and respectful, give credit to the original source of content, and search for duplicates before posting. Learn more
community guidelines
Community Expert ,
Feb 10, 2018 Feb 10, 2018

Copy link to clipboard

Copied

there are a couple of 'cheats' with live paint you can use to create areas of differing opacity in the same live paint group.

1. create a separate filled shape with the colour you want. set the opacity you want. add it to the swatches panel. it'll become a pattern swatch, and you'll find you can use it in live paint.

2. create a separate shape and fill it with a gradient. make both stops the same colour you want to use. reduce the opacity of both to the level you want. add it to the swatches panel, use as before.

both should work fine, but i found the first buggy when exporting to raster files in a knockout group, so i use the second, which is bizarrely more complex but more reliable.

Votes

Translate

Translate

Report

Report
Community guidelines
Be kind and respectful, give credit to the original source of content, and search for duplicates before posting. Learn more
community guidelines
Community Expert ,
Feb 10, 2018 Feb 10, 2018

Copy link to clipboard

Copied

LATEST

If you want to change the opacity/transparency of a color, see the answers above.

If you just want to have a lighter shade or tint of a color, change your Swatches into Global Swatches, you can change the percentage of those in the Color Panel.

Votes

Translate

Translate

Report

Report
Community guidelines
Be kind and respectful, give credit to the original source of content, and search for duplicates before posting. Learn more
community guidelines