Copy link to clipboard
Copied
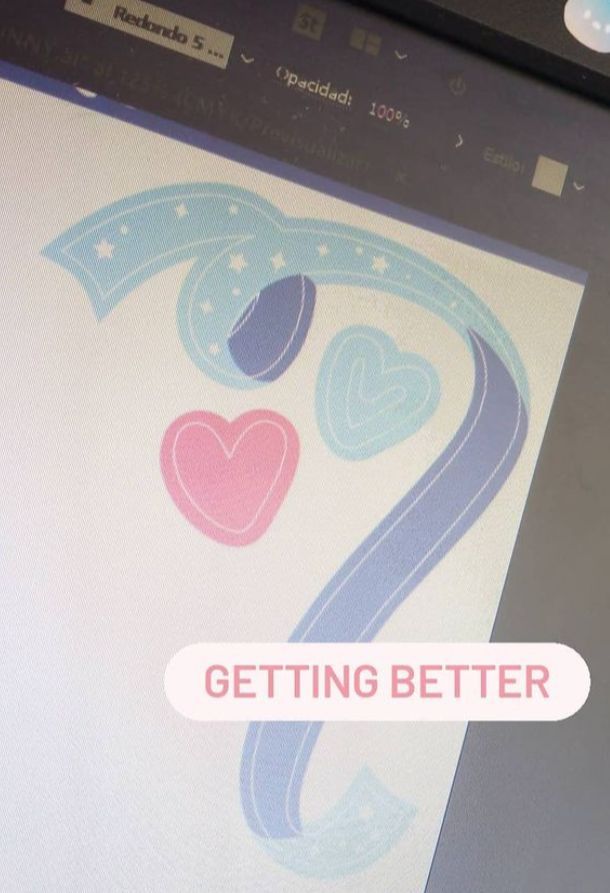
I have been wanting to make ribbons like this one for so long with no luck. As you can see it has a kind o bleed that follows the main color path and it's driving me nuts because I've tried evrything, offset path, duplicating the vector object EVRYTHING and cant seem to have a solution and that with evrything as you can see from the hearts in teh picture (pic is not mine is what I want to achieve)
 2 Correct answers
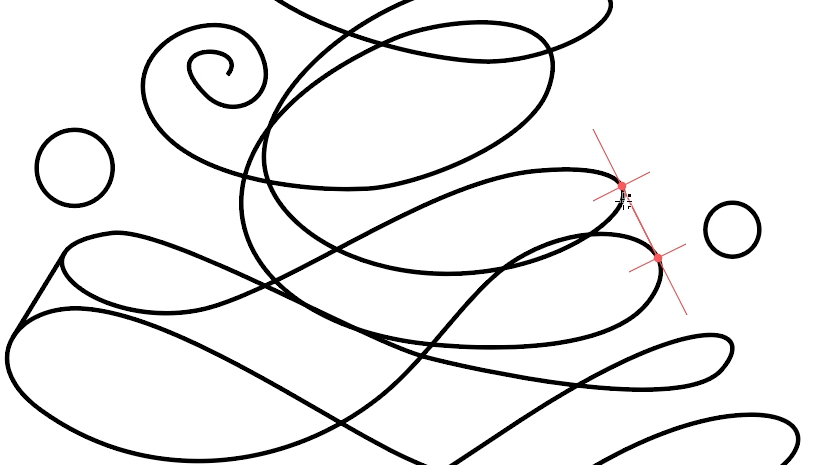
Closing the gaps is easiest withthe plugin SubScribe. But you can of course just draw lines.
Use live paint to fill it.
Expand it. Select all and apply the pathfinder "Merge" and then make gradients
a,
As I (mis)understand it, you are starting with ribbons/hearts each of which has a stroke and a fill, and you wish to have a fill outside that more or less follows the stroke (with the same thickness all the way round or with varying thickness (the image shows varying thicknesses).
You can:
1) Select the path and Object>Path>Offset Path by the desired thickness of the added fill, then remove the stroke from the new path; now you have the desired appearance, with the fill of the original
...Explore related tutorials & articles
Copy link to clipboard
Copied
they probably simply duplicated the source paths and adapted them manually. Sometimes boring, laborious old-fashioned stuff is stell the best way to go about such things.
Mylenium
Copy link to clipboard
Copied
Closing the gaps is easiest withthe plugin SubScribe. But you can of course just draw lines.
Use live paint to fill it.
Expand it. Select all and apply the pathfinder "Merge" and then make gradients
Copy link to clipboard
Copied
a,
As I (mis)understand it, you are starting with ribbons/hearts each of which has a stroke and a fill, and you wish to have a fill outside that more or less follows the stroke (with the same thickness all the way round or with varying thickness (the image shows varying thicknesses).
You can:
1) Select the path and Object>Path>Offset Path by the desired thickness of the added fill, then remove the stroke from the new path; now you have the desired appearance, with the fill of the original path on top of the fill of the new path within the stroke;
2) If you wish, you can remove the fill from the original stroked path so you end up with the original path with only the stroke and the new path with only the fill.
3) If you wish a varying thickness, you can adjust the Anchor Points and Handles of the offset paths to get the desired shape.
You can also do it twice as on the pale blue heart. In that case, the original path is the smallest one and you can use different values for different thicknesses, the second one being smaller as shown. You can also start with the middle one and offset both ways, adding a - in front of the Offset value. The actual shapes of the stroked paths will depend on your choice of original.
