- Home
- Illustrator
- Discussions
- Re: Positioning numbers on a clock face, without t...
- Re: Positioning numbers on a clock face, without t...
Copy link to clipboard
Copied
Hello,
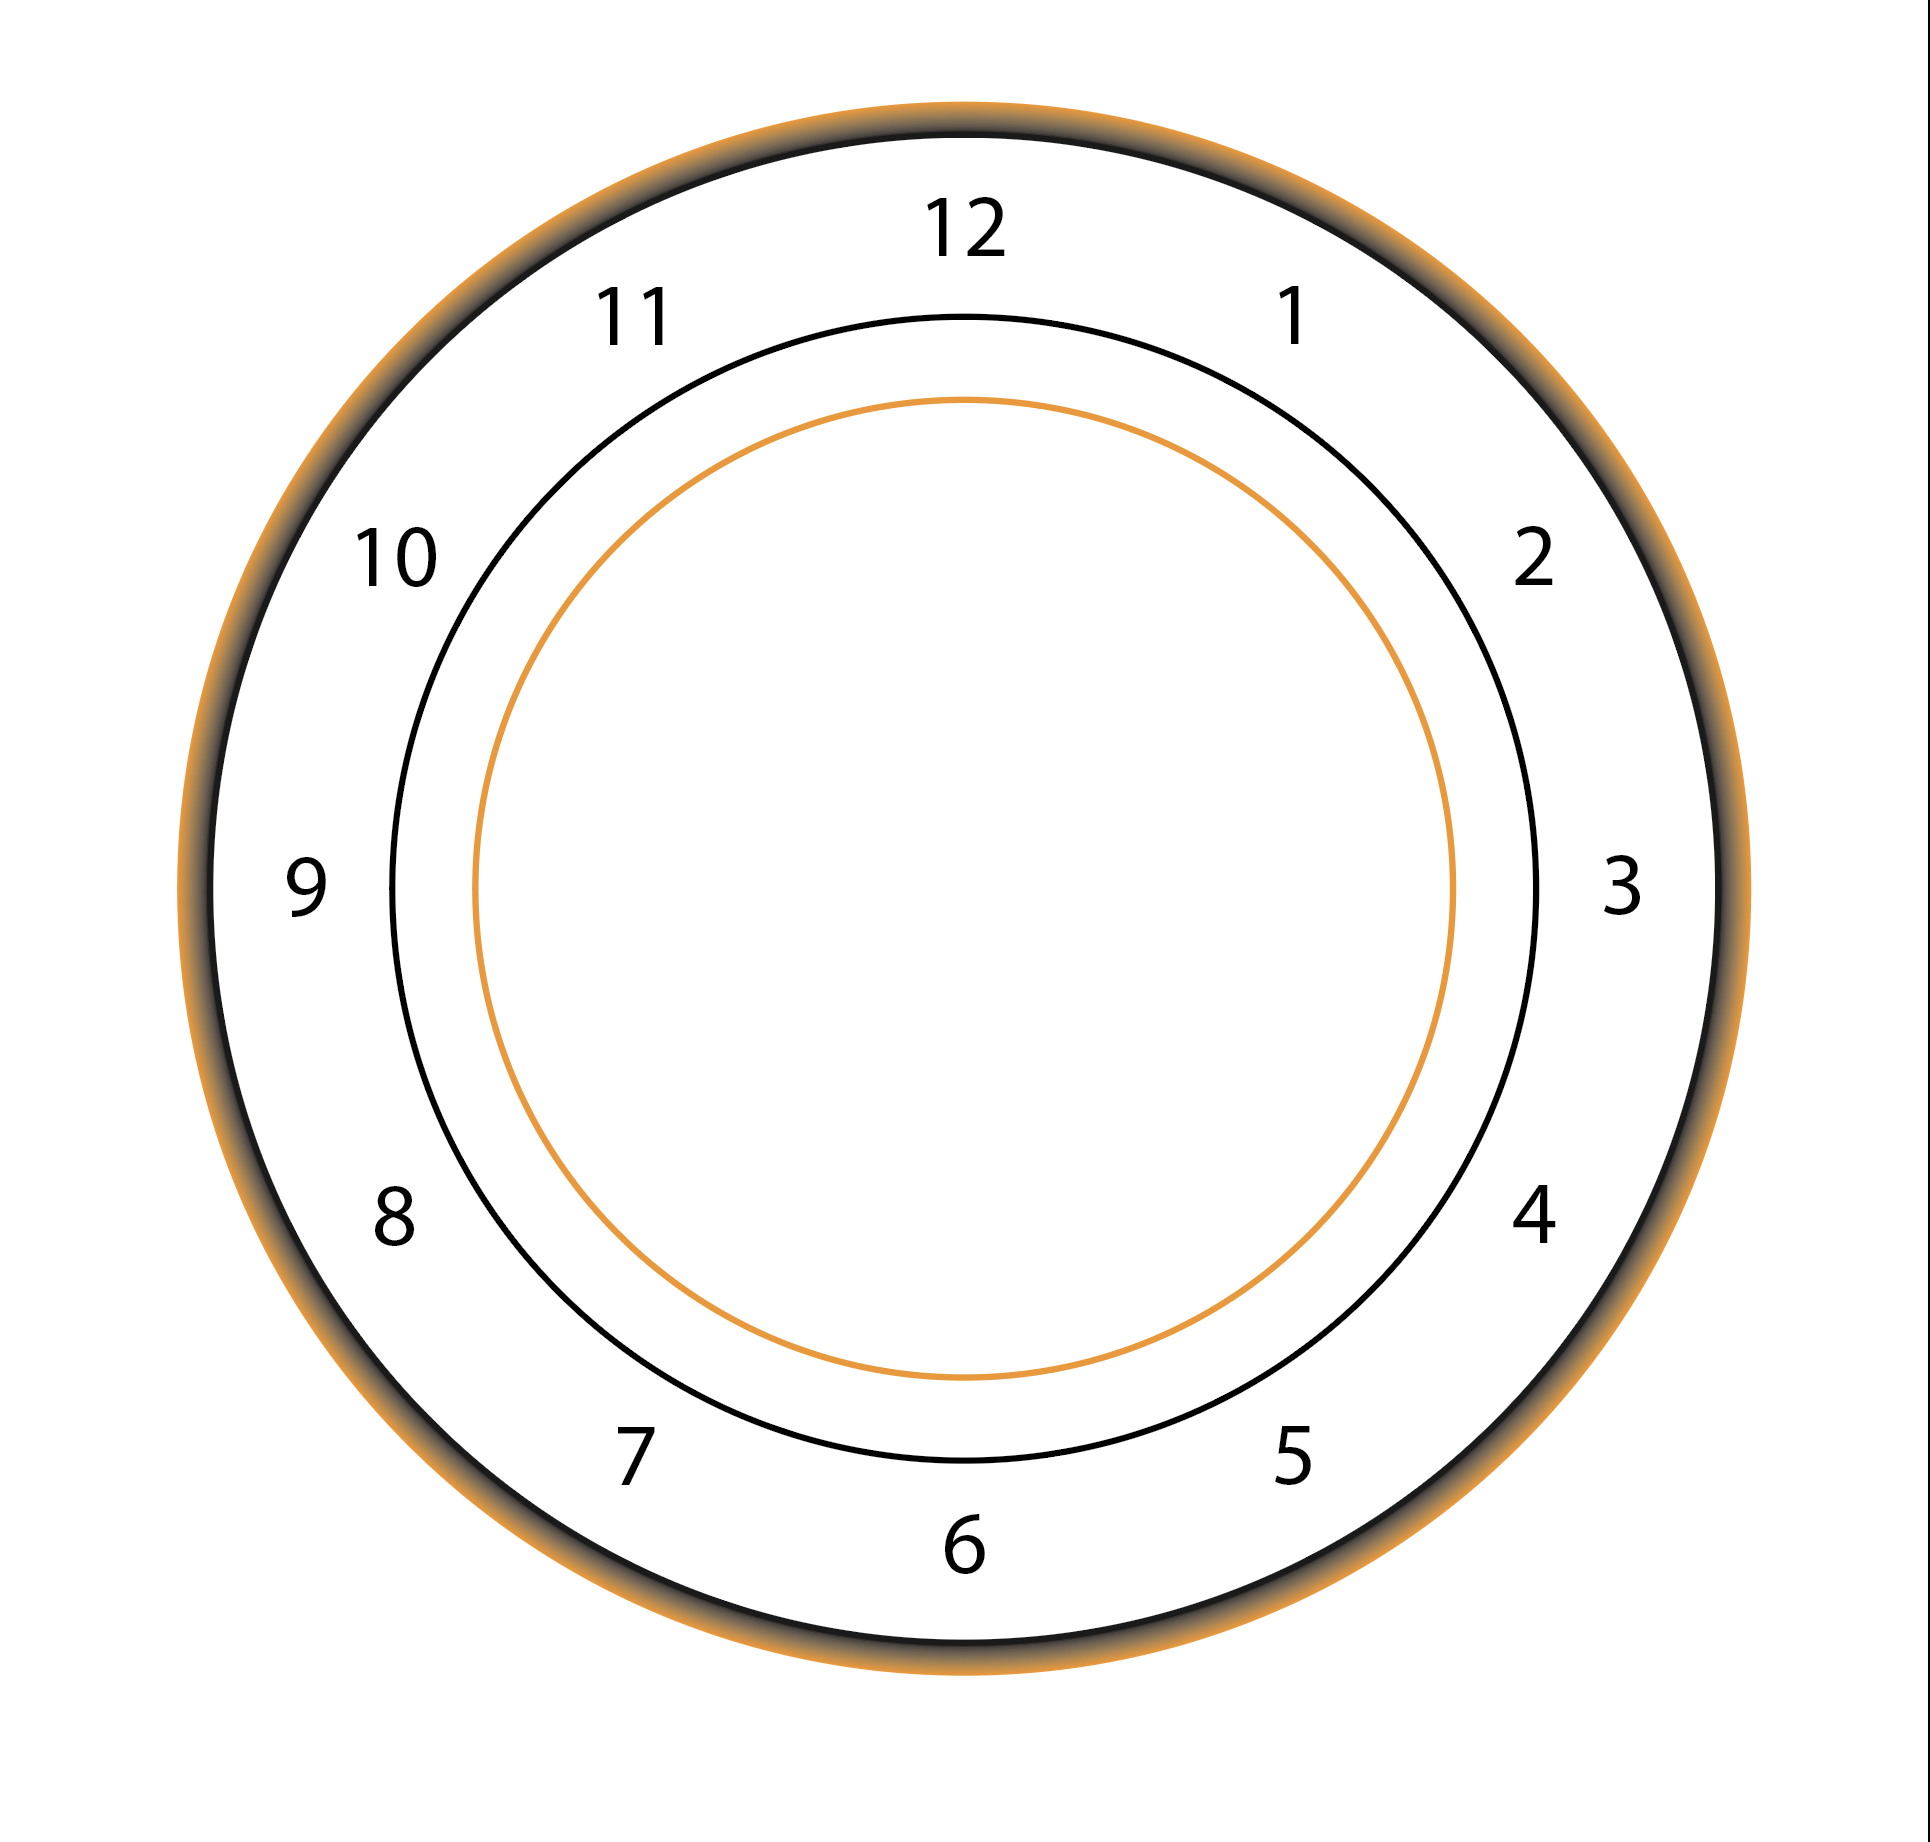
I am making a clockface and I am using the distort-transform effect to have the numbers go around a center object, but I would like all the numbers to face the same direction that they started, right reading - straight up...
Because I need to use the rotate option for this there a better way to make this so the numbers do not rotate?
thanks!
babs
 1 Correct answer
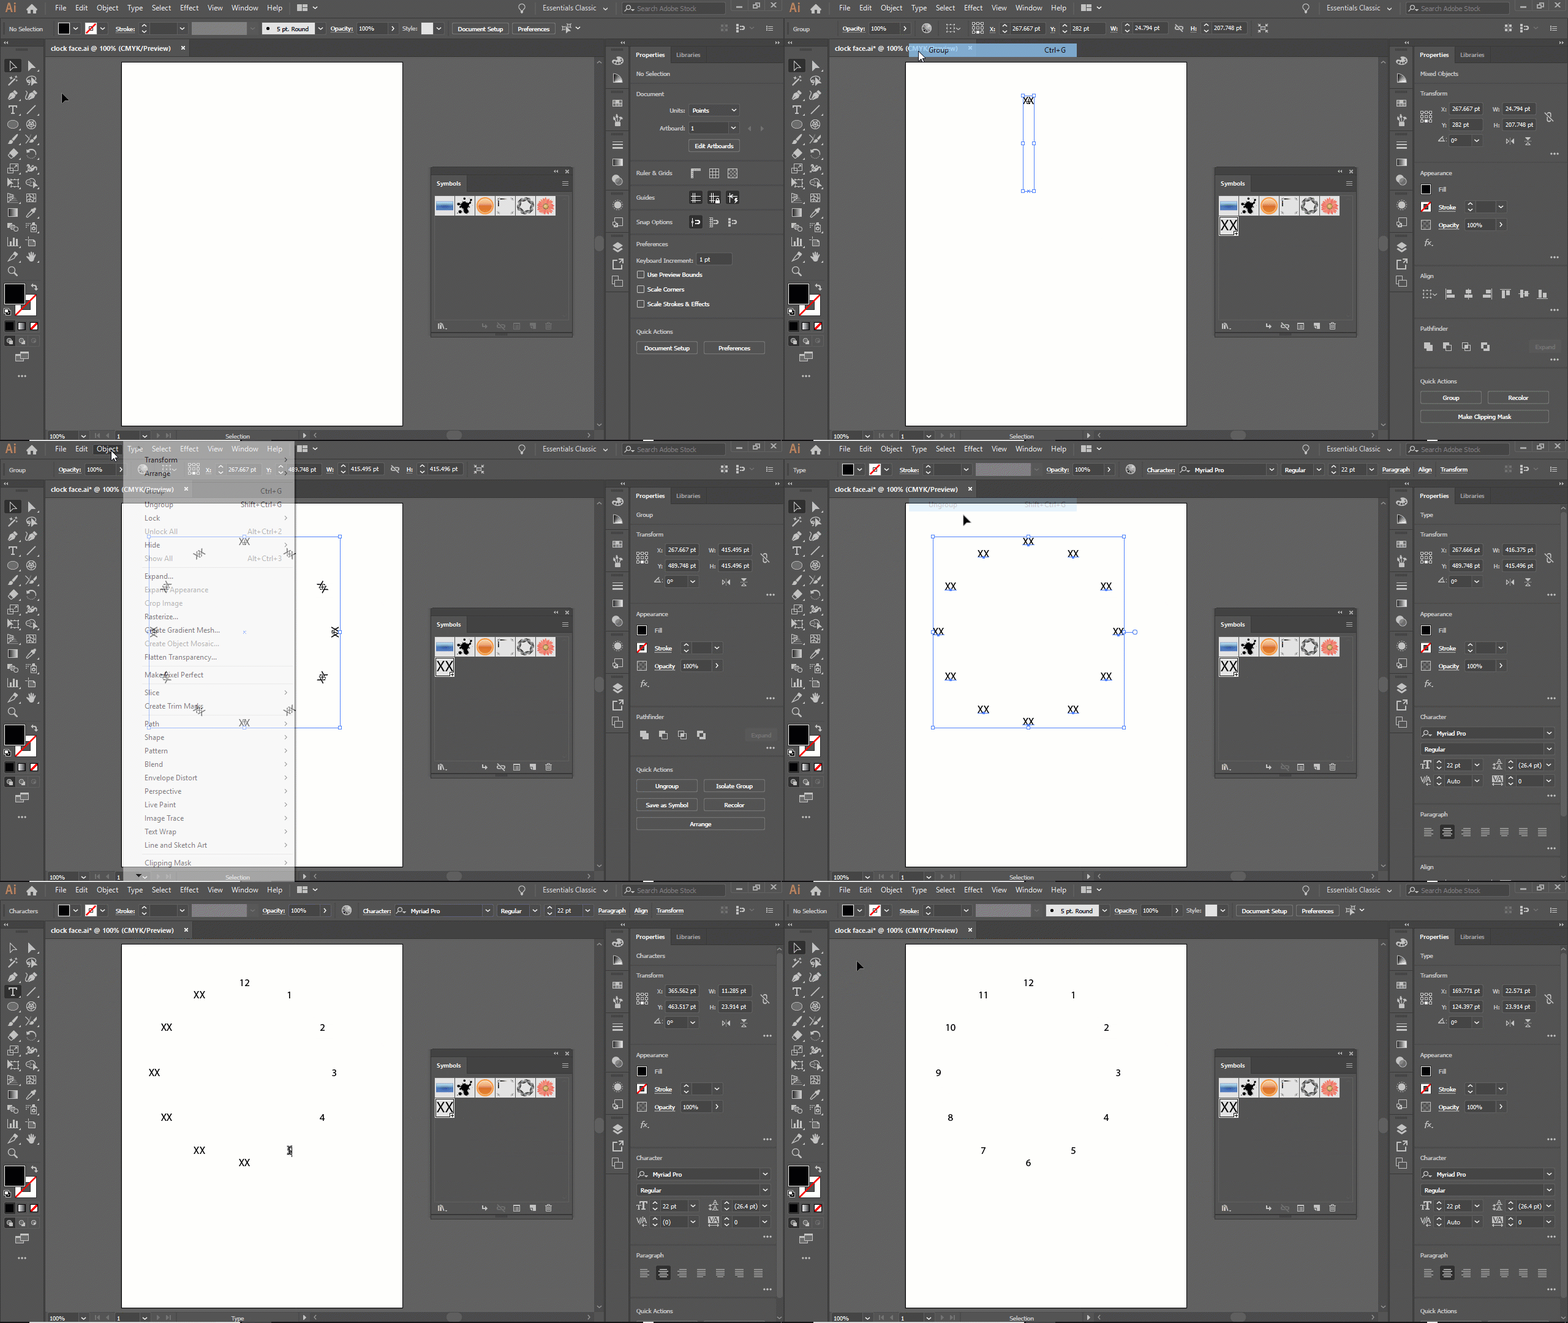
Here's an idea for using symbols to help automate it.

- Type XX to make placeholder text
- With the text selected, click on the New Symbol button in the Symbols panel
- Use the Pen Tool to make a null point (Hit ESC after making one point)
- Group the instance of the symbol and the null point
- Go to Effect > Distort &Transform > Transform...
- Enter 30°, enter 11 copies (because we include the original in our count), set the registration point to the bottom, and turn on Preview if you want to check it
- Go to Objec
Explore related tutorials & articles
Copy link to clipboard
Copied
Don't make this automatically at all, because you will need to reposition them anyway, so that it works visually.
Copy link to clipboard
Copied
Hi. You need to rotate 6 degrees each number with the anchor in the center of the clock. After that, you need to rotate each number in the opposite direction having in account the total rotation (6, 12, 18, etc).
Copy link to clipboard
Copied
marliton,
rotate 6 degrees
I believe that would be the minute ticks, the hour number being 30 degrees (360/12).
Copy link to clipboard
Copied
Thanks Jacob-yes 6 for minutes and 30 degrees for the hours ![]()
Copy link to clipboard
Copied
Thanks everyone.....found a video by hikeart, that shows pretty much what you are both saying. Not ideal, but it works.
Was hoping for a transform each sort of fix, but this will work. ![]()
Thanks!
Babs
Copy link to clipboard
Copied
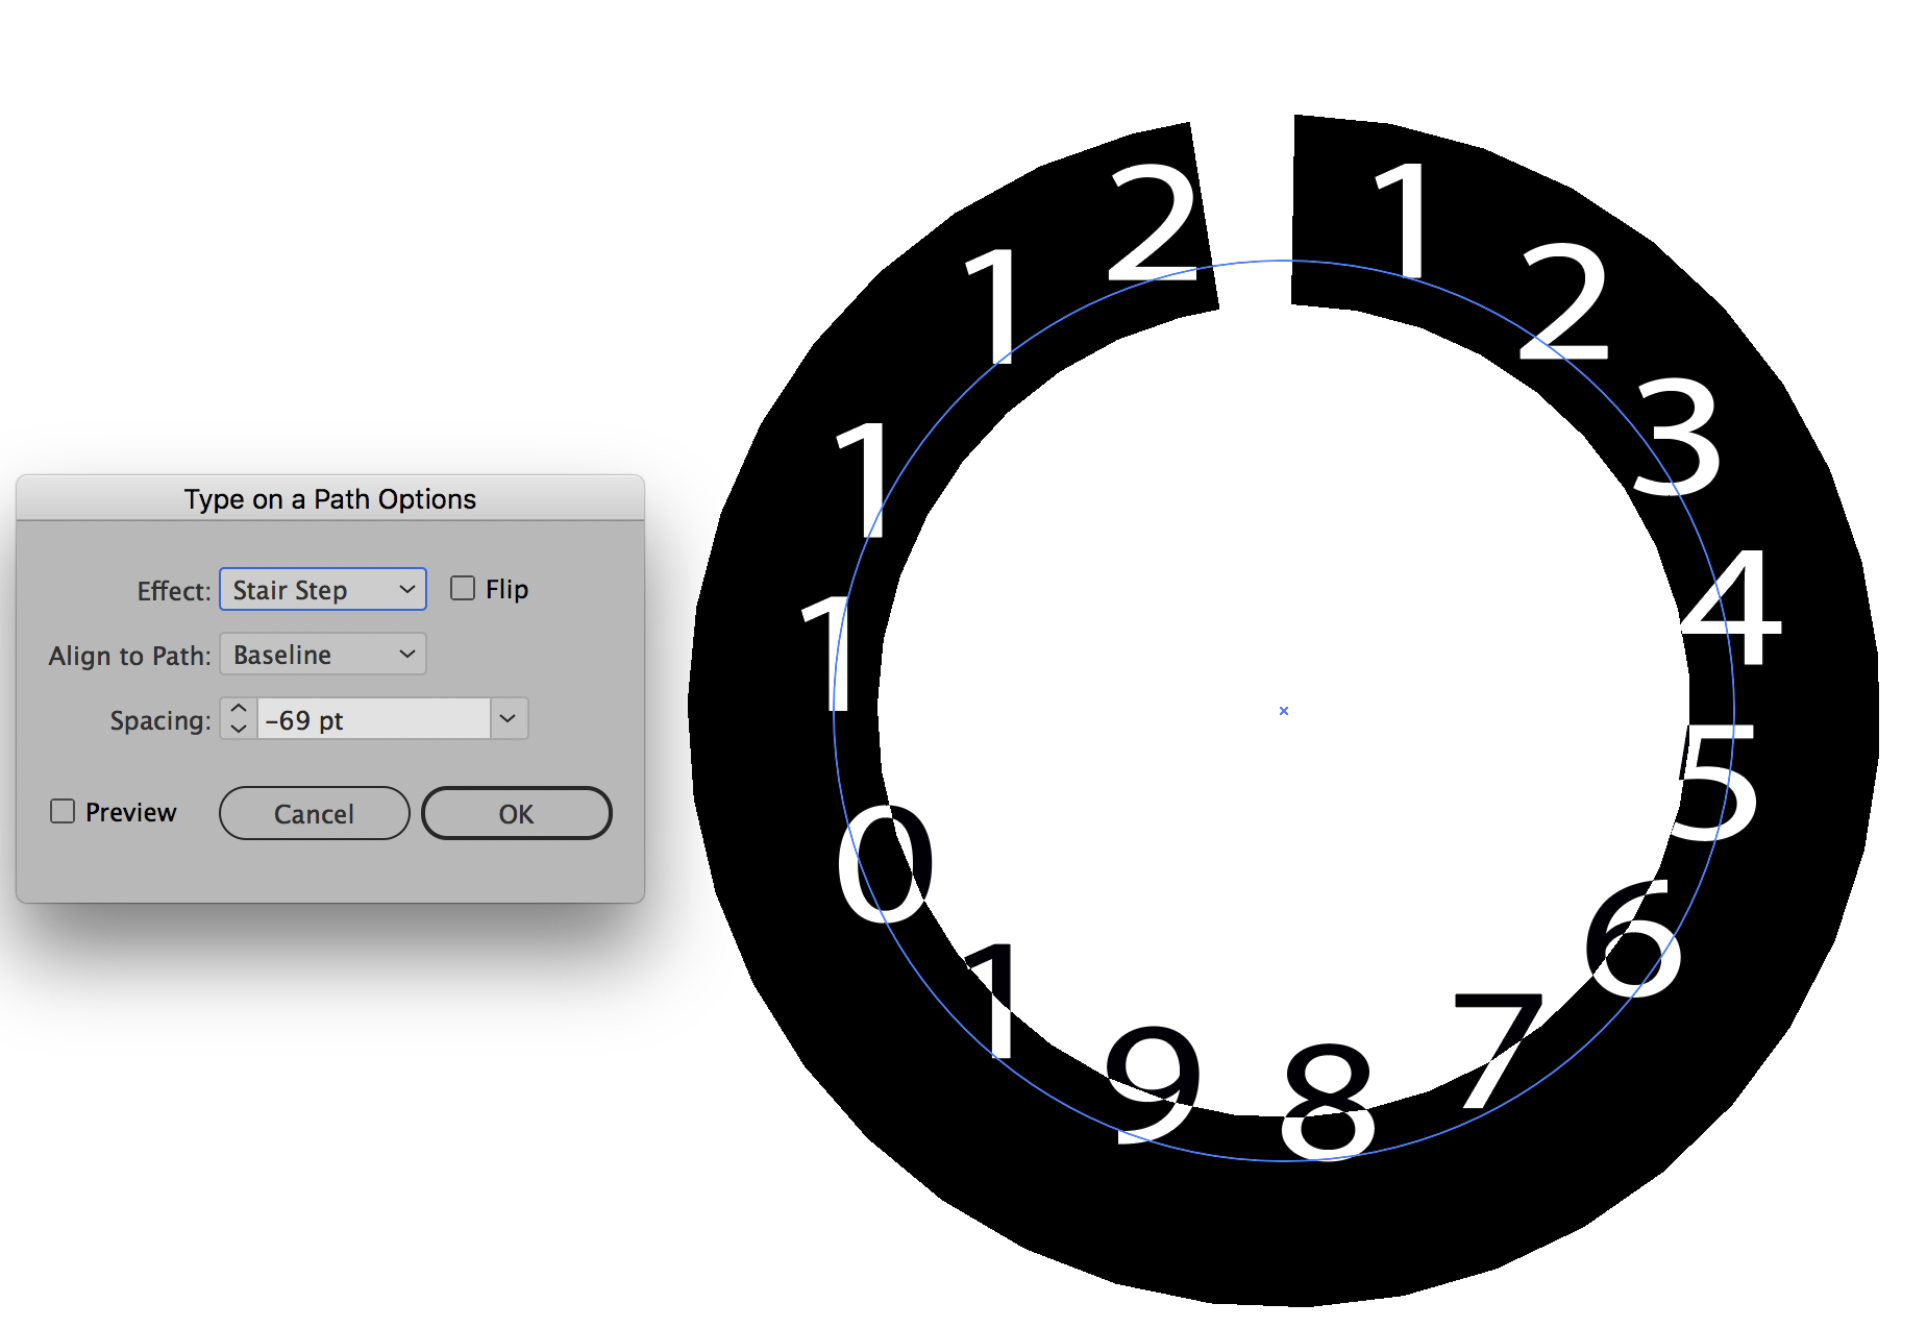
Although this won't line up your numbers perfectly like a clock, this is just to let you know it is possible, in general, to type text using your "text to path tool" on a circle, and then going to type menu and applying the "stairstep" effect.

Copy link to clipboard
Copied
You could make 2 squares the approximate size of your numbers you plan on using. I filled them with light grey then used blend to make 11 copies and replaced the spline with a large circle. Expand then un-group. Use the area type tool (set to align center) and add the appropriate number to each square. Didn't take long at all. The numbers are dynamic so you can change size, color and font as you wish.
Copy link to clipboard
Copied
iBabs,
Or, if you wish to use a really silly way called the 1 step blend fake, with full accuracy/no need for position/other adjustments, you can:
1) Create a circle centred on the clock and with a size that corresponds to the centres of the numbers, then cut it at the top Anchor Point,
2) Type all the numbers from 12 down to 1 and add 12 again in the desired font and size (just separated by spaces in one line), then Type>Create Outlines, then Ungroup,
3) Click one of the numbers and Align>Distribute Objects>Horizontal Distribute Center with the spacing set to Auto or some suitable value (not 0),
4) Object>Blend>Blend Options with Spacing set to Specified Steps = 1 and Orientation set to Align to Page,
5) Object>Blend>Make, then ShiftClick the circle and Object>Blend>Replace Spine, this will give you some crippled intermediate numbers,
6) Object>Blend>Expand and Ungroup,
7) Delete all the crippled intermediate numbers; you may also delete the top duplicate number 12.
Copy link to clipboard
Copied
It can also be done with envelopes (as a basis). There were similar requests many years ago. Jacob probably has it in his archive.
Copy link to clipboard
Copied
Thanks everyone!!!!
Very interesting ideas here.... learned a lot of good things for different uses ![]()
I got it to work, by placing the first number (12) centered align in postion. Then selecting the rotate tool and clciked the center reference point of the circle and making a copy, while rotating it 30 degrees, in the dialog box.
Then I repeated the copy and transform, CMD-D until I had 12 numbers in postion.
I then changed each number to its correct hour, and then starting with hour 1 o'click - went to Effect-distort and transform and rotated it 30 degrees. I then did the same for each number adding another 30 degrees. So 2 o'clock was 60 degrees, 3 o'clock was 90 and so on.
Went very quick and looks even. ![]()

thanks everyone!!!!
Babs
Copy link to clipboard
Copied
Here's an idea for using symbols to help automate it.

- Type XX to make placeholder text
- With the text selected, click on the New Symbol button in the Symbols panel
- Use the Pen Tool to make a null point (Hit ESC after making one point)
- Group the instance of the symbol and the null point
- Go to Effect > Distort &Transform > Transform...
- Enter 30°, enter 11 copies (because we include the original in our count), set the registration point to the bottom, and turn on Preview if you want to check it
- Go to Object > Expand Appearance then Ungroup and Ungroup
- Delete the null point
- Select all the instances of the symbol
- Right-click and select Reset Transformation
- Break Link to break the link to the symbol
- Ungroup twice
- Edit the type
Copy link to clipboard
Copied
Great solution!
Copy link to clipboard
Copied
Hi Myra,
Fantastic! Got to love symbols.
Thank you!
Babs
Find more inspiration, events, and resources on the new Adobe Community
Explore Now


