Copy link to clipboard
Copied
Hi
You need to use Photoshop. I started with Select > Select Subject, which got me pretty close.
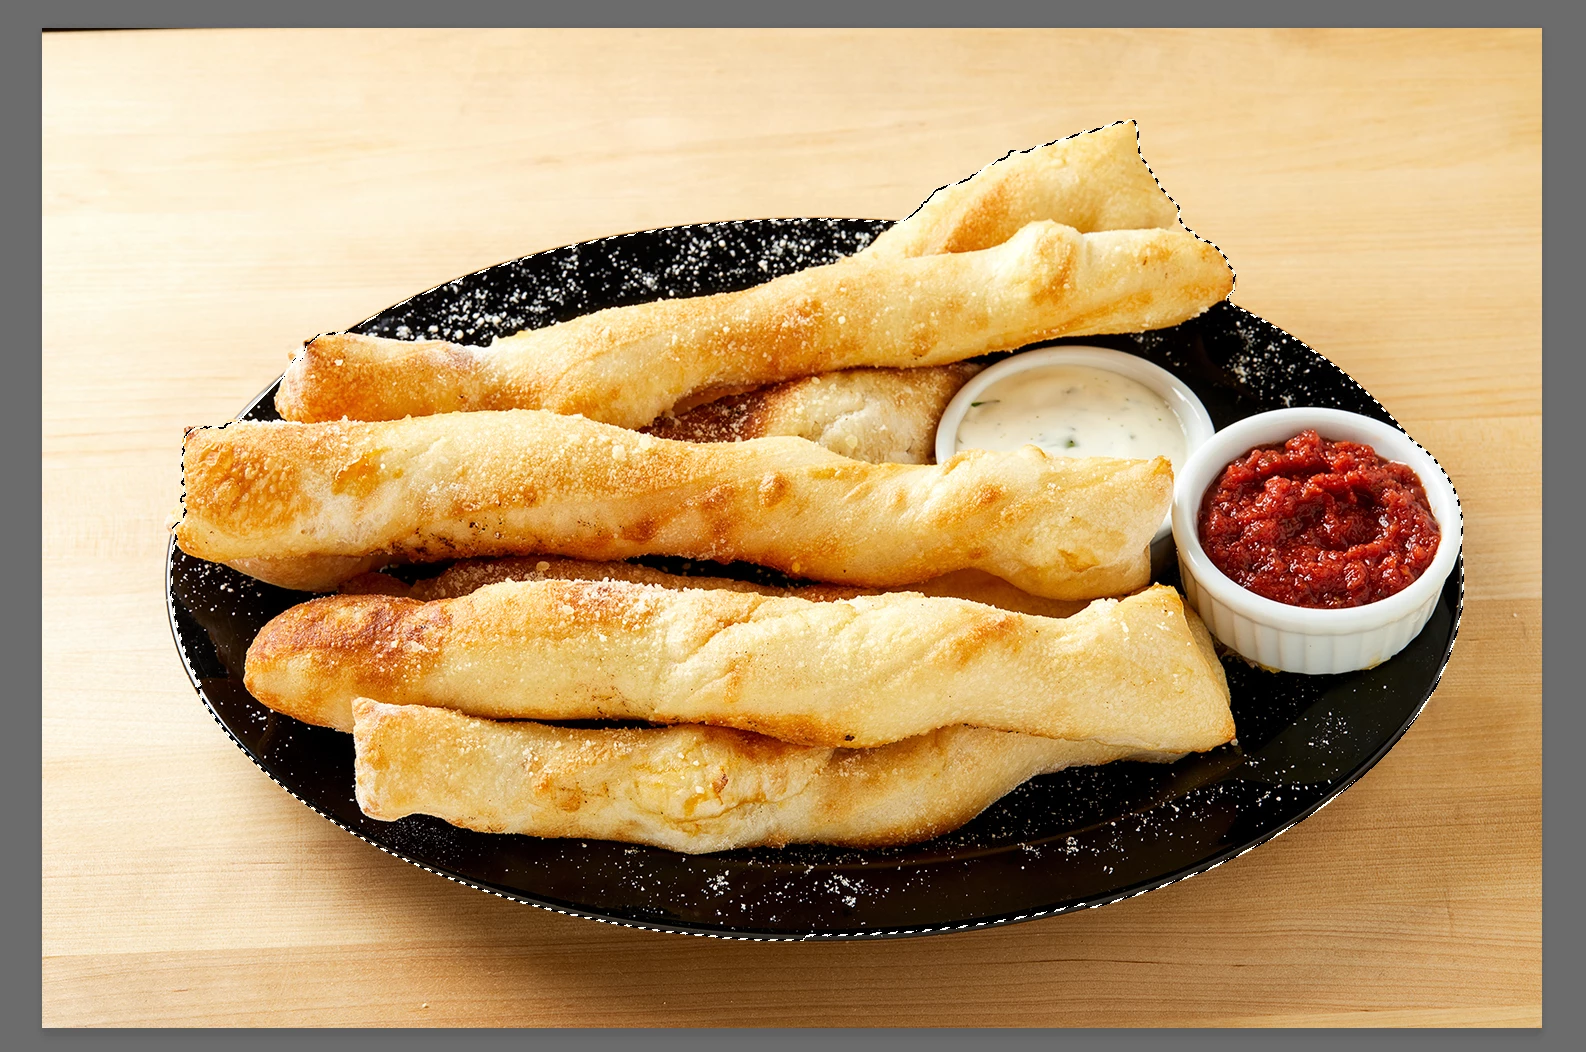
Then I went to Quick Mask, set the Swatches to B&W, and painted on the mask. I like Quick Mask because in addition to painting, I can draw with the Pen tool, use Cmd+Return to convert to a selection, then use shortcuts to fill the selection on the Mask with B & W.
Exit Quick Mask.
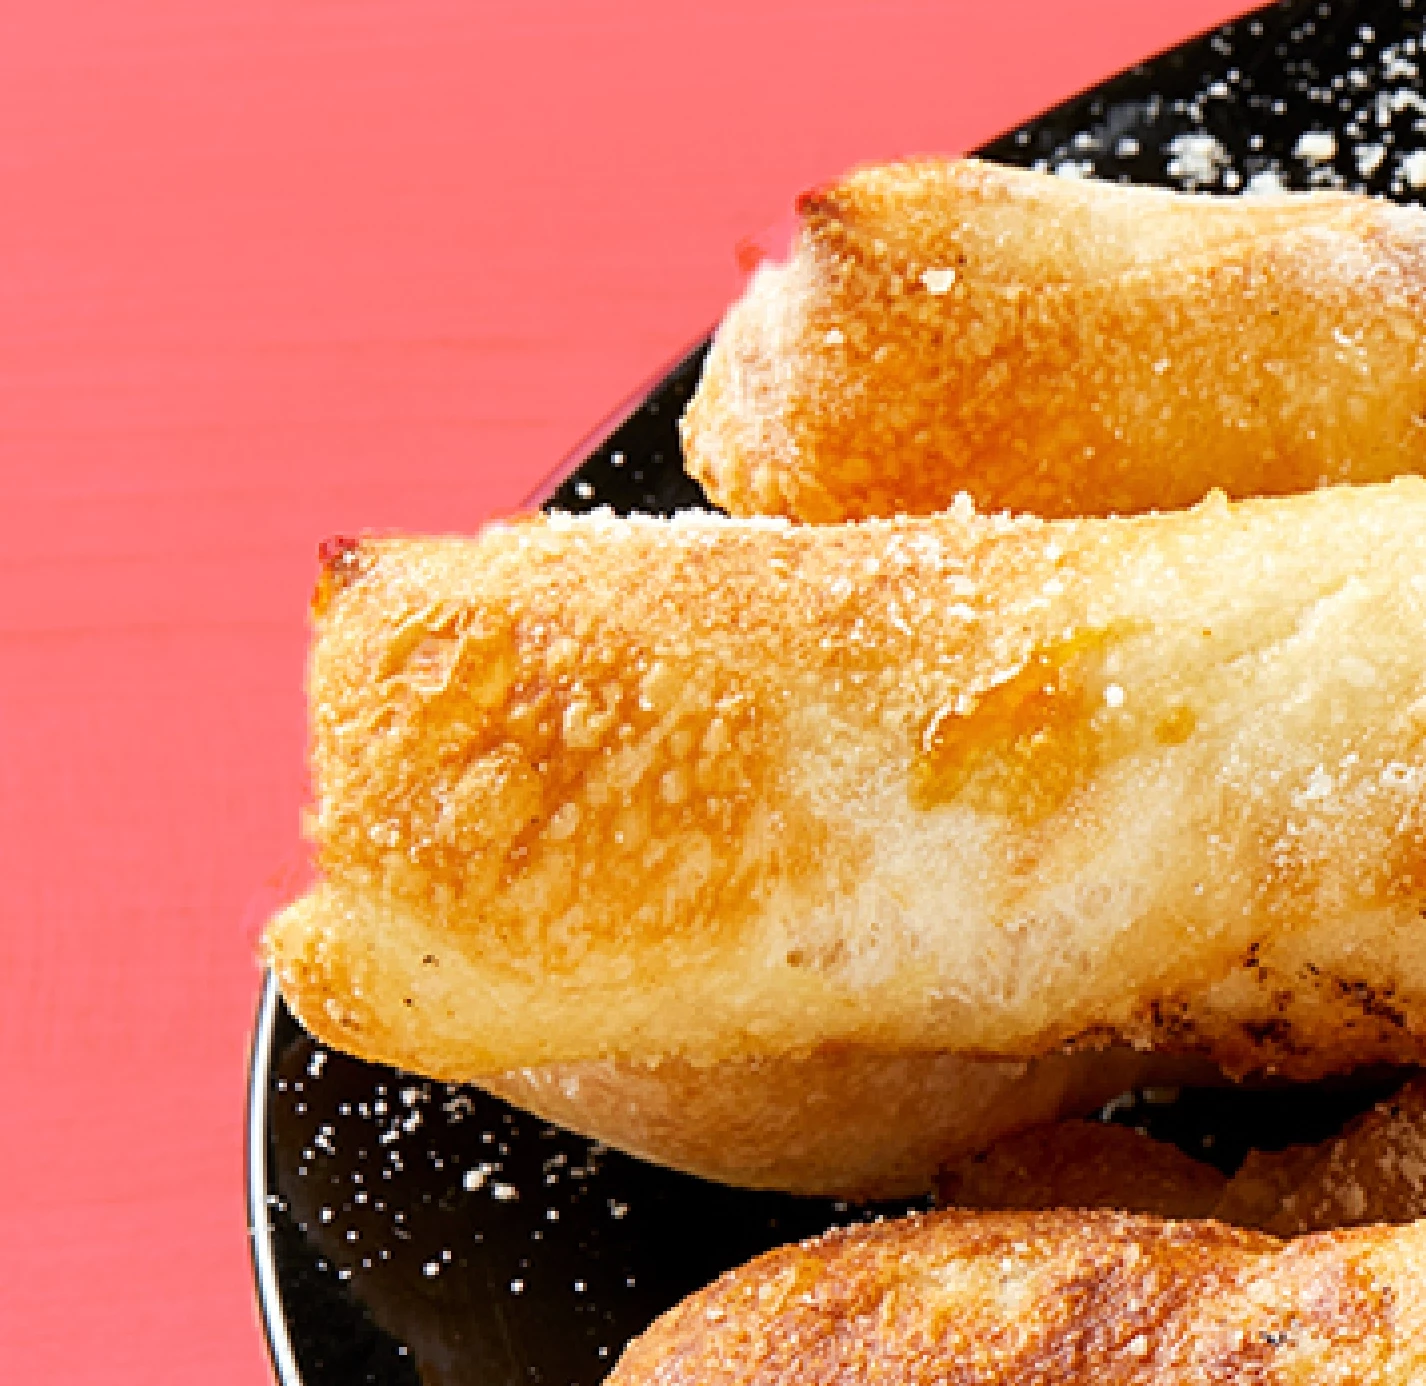
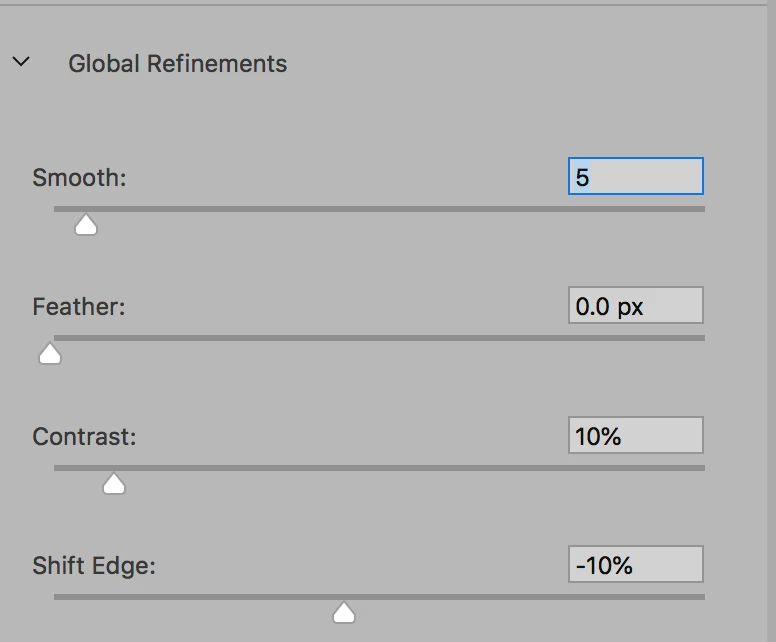
After exiting Quick Mask, I go to Select > Select and Mask and make changes to the Global Refinements as I pr
...Copy link to clipboard
Copied
Preferably, that kind of task is done in raster image applications such as Photoshop.
In Illustrator you could draw an appropriate path with the Pen tool and use it as a clipping path.
Copy link to clipboard
Copied
I have Photoshop. Tried the quick selection tool to get a transparent background but because the color of the table is similar to the breadstix, the quick selection also catches some of the color of the breadstix. Any help would be appreciated.
Copy link to clipboard
Copied
Well, in Photoshop there are dozens of ways to fine-tune selections.
You would just have to familiarise yourself with them.
You can, of course, also ask in the Photoshop forum to get some more instructions.
Copy link to clipboard
Copied
Nikki,
To elaborate on the drawing/clipping way mentioned by Kurt, in this particular case, I would start by trying to do it without Photoshop as follows, using a small Stroke Weight and a Stroke Color contrasting all the crucial parts (such as red) and no Fill:
1) For the plate: with the Ellipse Tool press Alt/Option and ClickDrag roughly from the centre of the plate (you may start at the little pale knob at the underside of the midmost breadstix) to fit the outer shape; when you get close to the rim, you can adjust the centre by also prsessing the Spacebar to move the ellipse about; when you have the ellipse (almost) right at the Anchor Points (top, bottom, left,right) you can switch to the Direct Selection Tool, deselect, and adjust Anchor Point positions and Handles as/if needed;
2) Do the same as in 1) with the white hot stuff bowl; you only need to get the right part (outside the plate) right;
3) Zoom in on each of the three breadstix end parts that stick out and use the Pen Tool to trace the outer shape against the table, especially to the (far) left you have a certain freedom to decide where it is/you want it to be;
4) Select all your paths and Pathfinder>Unite, then ShiftClick the image and Ctrl/Cmd+7.
Copy link to clipboard
Copied
There is no easy way to do this eventhough it seems pretty basic. You could create a Clipping Path mask in Illustrator. It is tedious and takes a little time either in Illustrator or Photoshop. However, I would use Photoshop because it is more accurate and forgiveable than an Illustrator Clipping Mask. If there is not enough contrast in Phootoshop, you could use the Eraser tool and paint around the breadsticks ( double click the Layer and make it "0", this will create a transparent background, just remember to save as .psd ). You shoukd see a checkered background as you work erasing. Once you have a transparent area around the breadsticks and plate, use the Lasso tool to select the entire background and delete it. If you insist on doing it in Illustrator, you should use the Pen tool to create anchors around the image and then manipulate each one to follow the contours of the breadsticks and plate. Once you have a solid path created, select Path > make ( or Create ) Clipping Mask.
Copy link to clipboard
Copied
Copy link to clipboard
Copied
Hi
You need to use Photoshop. I started with Select > Select Subject, which got me pretty close.
Then I went to Quick Mask, set the Swatches to B&W, and painted on the mask. I like Quick Mask because in addition to painting, I can draw with the Pen tool, use Cmd+Return to convert to a selection, then use shortcuts to fill the selection on the Mask with B & W.
Exit Quick Mask.
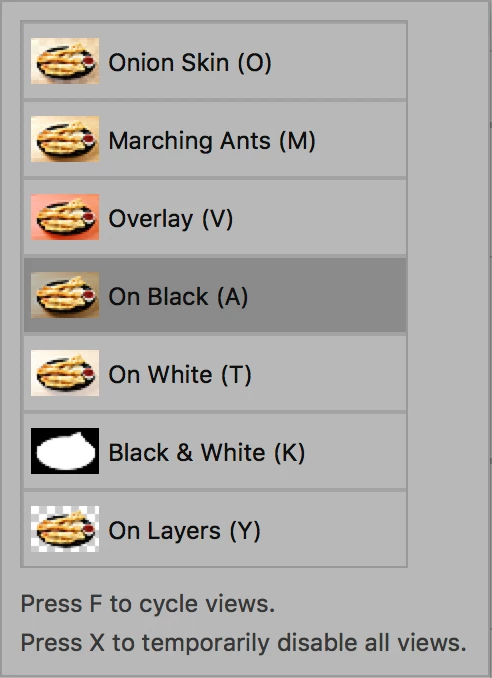
After exiting Quick Mask, I go to Select > Select and Mask and make changes to the Global Refinements as I press "F" to cycle through the views.
I also use the Tools to make further adjustments. Refine edge is used on things like hair. I used a very small brush on some of the edges of the pastry. Click okay to exit and make a selection.
Last, with the selection made and improved, click the Layer mask button in the Layers panel for non-destructive editing. If you see a mistake, select the Mask (not the image) and paint with pure black and pure white to hide or reveal the image.
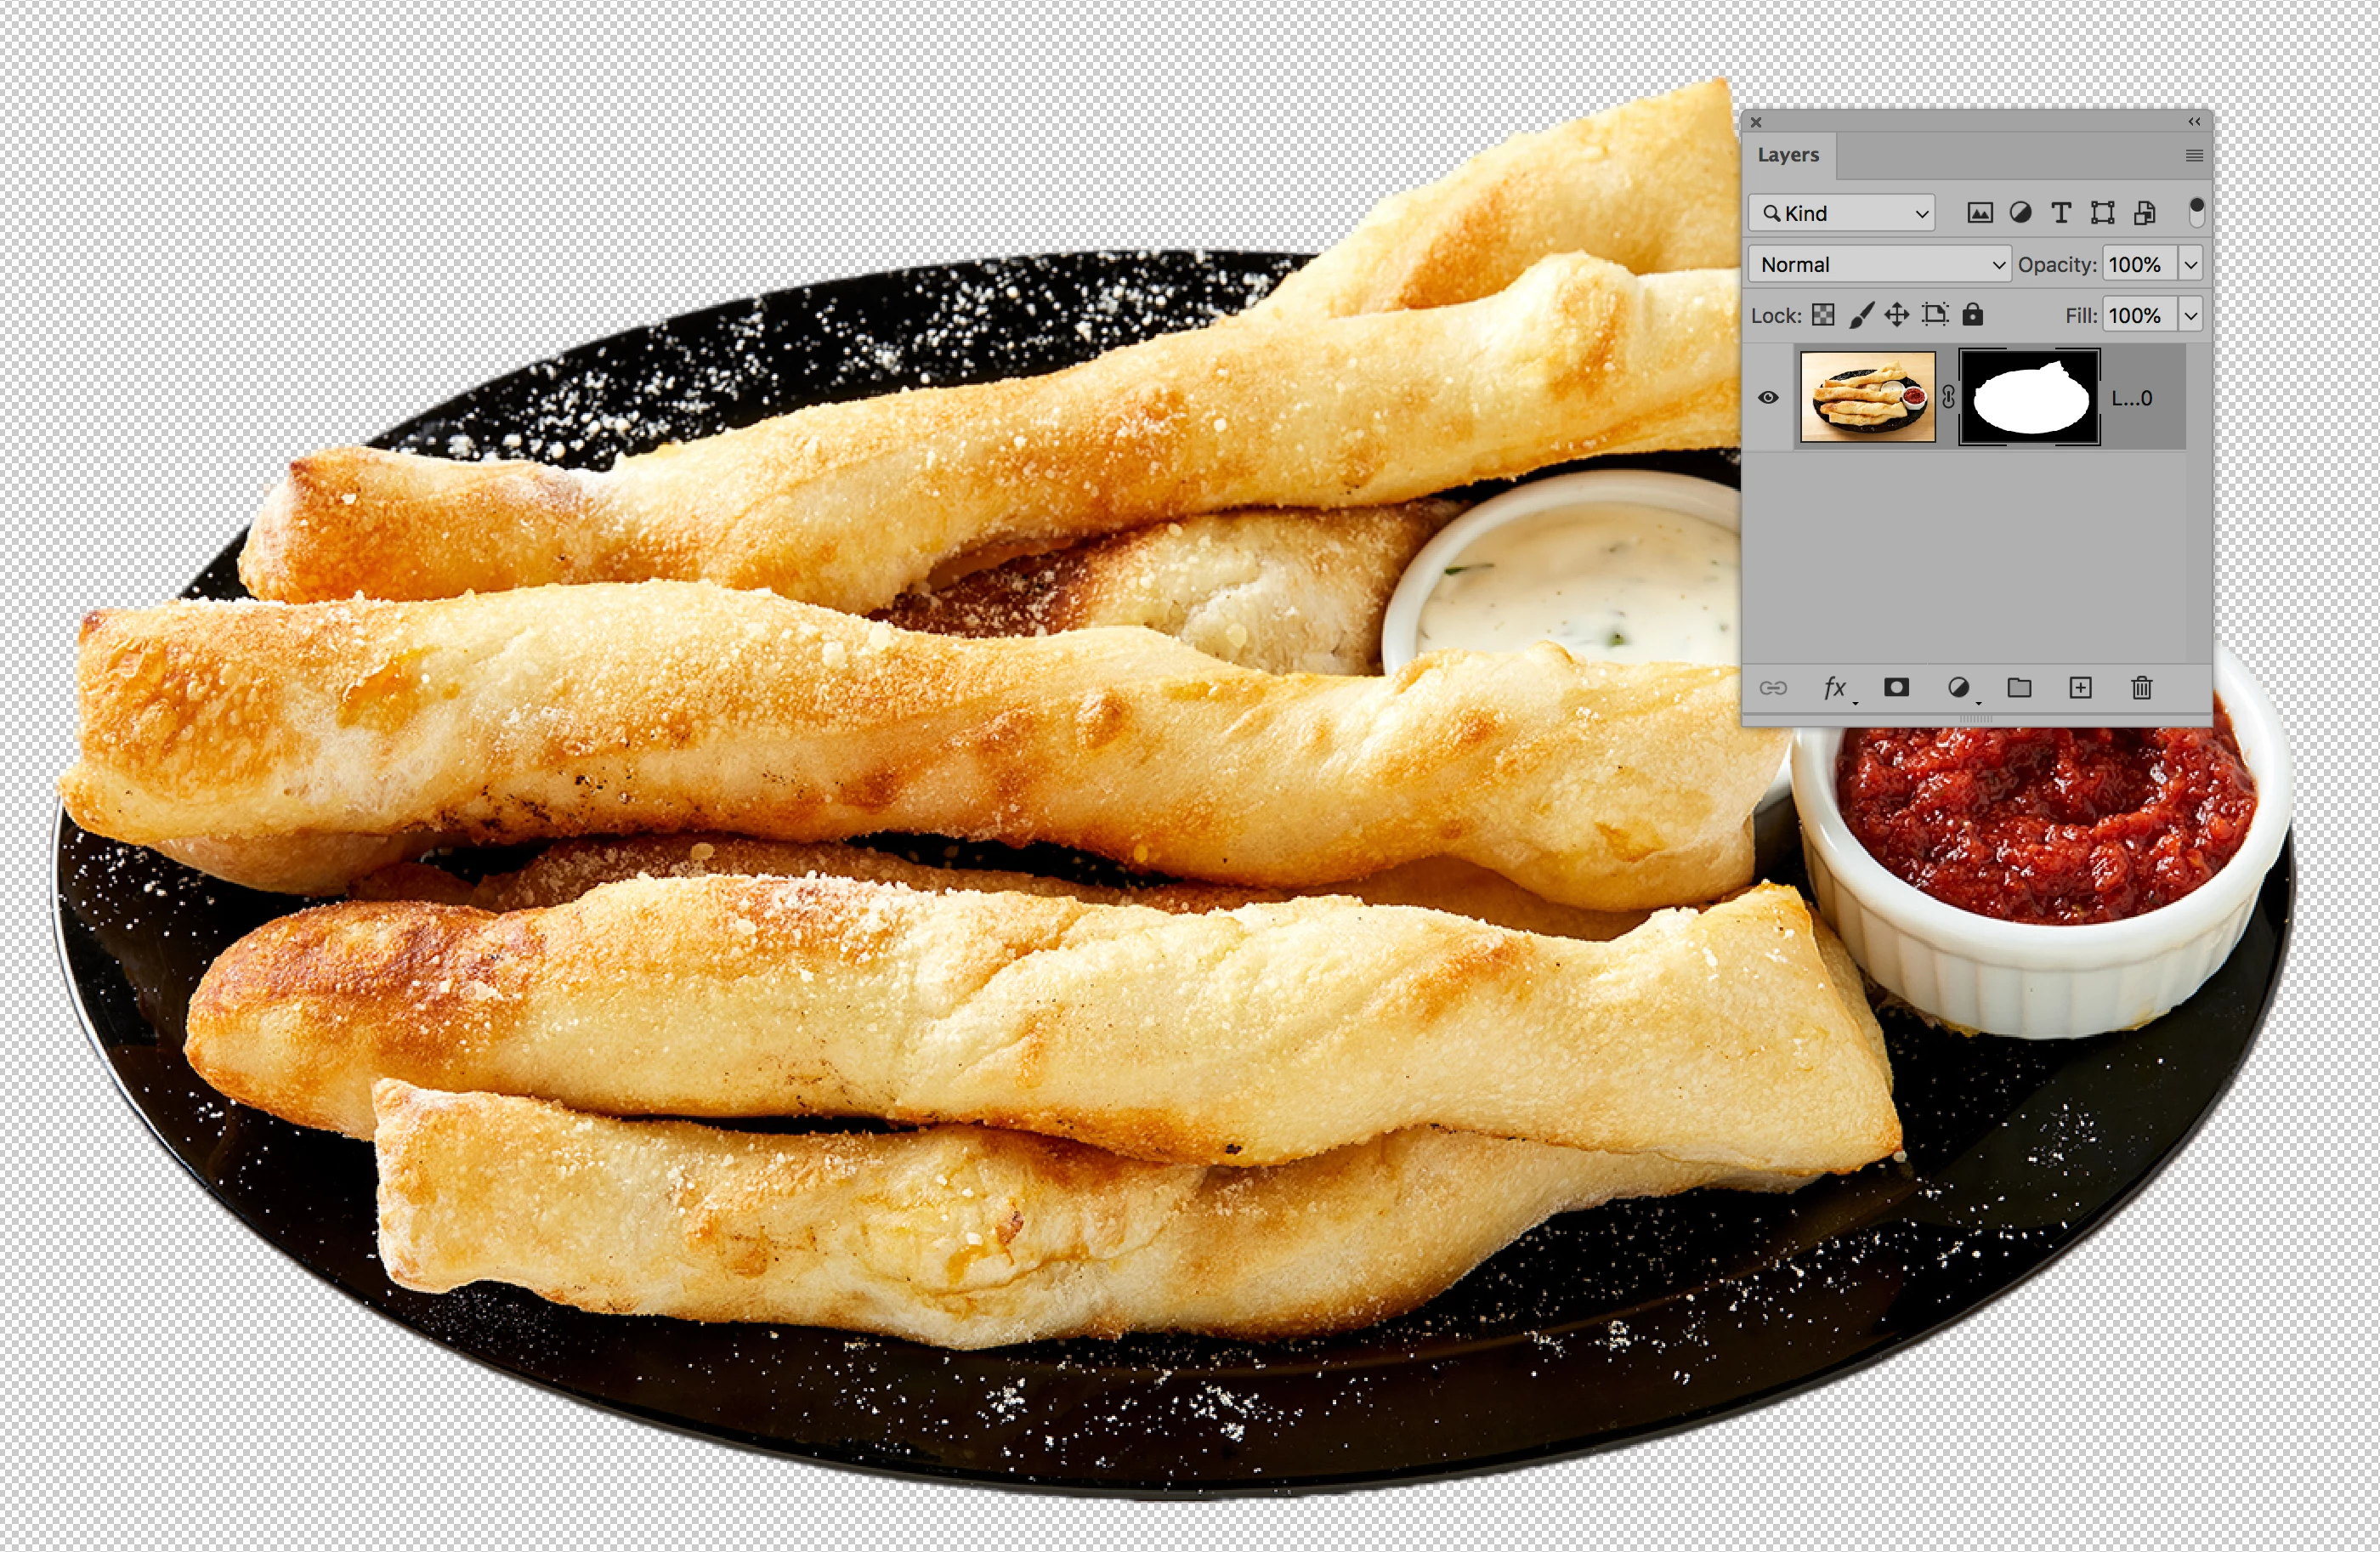
TIP: Do not use the Eraser tool, as that is destructive editing. Instead, use a layer mask for non-destructive editing.
~ Jane
Copy link to clipboard
Copied
Copy link to clipboard
Copied
I recommend also this tutorial about https://photoshopanswer.blogspot.com/2020/04/how-to-remove-watermark-in-photoshop.html?m=1