Jber,
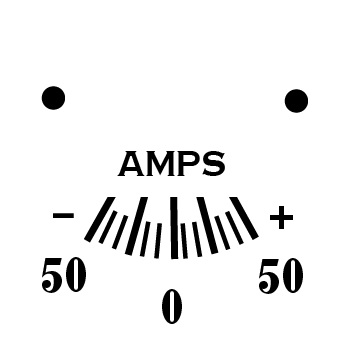
You can get the right look, at least very close, for both thick and thin hash marks if you create them in one of the usual ways based upon a circle with the centre up about the change of the background colour, as follows:
1) Create the thin hash marks with the final length;
2) Create the thick hash marks with at least the length of the central one over the Zero;
3) Create a stroke/nofill rectangle (on top of everything) that covers the tick marks up to the desired top of the central tick mark (you may curve the top side a tiny bit if desired;
4) Select the thick hash marks from 2) and the top rectangle from 4) and Object>Clipping Mask>Make.
4) will give the appearance of the (almost) horizontal cutoff at the top of all the thick hash marks without changing anything else, because the top rectangle acting as the Clipping Path will be invisible and only affect the thick tick marks.


 3
Replies
3
Replies

 AdChoices