

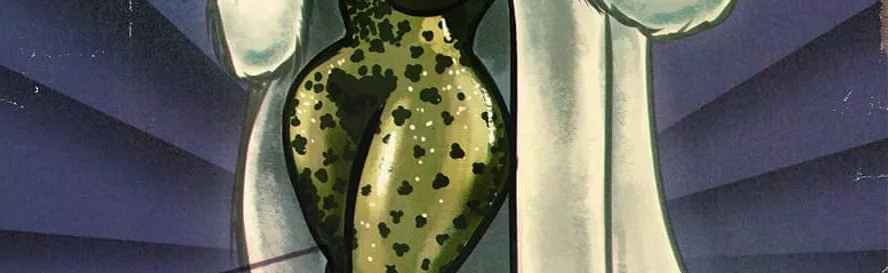
vintage circle gradient background

Copy link to clipboard
Copied
good morning all,
i don't have a full screenshot, but
i'm trying to reproduce this background gradient effect in illustrator.
can someone point me to a nice tutorial?
the way i figured out doesn't look the same.
thank you.
G


Explore related tutorials & articles
 8
Replies
8
8
Replies
8

Copy link to clipboard
Copied
Just make one that you like and then step and repeat on an angle, then mirror for the other side...
Copy link to clipboard
Copied
thanks. i sort of did that but the gradients don't look the same. see attached.

Copy link to clipboard
Copied
I think you are on the right track--just watch your angles and crop area.


Copy link to clipboard
Copied
thanks. i'll keep trying.

Copy link to clipboard
Copied
Also, remove the stroke from your paths.


Copy link to clipboard
Copied
G,
You have to make a few choices, including whether you wish to make a rounded/circle transiton or an angular/polygon transition, and which angle each transition is to span, and which angle the two opposite sets are to meet at such as vertical or off vertical, and whether you wish to have a stroke round each transition unit (seemingly there is no stroke in the original artwork).
If you choose the angular/polygon as it seems, as one way you can (Smart Guides being your friends:
1) Create a polygon with the desired angle and size and rotate it if/as desired, then with the Pen Tool Click the centre, then each corner, then the centre again to have your first path, then give it the desired fill colour at one side;
2) Copy this first path on top of itself, then deselect and ClickDrag one of the Anchor Points along the (polygon) side almost to the opposite side to have a narrow path, and give this second path the desired fill colour at that side;
3) Select both paths and Object>Blend>Options Align to Path and Smooth or many Specified Steps, then Object>Blend>Make;
Now you have your first symmetrical unit, and you can rotate and mirror, using different ways, apart from Repeat you can simply rotate by the desired angle with the Rotate Tool using the centre Anchor point as centre, or if you have a vertical first unit you can use the Effect>Distort & Transform>Transform (bottom reference point) and Rotate by the desired angle then expand; once you have all therotated unit on one side you can mirror using the Object>Transform>Reflect with the relevant angle.
Copy link to clipboard
Copied
thank you all for the help.
i couldn't figure out how to automat the process so I moved everything by eye.
here's what i ended up with.
the slices and gradient angles aren't mathematically perfect but i guess it works, no?
Copy link to clipboard
Copied
For my part you are welcome, G.
Smart Guides are still your friends: you can move an object with the Selection Tool by ClickDragging it by one of the Anchor Points, in this case the bottom one, and snap it to the corresponding Anchor Point so they become coincident (Smart Guides say anchor when you are within snapping distance), so with the right angle (change from one to the next) you can get accurate abutment.
The colour transition present a greater issue:
Judged by your retroGradientFan-718x584 screenshot you are using a linear gradient, see the top part where it is horizontal as a reference.
However, that gives you a transition where you have a dark part that has the same width all the way down so the whole triangle has the same colour at the bottom where it narrows into a point.
This is the reason for my suggesting a Blend which can widen the transition upwards/narrow it downwards so it follows the actual shape width from top to bottom.
This is how the vintage transition is.

 AdChoices