- Home
- Illustrator
- Discussions
- How to created a 'pixelated gradient'?
- How to created a 'pixelated gradient'?
How to created a 'pixelated gradient'?

Copy link to clipboard
Copied
Hi,
I'm lookinf for help on how to create a pixelated gradeint (if that's the correct term!) in Ullustrator CS5. I will be using a country map outline as the 'boundary' or container for my graphic.
Below is a image I found on a stock website, which is basically what I want to do, but with only 2 colours. (though I'm assuming because it's a gradient I can changed them anyway). I've had a go with Live paint, which worked to some degree but it was incredibly time consuming and I have 20 or so graphics to do! Plus I want to minimise the lines as much as possible, which is not what is shows below.
Thanks for your help.
![]()
Explore related tutorials & articles
Copy link to clipboard
Copied
People call it "dithering" and once you look up the term on teh web, it becomes clear that it's just a matter of defining patterns to mimic optical density. Ergo, the process would involve using fill patterns, pattern brushes or similar to quickly create such structures in AI as well. If that's not possible because the designs exist in some fixed form as a multitude of small squares already, then indeed filling them individually is pretty much all you can do. In part it may also be possible to use combinations of live trace and the convert to mosaic function, though...
Mylenium
Copy link to clipboard
Copied
Create a gradient structure in Photoshop or a gradient mesh or a gradient.
Convert to pixel (rasterize) if necessary
Object > Create Object mosaic, enter desired number of pieces
to convert to 2 colors, use Edit > Edit colors > Recolor art
Copy link to clipboard
Copied
I would do this differently,
is this something what u trying to do?

If it is:
1. draw a square: 10mm x 10mm (for the purpose of this explanation)
2. Fill it with a 1(+1) colour gradient ( and a tint of that colour) you dont have to but end results better.
3. Then drag it into the symbols panel. (graphic when asked)
4. select the square on the art board (which is now a symbol)
5. then effect>distort and transform>transform
6. change the reference point to top left
7. copies 25, move horizontal 10mm, click ok
8. then effect>distort and transform>transform again and yes to apply new effect
9. change the reference point to top left
9. copies 25, move vertical 10mm, click ok
10. Then: object>expand appearence
11. Right click on object and ungroup TWICE
12. then select the symbol screen (or stainer) tool (play around with then and settings till u happy)
13. drag over the object.
G

Copy link to clipboard
Copied
Grant,
Thats kinda what I'm looking for, but I'm not using and kind of shape (you have what looks like a line?). I simply want to create a type fof radial gradient, but for it to be pixelated so there is more differenatiation between each square.
This is what I tried earlier with Live paint. I can see that it will work if I make the squares smaller and the lines much thinner, but again, I have 20 artworks to do...
I'll try your method shortly, I just though I'd post my goals incase you method could be altered.
Thank You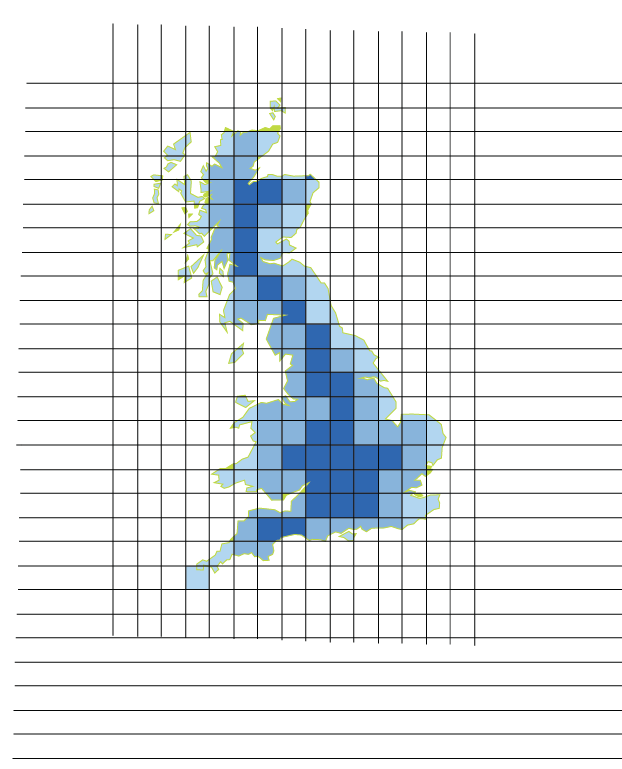
Copy link to clipboard
Copied
Rasterize it and then make a mosaic.
Copy link to clipboard
Copied
Hi N
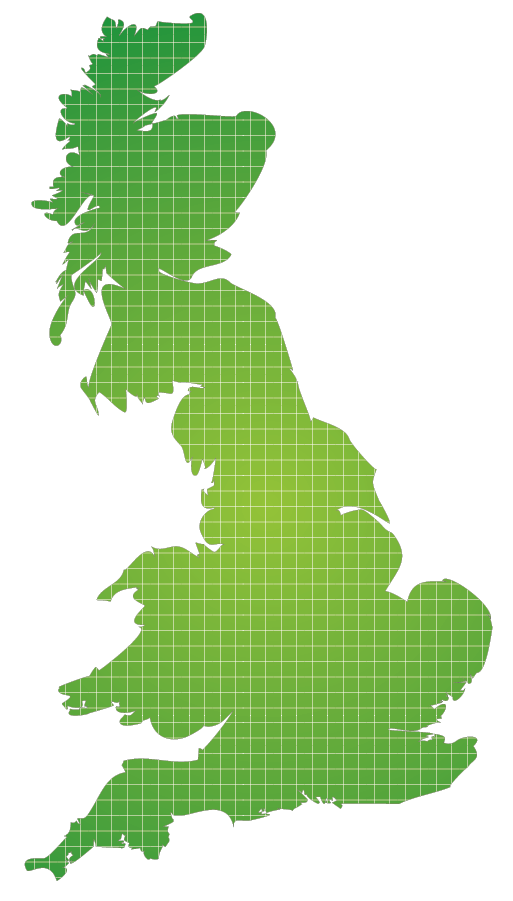
Just to clarify - is this the kind of thing you're after doing?
![]()
Copy link to clipboard
Copied

Result:

Then you only have to delete the white boxes and make all the others the same color.
You can have this without gaps between the boxes as well.

Copy link to clipboard
Copied
Hi Tony,
Yes that is something similar to what I'm looking at, however, the emphasis in on the 'middle' part of the gradient, i,e, the middle colour needs to run from top to bottom... I see you have used a radial gradient so the lighter colour hasn't reached the very top...
I'm sorry if I'm being too picky, but I can't find any precedent work that is esactly what I want to do... All these graphics will be used for Maps/towns/regions. (I'm studying Architecture)
Thanks for your help

Copy link to clipboard
Copied
Hi Mokina,
Yes that's very close to what I'm looking for, howeve the only thing I would like (though could become quite troublesome) is that the gradient doesn't reach the very top of the map (In this case Scotland). But overall, that's the kind of result I want, and it looke like you applied a radial gradient straight over the UK, they made some changed in the moassaic panel? (could I fine tune the moassaic so that I don't look too much of the overall shape?)
Thank you
Copy link to clipboard
Copied
![]()
Make that gradient as you like it. You can do that before making the mosaic or afterwards. When applying the gradient afterwards, single squares will have a gradient in them. The squares created by the mosaic function are solid colored.
Copy link to clipboard
Copied
![]() Monika
Monika

Copy link to clipboard
Copied
Thank you both Monika and Tony. I will use your information tomorrow when creating such graphics. There seems to be a few options so it'll be good to try them all out.
Thank you so much ![]()
Copy link to clipboard
Copied
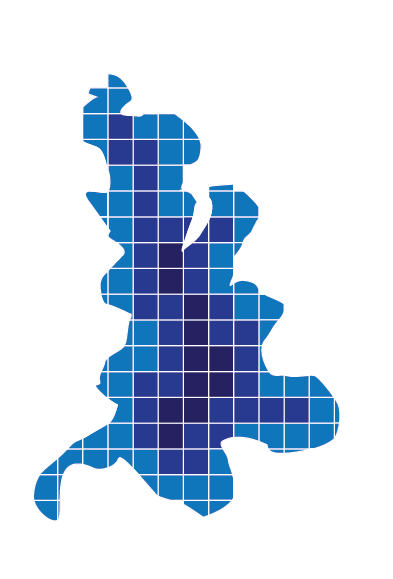
f yu wnt to do it as a contour effect then you might simply Take a rectangle and Use the Object>Pat>Split into Grid faeture.
then place you map outline over that with no fill or stroke andselect both and turn it into a Live Paint Group
then take the Live Paint Bucket and fill the squares as you like then expand the Live Paint Group and delete the remaing square using the lasso tool to select them first.
More of this type of effect where you can follow the contour of the map.
Copy link to clipboard
Copied
Hi
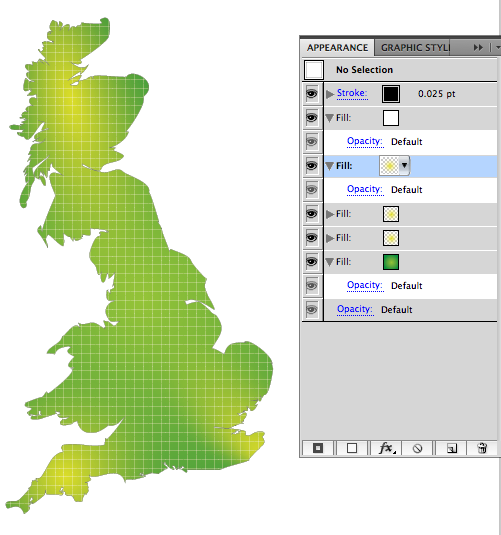
Adjusting the gradient with the gradient tool would be fairly easy.
You could also add additional fills and have other gradients in there that use transparency.
Then get a simple pattern fill and apply that as an additonal fill as well.
Shot of my appearance panel below - the top fill is a line pattern with ewhite grid lines.
Copy link to clipboard
Copied
I have a similar project. I want to create a gradient of pixels exploding outwards. Sort of what Monika did, but actually using squares instead of a path. I just want to apply a radial gradient with mosaic look to this:![]()
Copy link to clipboard
Copied
You want to fill this with a radial gradient?
Are those single squares?
In that case select them all, create a compound path and then apply the gradient.
Copy link to clipboard
Copied
Thank you. That worked.
Copy link to clipboard
Copied
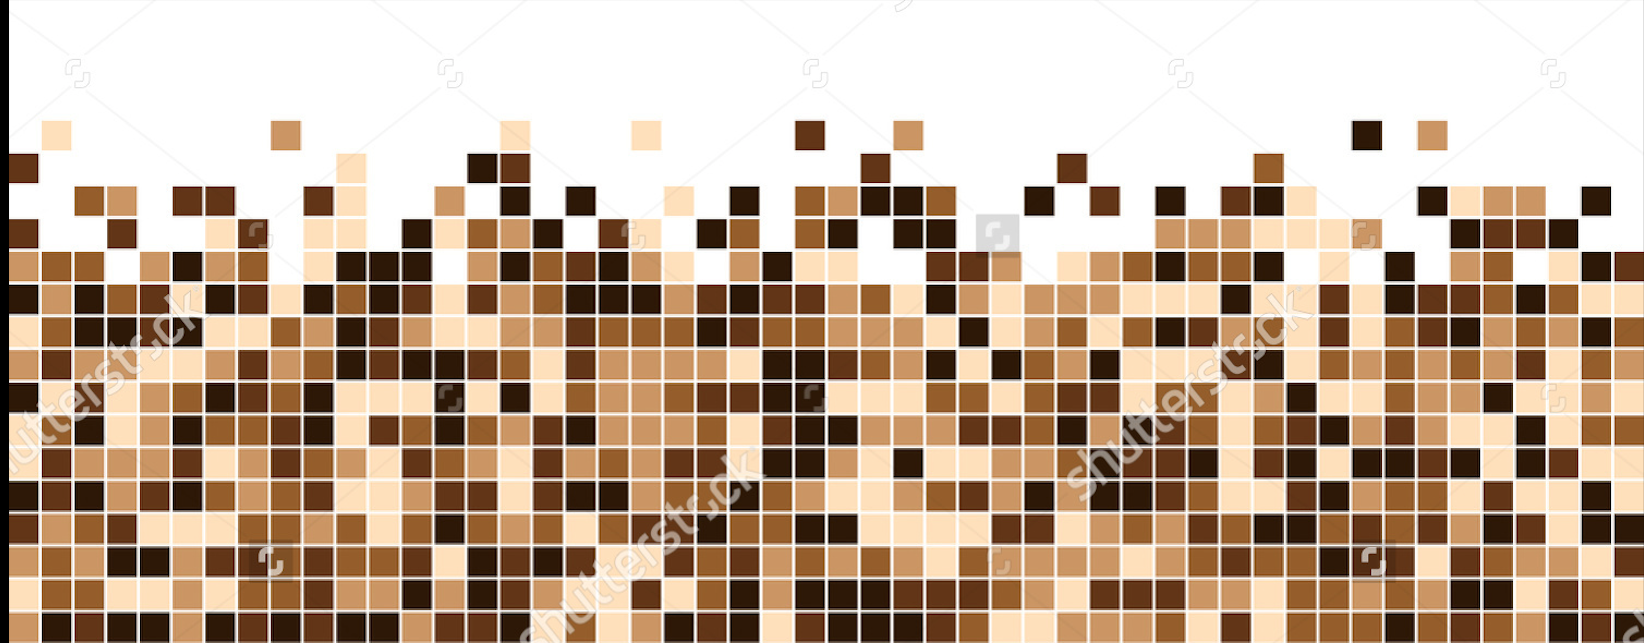
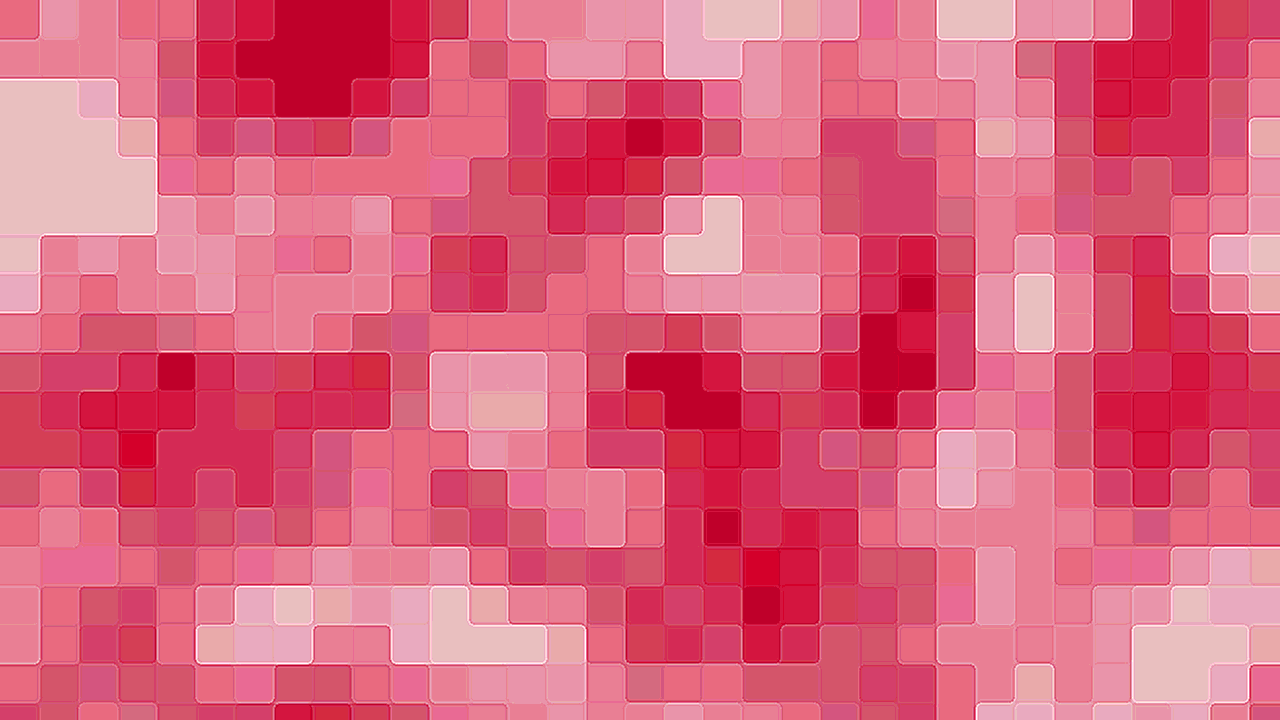
I've got very similar question (noob) : want to create a mosaic pattern with three colors gradient from solid bottom to white top with mostly white from the middle on - also something like a stock photo I saw but with red gray and white - have already worked out how to do a total mosaic using two colors from http://robertsproductions.net/photoshop-mosaic-pattern/http:// but got stuck with (1) how to combine a gray and red version together and (2) how to apply a gradient to get them to fade out from mid screen ... any sugestions most appreciated!
Copy link to clipboard
Copied
That page serves a 404.
I don't understand what you want to do.
Copy link to clipboard
Copied
My apologies - http://robertsproductions.net/photoshop-mosaic-pattern/
What I want to do is create a background image (like the coffee coloured one I found) for a webpage based on a mosaic pattern of red/gray dark at the bottom and fading gradually more and more to white.
The method at the page shown creates a solid mosaic with no gradient and based on red and white only. The gradient solution is similar to what is on this page which is why I posted here, just need to know how to apply from bottom (heavy) to top (light).
Combining two mosaics into a third is harder - will put into a separate post.
Copy link to clipboard
Copied
Hi, you can create any mosaic from any embedded raster image in Illustrator to get "this" type of look.
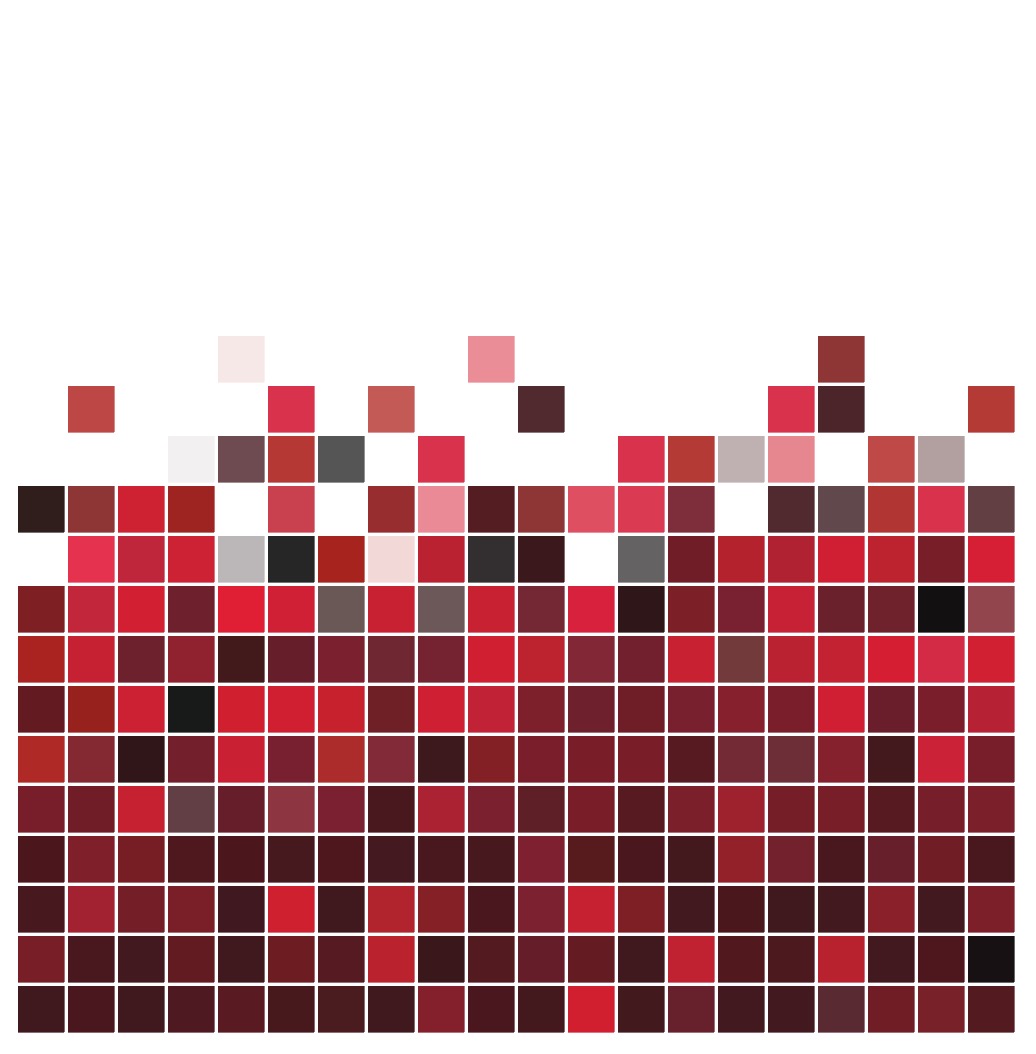
I quickly created an image in photoshop using a few colours, placed the image in Illustrator, embedded the image, then:
Object>Create object mosaic.
I selected settings as follows (you will need to use your own depending on the look you are after)
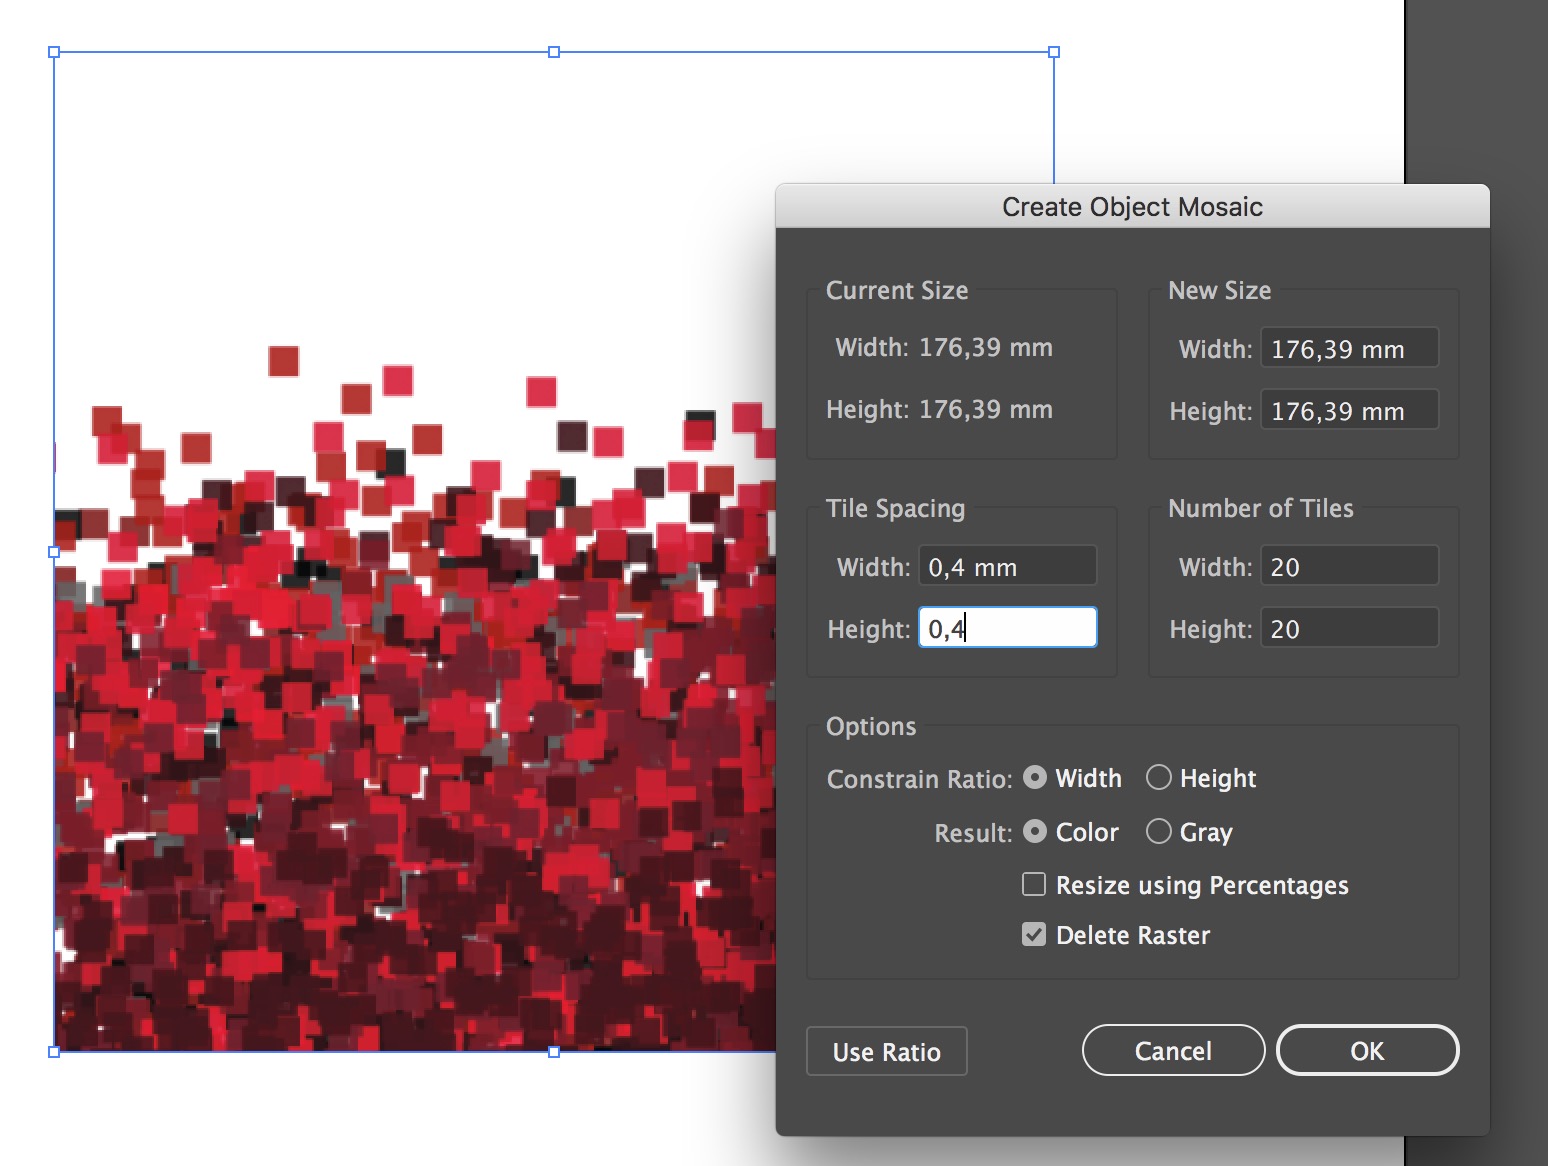
hope that helps.
Regards
Grant
Copy link to clipboard
Copied
Thank you both for pointing me in the right direction
Copy link to clipboard
Copied
How did you create that last image, with the tile positions randomized?
Copy link to clipboard
Copied
dtnicks schrieb
How did you create that last image, with the tile positions randomized?
First apply the mosaic function or create a raster in a different way.
Then apply Object > Transform > Transform Each with "Random" setting
-
- 1
- 2


