Zig-Zag line with variable spacing
Copy link to clipboard
Copied
Hi all, I know there must be a way to do this in Illustrator but I can't figure it out. I need to re-create a graphic with a wavy line whose starting point has thinner waves than the end point. I've attached a screen shot. I know how to use the Zig-Zag tool, but I can't figure out how to stretch the resulting line in a way that distorts the wave. Any ideas on how I could achieve this effect? Thanks in advance!
Explore related tutorials & articles
Copy link to clipboard
Copied
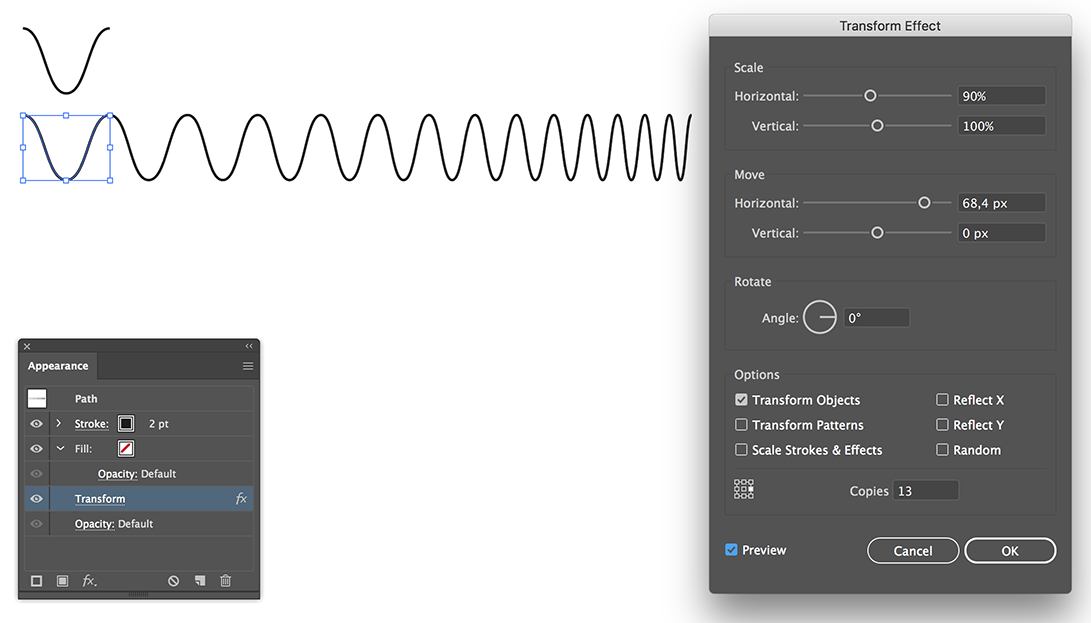
You could take a single wave element (I expanded the Zig Zag Effect) and play with the Scale, Move and Copies options from the Transform Effect.

Copy link to clipboard
Copied
I know how to use the Zig-Zag tool, but I can't figure out how to stretch the resulting line..
Draw the zig-zag path with uniform spacing. Leave it selected.
Use the Reshape Tool to select one of its endpoints and drag it.
JET
Copy link to clipboard
Copied
Here is a thought.
We'll first make one zig zag for the widest curve.
Draw a line, Effect > Distort & Transform > Zigzag . adjust to get the widest one you'll need.
Object > Expand Appearance and Object > Ungroup. Now you have an editable line.
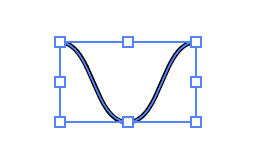
Delete the rest of the line, so you have just one curve.


make a copy and move to the other side of the page, and make the one on the left a skinny curve, by dragging in the bounding box.

Select both wide and skinny curves.
Choose the blend Tool in the Tools Panel. Click on the bottom point on both curves.
type in how many curves you'll need. If you type in 10, you'll end up with 12, 10 in the middle and two on each side.
Click ok to make the blend.
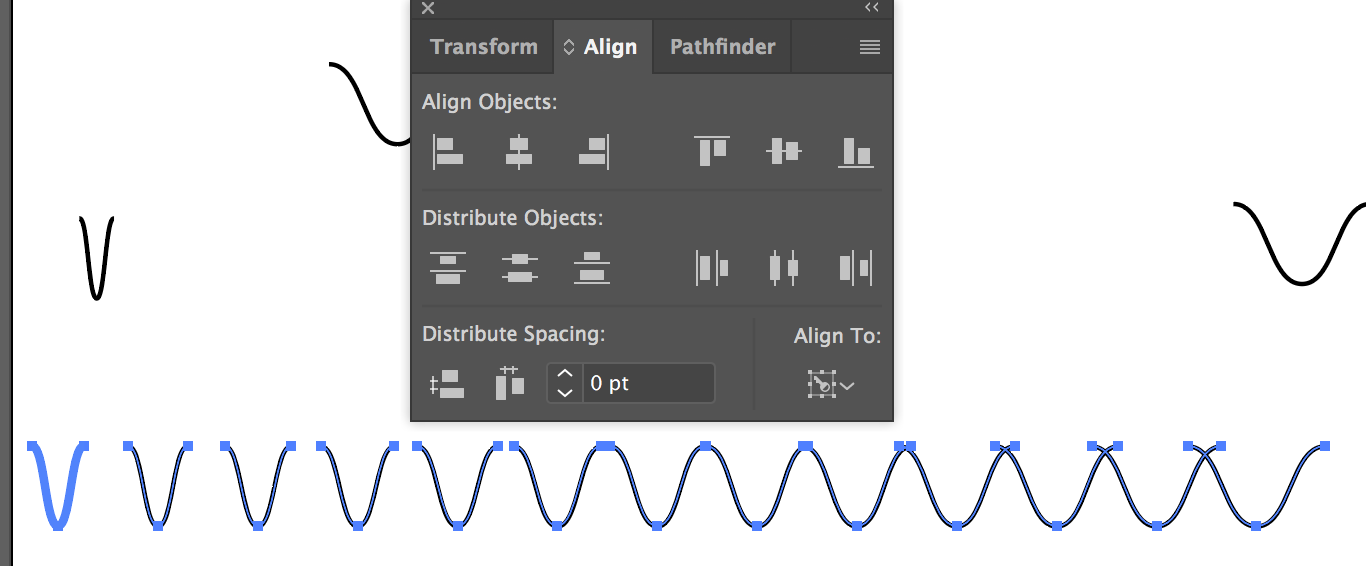
You'll end up with this:

Object > Expand to break apart the blend.
Object > Ungroup to get separate curves
Now, select all these expanded curves, click on one of the curves again to make it the KEY object (it will turn a thicker selection color) (You need to do this to type in a value in the next step)
Open the Align Panel and in the very bottom under Distribute Spacing: type in "0" for the value and click the second button - to align the edges of each curve with the edge of the next curve with "0" space between.

This will align all the curves so they butt up to each other depending on their width.
Now, you'll need to join the connecting points.

Select all the curves with the direct selection tool and choose Object > Path > Join
I hope this works for you!
Laurie


