Copy link to clipboard
Copied
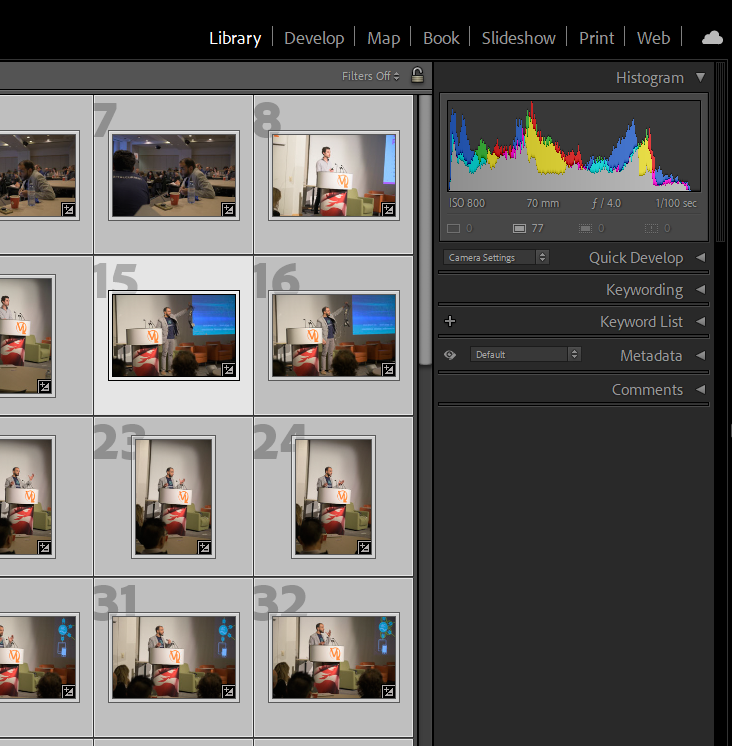
Hello, When I import my photos into Lr 4.1, they look normal & balanced, then turn very dark, one by one. I can visually see this on the filmstrip. I am not sure if this is a JPG preview I am seeing...They do not show up like this in my Pictures folder nor in CS Bridge.
I shoot a Nikon D7000 in RAW always, shoot on Auto, Manual, Apeture, etc. I am running on a Windows Vista 32 bit, but import as TIFF files in 16 bit and work with 16 bit files. I usually set my camera to no saturation, or very little, no sharpening, etc., preferring to work with the RAW file only.
Thank you in advance.
 2 Correct answers
I would also like to know. Did you ever find an answer to this? Thanks!
By Roland23599671vzkb
the answer is already in this thread, scroll up
Copy link to clipboard
Copied
Copy link to clipboard
Copied
This is normal. You’re seeing the camera generated JPEG saved within the raw, then LR has to update it using it’s engine and build a higher quality preview. You can update your LR defaults to produce a rendering that is closer to the camera generated JPEG or at the very least, one that doesn’t look ‘dark’ to you, then the updated preview will appear more to your liking.
Copy link to clipboard
Copied
WHERE in Lightroom would I go to accomplish this?
Copy link to clipboard
Copied
Hello @Aggie23080470wvku
You have 'bumped' a forum thread that is 10 years old! Much has changed since then.
Please include the following in your question: Preferably in a NEW post.
Adobe App in use and its Version number?
A Screenshot of the info panel from MENU: Help/System Info...
Computer Operating system and Version number?
Your Camera Brand and Model Number?
Any special settings you have made in camera menues?
Copy link to clipboard
Copied
I would also like to know. Did you ever find an answer to this? Thanks!
Copy link to clipboard
Copied
I would also like to know. Did you ever find an answer to this? Thanks!
By Roland23599671vzkb
the answer is already in this thread, scroll up
Copy link to clipboard
Copied
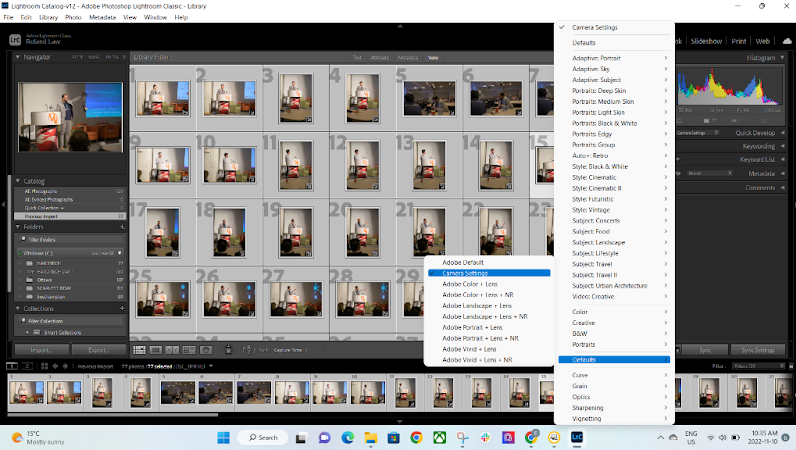
Hi Aggie and other people who had this question. I have an answer that might help. When you import your photos, set it to 1:1 under the build previews dropdown on the right (before you import). This doesn't full solve the problem, just creates the "darker" preview you would've seen when switching from library to develop. To fix the darkening issue, select all your imported photos in lightroom in the library, and go to the drop down beside quick develop then > defaults > camera settings. This bring your photos back to how they looked (pretty much) when you took them based on the back camera screen view. I hope this helps!
Copy link to clipboard
Copied
It's 2024 now, and while this worked for my Z6 (vacay pics), it did not work for my D7000 (wedding pics), and I'm back to having to edit every single photo. Just heartbreaking when they were so beautifully exposed in camera! I'm on LR Classic 14.0.1 ... Has something changed?
I was over the moon whe it worked for my Z6, now I'm all disappointed again.
By emjaynie4
Twelve year old posting, many many things have changed in LrC, in OS, and in Cameras since then. I see you are new in the community, It is considered bad form to step into an old post, Especially a solved one. Please post your own discussion. When you do, please include your system information as LrC reports it. Please do not reply in this post as that may just irritate other members that might be able to assist.
Copy link to clipboard
Copied
You’ve posted to an ancient thread. It is highly unlikely that the issue described in this thread, though not impossible, is the same one you are currently experiencing. Rather than resurrect an old thread that is seemingly similar, you are better off posting to a new thread with fresh, complete information, including system information, a complete description of the problem, and step-by-step instructions for reproduction.
If the issue is the same, we will merge you back into the appropriate location.
Thank you!
Copy link to clipboard
Copied
There is a more permanent fix for that. In Lightroom, go to Preferences > Presets, Raw Defaults section. Here you choose your camera and "create default".
I have two cameras and I've set Lr to treat their files differently (Adobe default for one, and "Camera standard" for my mirrorless)
Copy link to clipboard
Copied
Yes, I have the same with my Canon 60D. I've understood the difference (camera preview is what you initially see, until LR renders it) but have been a bit confused why the default rendering of LR is so different now...... I'm sure it never used to be this extreme. I seem to add +1 stop exposure to the majority of photos. It could be that the camera manufacturers are brightening their previews/thumbnails ...... which makes it hard when evaluating images on the cameras LCD screen
By the way, why are you dealing with TIFF files? They take up more space than RAW and offer no advantage, except as an output format (as opposed to import format). I find white balance adjustments much easier with RAW images....
Copy link to clipboard
Copied
I'm sure you understand why they turn different now, but just to clarify, the main reason they turn so much darker is due to Active D-Lighting. Nikon software compensates automatically for ADL exposure reduction, Lightroom doesn't. ADL is still just as useful when using Lightroom, but:
* you need to compensate manually
* it's more obvious when you shouldn't have had it on.
Ideally, ADL should be:
---------------------------------
On to preserve highlights at the expense of shadows. call it: "expose to the left".
Off to allow brighter highlights to be blown out if need be in the interest of "exposing more to the right".
Rob
Copy link to clipboard
Copied
Though of course on a Canon, the equivalent function is actually called ALO which affects the exposure settings......in camera processing, and even DPP, will understand that setting and adjust accordingly. Lightroom, however, does not and this can lead to apparent under-exposure when processing Raw files. So it is often suggested that disabling ALO is a good idea if using Lightroom as the primary raw converter. Same applies to Highlight Tone Priority.
Copy link to clipboard
Copied
jim01403 wrote:
So it is often suggested that disabling ALO is a good idea if using Lightroom as the primary raw converter. Same applies to Highlight Tone Priority.
I'm not so familiar with these, but I can imagine these possibilities:
* They should be turned off, because they do things that trip up Lightroom, like maybe some thing that makes the camera profile not work so well (I doubt this is the case).
* Like ADL, they are equally valuable whether using Lightroom or not, as long as one knows how to compensate properly.
People often recommend ADL be off if using Lightroom, so that there are no exposure surprises. Fair enough, but you are no longer taking advantage of a potentially valuable camera feature if you do that.
Again, I dunno 'bout Canon's intelligent contrast handling, but it may be worth learning more and making an informed decision if you shoot Canon.
"Experts" are often wrong...
Rob


