Answered
Fading the edge of an image to 100% transparency
I need to fade the edge of an image to 100% transparency, save as PNG, and then I can put it on another image and it fits naturally. how should i do it?

I need to fade the edge of an image to 100% transparency, save as PNG, and then I can put it on another image and it fits naturally. how should i do it?
Try something like the following: (this is not the only way)
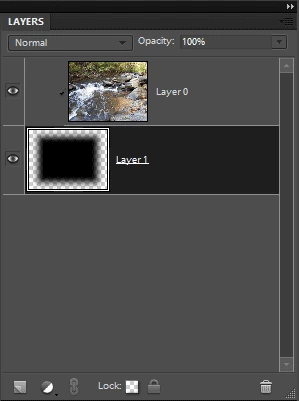
1. Double click on the background layer to make the background layer a regular layer
2. Add a new blank layer above. (Layer>New>Layer)
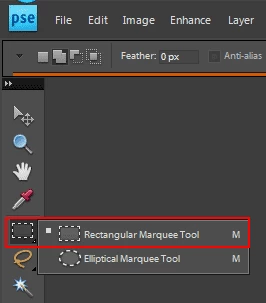
3. Use the rectangular marquee tool to draw a rectangular selection smaller than the photo
4. Edit>Fill>Black
5. Select>Deselect
6. Move the layer below the photo layer ( drag the thumbnail in the layers panel)
7. Click on the photo layer and go to Layer>Create Clipping Mask
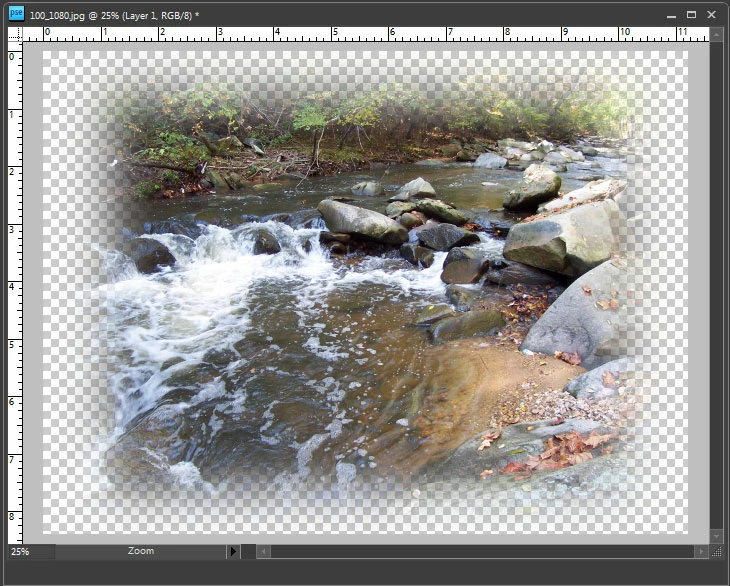
8. Click on the layer filled with black and go to Filter>Blur>Gaussian Blur to fade the edge to transparency.
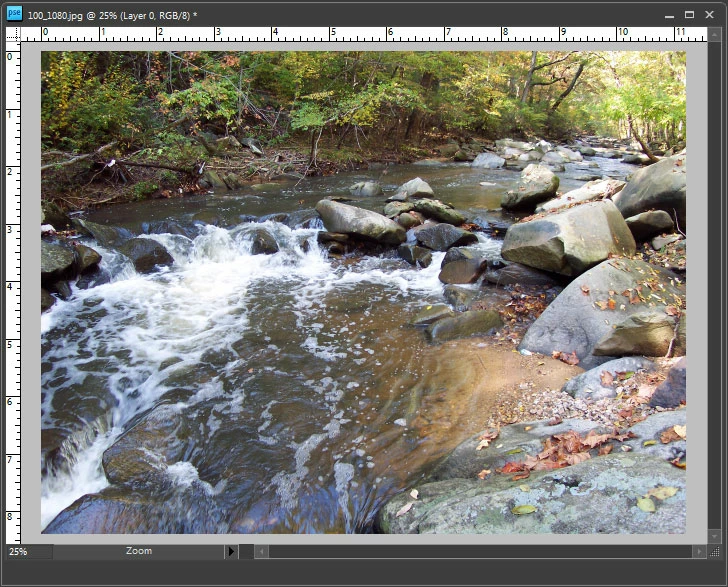
before:
layers panel:
after:
added screenshots
Already have an account? Login
Enter your E-mail address. We'll send you an e-mail with instructions to reset your password.