Exit
  • Global community
    • Language:
      • Deutsch
      • English
      • Español
      • Français
      • Português
  • 日本語コミュニティ
  • 한국 커뮤니티
0

How do I remove this (and what is it called)?

Community Beginner ,
Aug 15, 2018 Aug 15, 2018

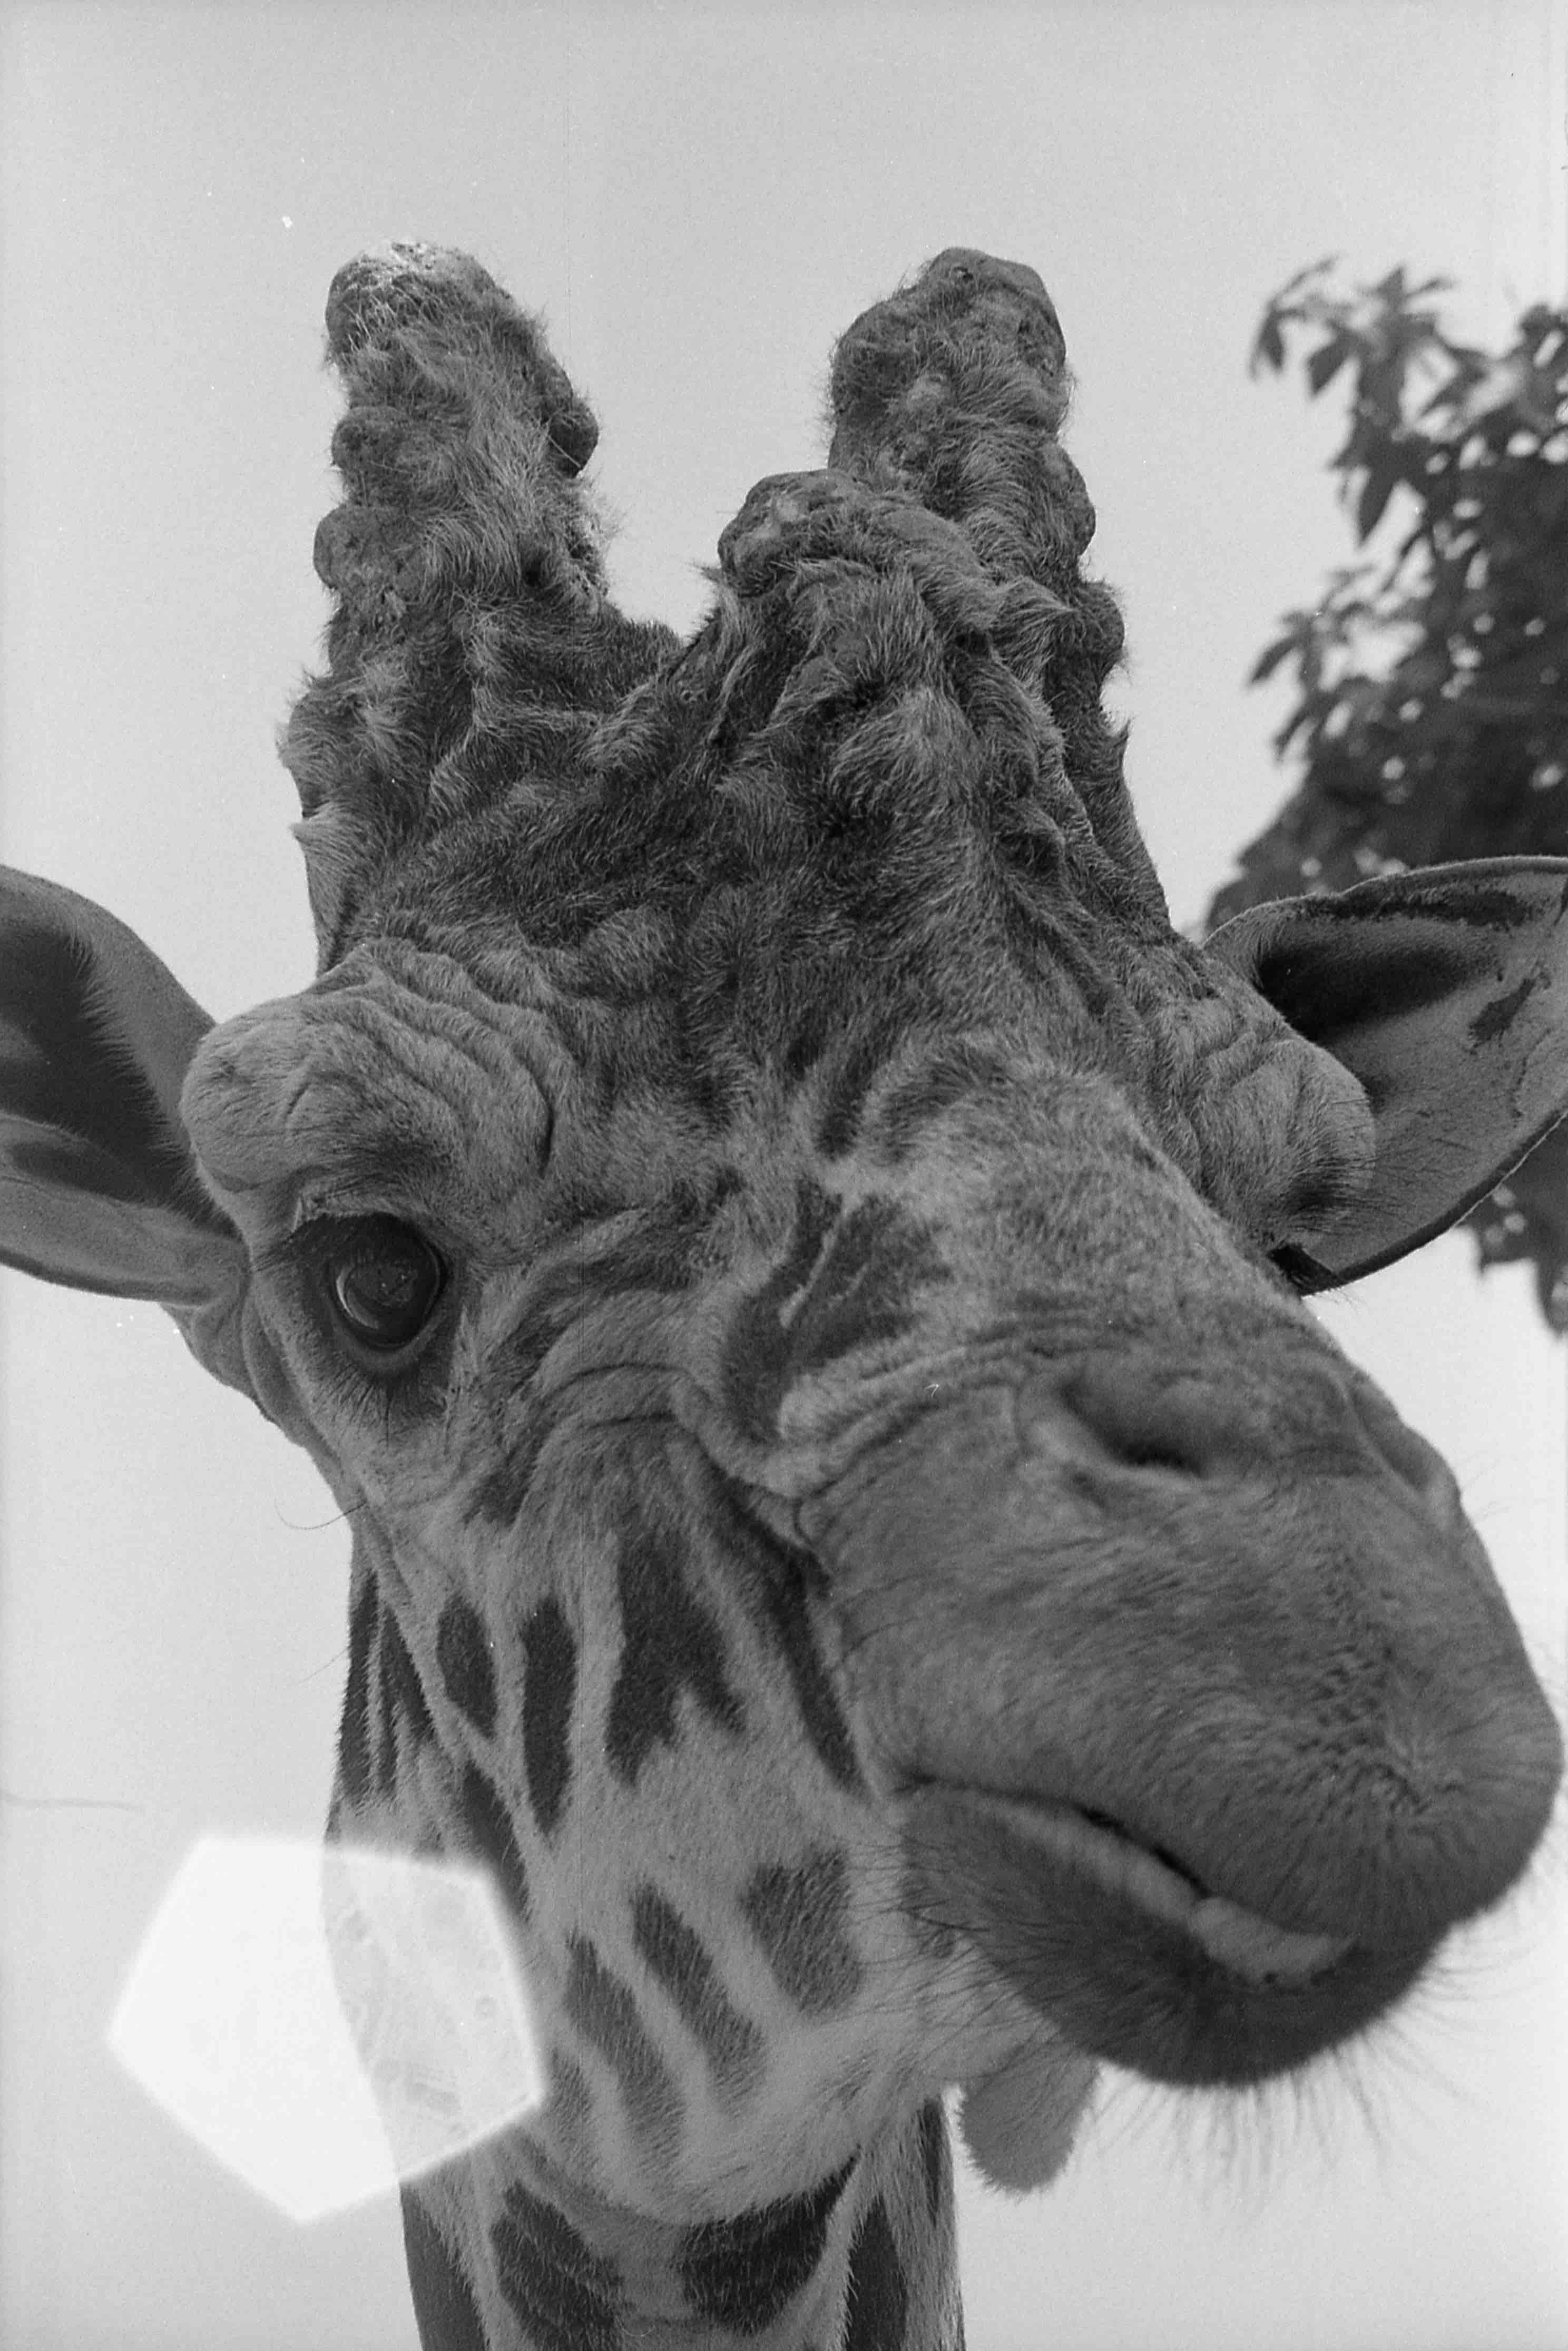
I thought it was called lens flair, but google lead me to other things.  Searching under 'lens reflection' did not work either.  The spot healing brush w/ content aware did not work (it replaced some of the sky with some of the eye). Burn tool still left a lot behind regardless of settings, and with clone tool, I could not find a large enough area of sky to clone just the sky part, but regardless of this, there is no appropriate (or practical) clone area for the giraffe.

I can see (almost) all the information under the 'reflection,' so shouldn't I be able to just remove it?  The original was a B&W negative.

P.S. I used to be notified of replies, but I can't find where to set this now.  I can't find it under preferences or at the bottom of this page.  Where did that setting go?

Portland007r.jpg

470
Translate
Report
Community guidelines
Be kind and respectful, give credit to the original source of content, and search for duplicates before posting. Learn more
community guidelines

correct answers 1 Correct answer

LEGEND , Aug 15, 2018 Aug 15, 2018

Try this:

  1. Activate the Lasso tool and outline a patch from giraffe's skin. You should see "marching ants" when your selection is complete.
  2. Place the skin patch on its own layer  - press CTRL+J ( Layer 1)
  3. Activate the move tool, and nudge the patch over the blemish. You can use the arrow keys on the keyboard for this. Still on this layer, use the Eraser tool to tidy up the patch if there is excess.
  4. Go back to the original Background layer and create a patch for the defective sky. (layer 2) in the sam
...
Translate
LEGEND ,
Aug 15, 2018 Aug 15, 2018

Try this:

  1. Activate the Lasso tool and outline a patch from giraffe's skin. You should see "marching ants" when your selection is complete.
  2. Place the skin patch on its own layer  - press CTRL+J ( Layer 1)
  3. Activate the move tool, and nudge the patch over the blemish. You can use the arrow keys on the keyboard for this. Still on this layer, use the Eraser tool to tidy up the patch if there is excess.
  4. Go back to the original Background layer and create a patch for the defective sky. (layer 2) in the same manner.

giraffe_2.jpg

Translate
Report
Community guidelines
Be kind and respectful, give credit to the original source of content, and search for duplicates before posting. Learn more
community guidelines
Community Beginner ,
Aug 15, 2018 Aug 15, 2018

So the Lasso Tool in this instance is basically a part of a cloning process?

Translate
Report
Community guidelines
Be kind and respectful, give credit to the original source of content, and search for duplicates before posting. Learn more
community guidelines
LEGEND ,
Aug 15, 2018 Aug 15, 2018
LATEST

No. I used the lasso tool to make a selection of a patch of hide and then a patch of normal sky. Then, I dragged the patches to cover the defects. You need to have the layers palette open in order to see the layers.

Sent from my iPad

Translate
Report
Community guidelines
Be kind and respectful, give credit to the original source of content, and search for duplicates before posting. Learn more
community guidelines