Copy link to clipboard
Copied
Took a photo of a pile of jelly beans and I want to put a different face one each jelly bean, program puts all the faces one the same jelly bean. This is my first time to use Photoshop Elements. Does someone know the procedure to add multiple small faces to a back ground like a pile of jelly beans?
Message was edited by: JSM (Discussion successfully moved from Premiere Elements to Photoshop Elements)
 1 Correct answer
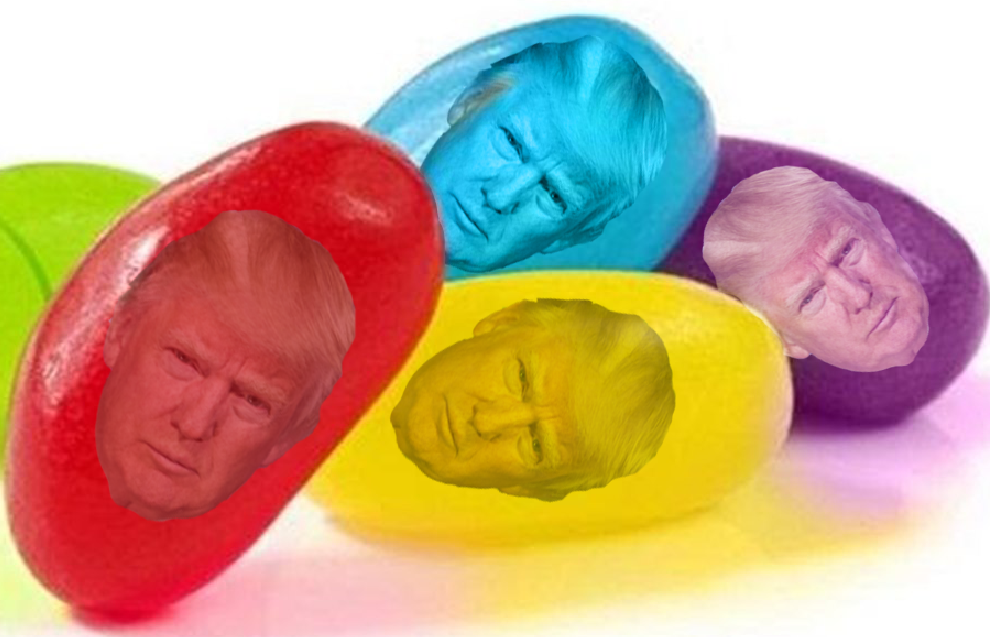
After you have added the faces per Hatstead's instructions, you might want to change their colors to match the jelly bean color.
In the Layers Palette, try various combinations of Blend Mode and Opacity. Here are examples:
red jelly bean - blend mode Normal, Opacity 50%
blue jelly bean - blend mode Luminosity
purple jelly bean - blend mode Screen
yellow jelly bean - blend mode Darken, Opacity 60%

Copy link to clipboard
Copied
daveyt wrote
Took a photo of a pile of jelly beans and I want to put a different face one each jelly bean, program puts all the faces one the same jelly bean. This is my first time to use Photoshop Elements. Does someone know the procedure to add multiple small faces to a back ground like a pile of jelly beans?
Message was edited by: JSM (Discussion successfully moved from Premiere Elements to Photoshop Elements)
- Open the picture with the jelly beans
- Open the picture with face A
- Use one of the selection tools, e.g. selection brush or lasso tool, to select the face. You will see an outline when the selection is complete. Go to Edit menu>Copy to place it on the clipboard
- Go back to the jelly bean picture, then Edit>paste.
- The jelly picture will be the background layer, and the picture with face A will come in as a separate layer above
- Activate the move tool, and position and resize A as indicated.
- Repeat steps 3&4 for faces B,C,D, etc.

Copy link to clipboard
Copied
thank you
Copy link to clipboard
Copied
You're welcome. Glad to help.
Copy link to clipboard
Copied
After you have added the faces per Hatstead's instructions, you might want to change their colors to match the jelly bean color.
In the Layers Palette, try various combinations of Blend Mode and Opacity. Here are examples:
red jelly bean - blend mode Normal, Opacity 50%
blue jelly bean - blend mode Luminosity
purple jelly bean - blend mode Screen
yellow jelly bean - blend mode Darken, Opacity 60%

