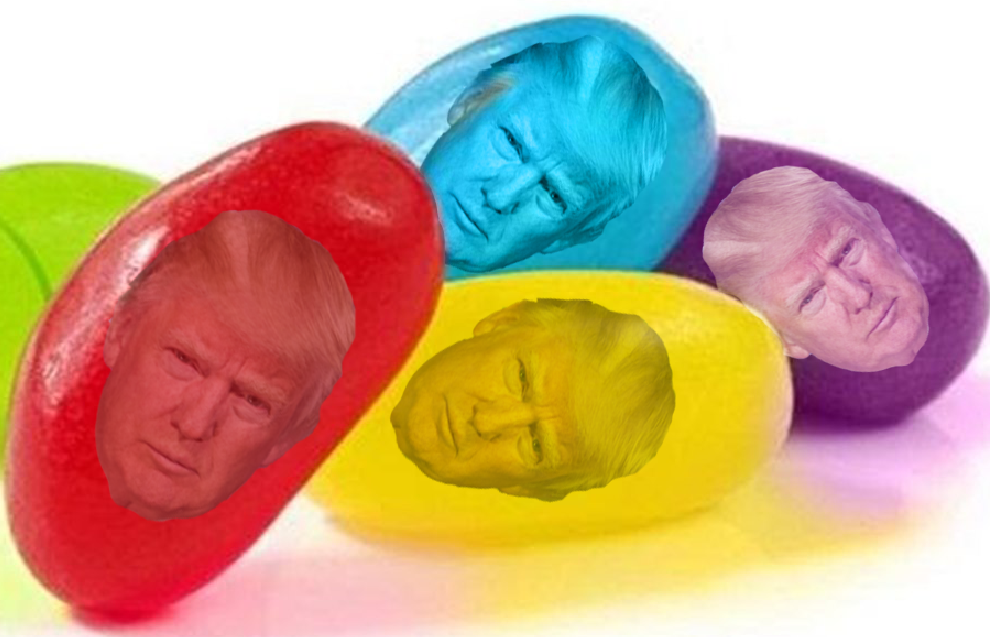
After you have added the faces per Hatstead's instructions, you might want to change their colors to match the jelly bean color.
In the Layers Palette, try various combinations of Blend Mode and Opacity. Here are examples:
red jelly bean - blend mode Normal, Opacity 50%
blue jelly bean - blend mode Luminosity
purple jelly bean - blend mode Screen
yellow jelly bean - blend mode Darken, Opacity 60%


 4
Replies
4
Replies


 AdChoices