Exit
  • Global community
    • Language:
      • Deutsch
      • English
      • Español
      • Français
      • Português
  • 日本語コミュニティ
  • 한국 커뮤니티
1

Transparent Background "Bleed Through"

New Here ,
Aug 22, 2021 Aug 22, 2021

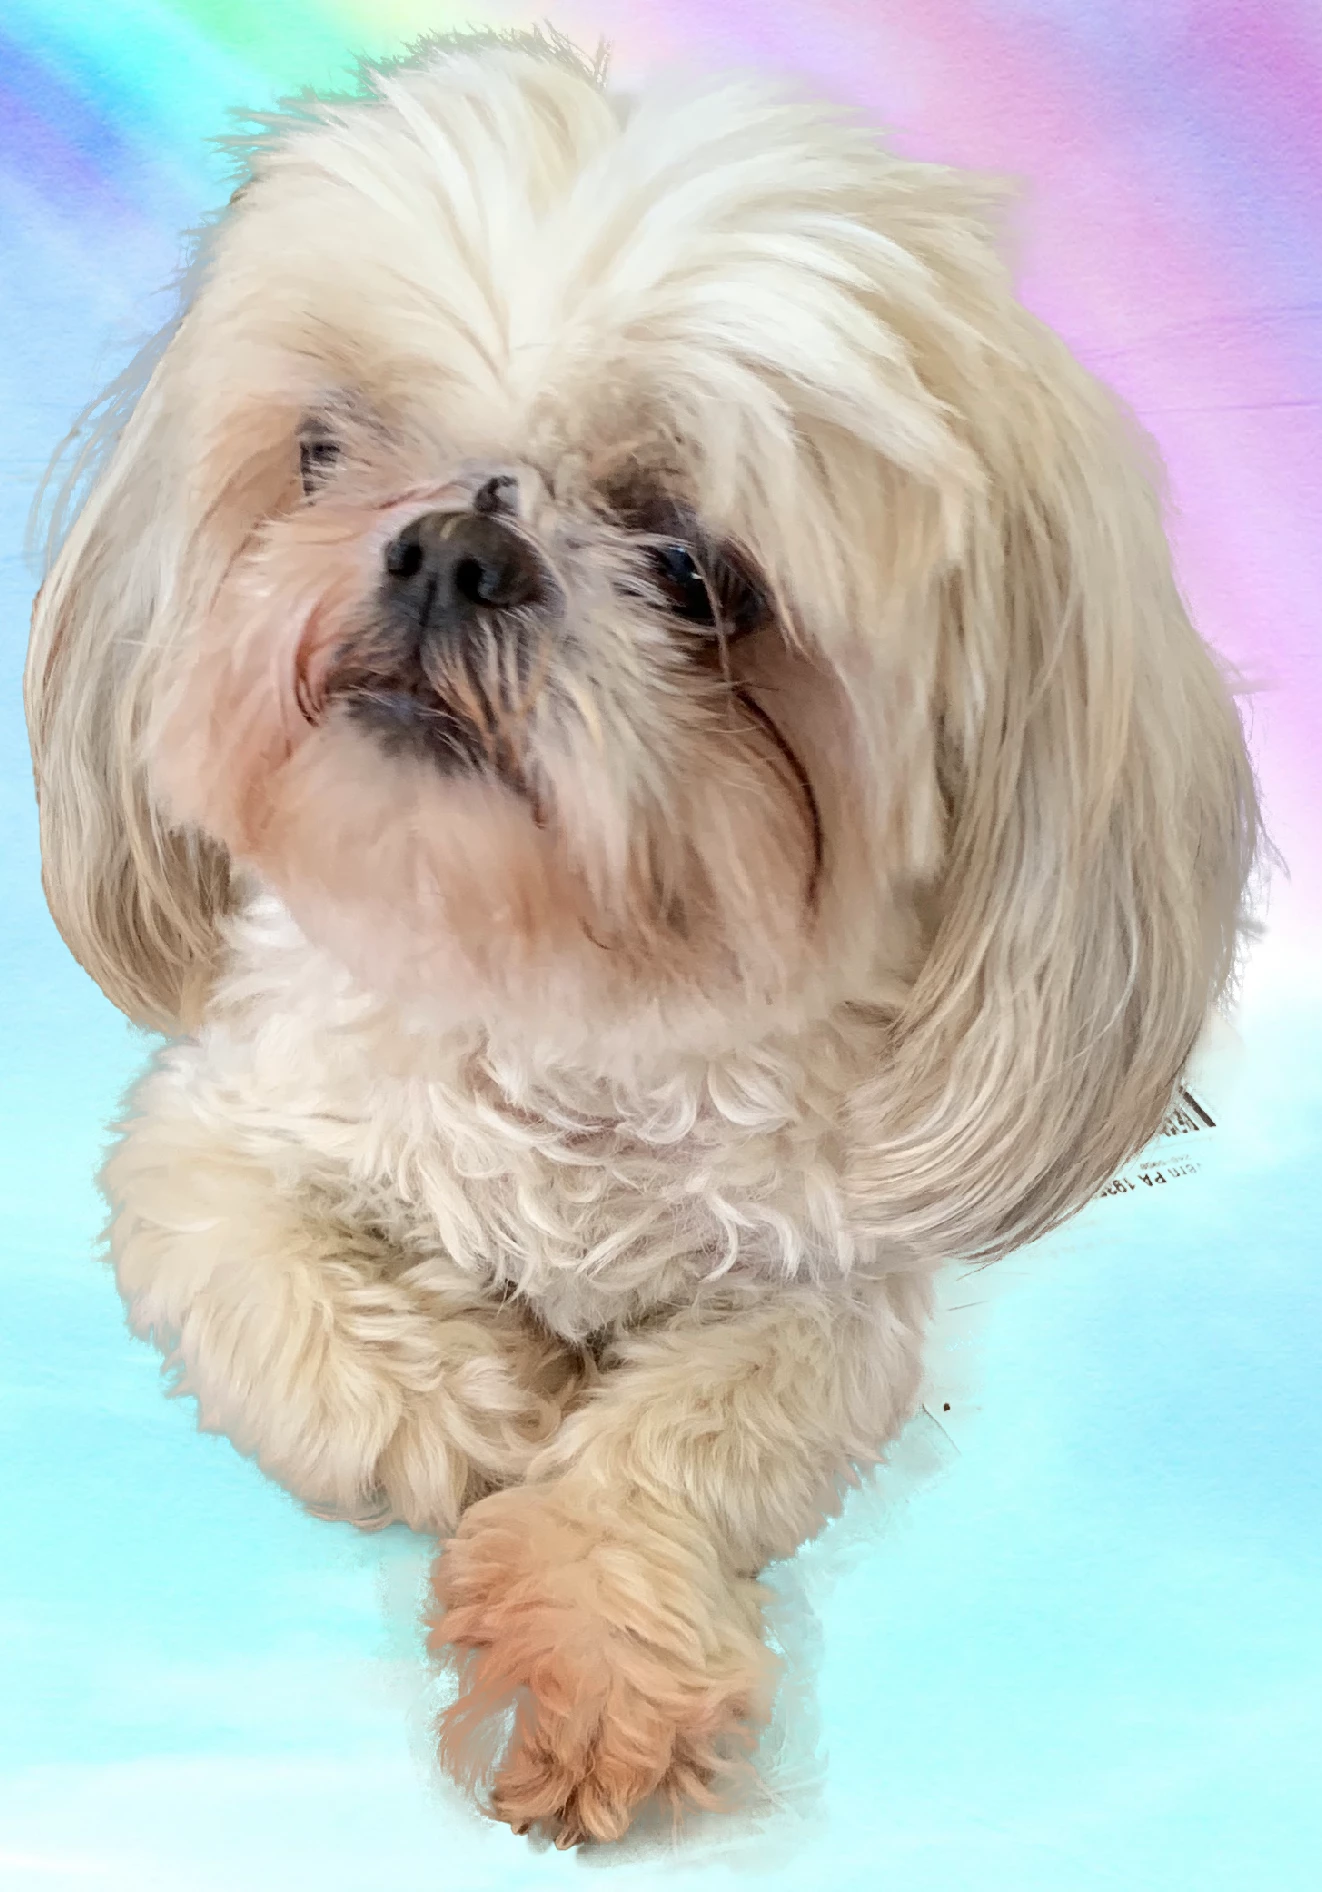
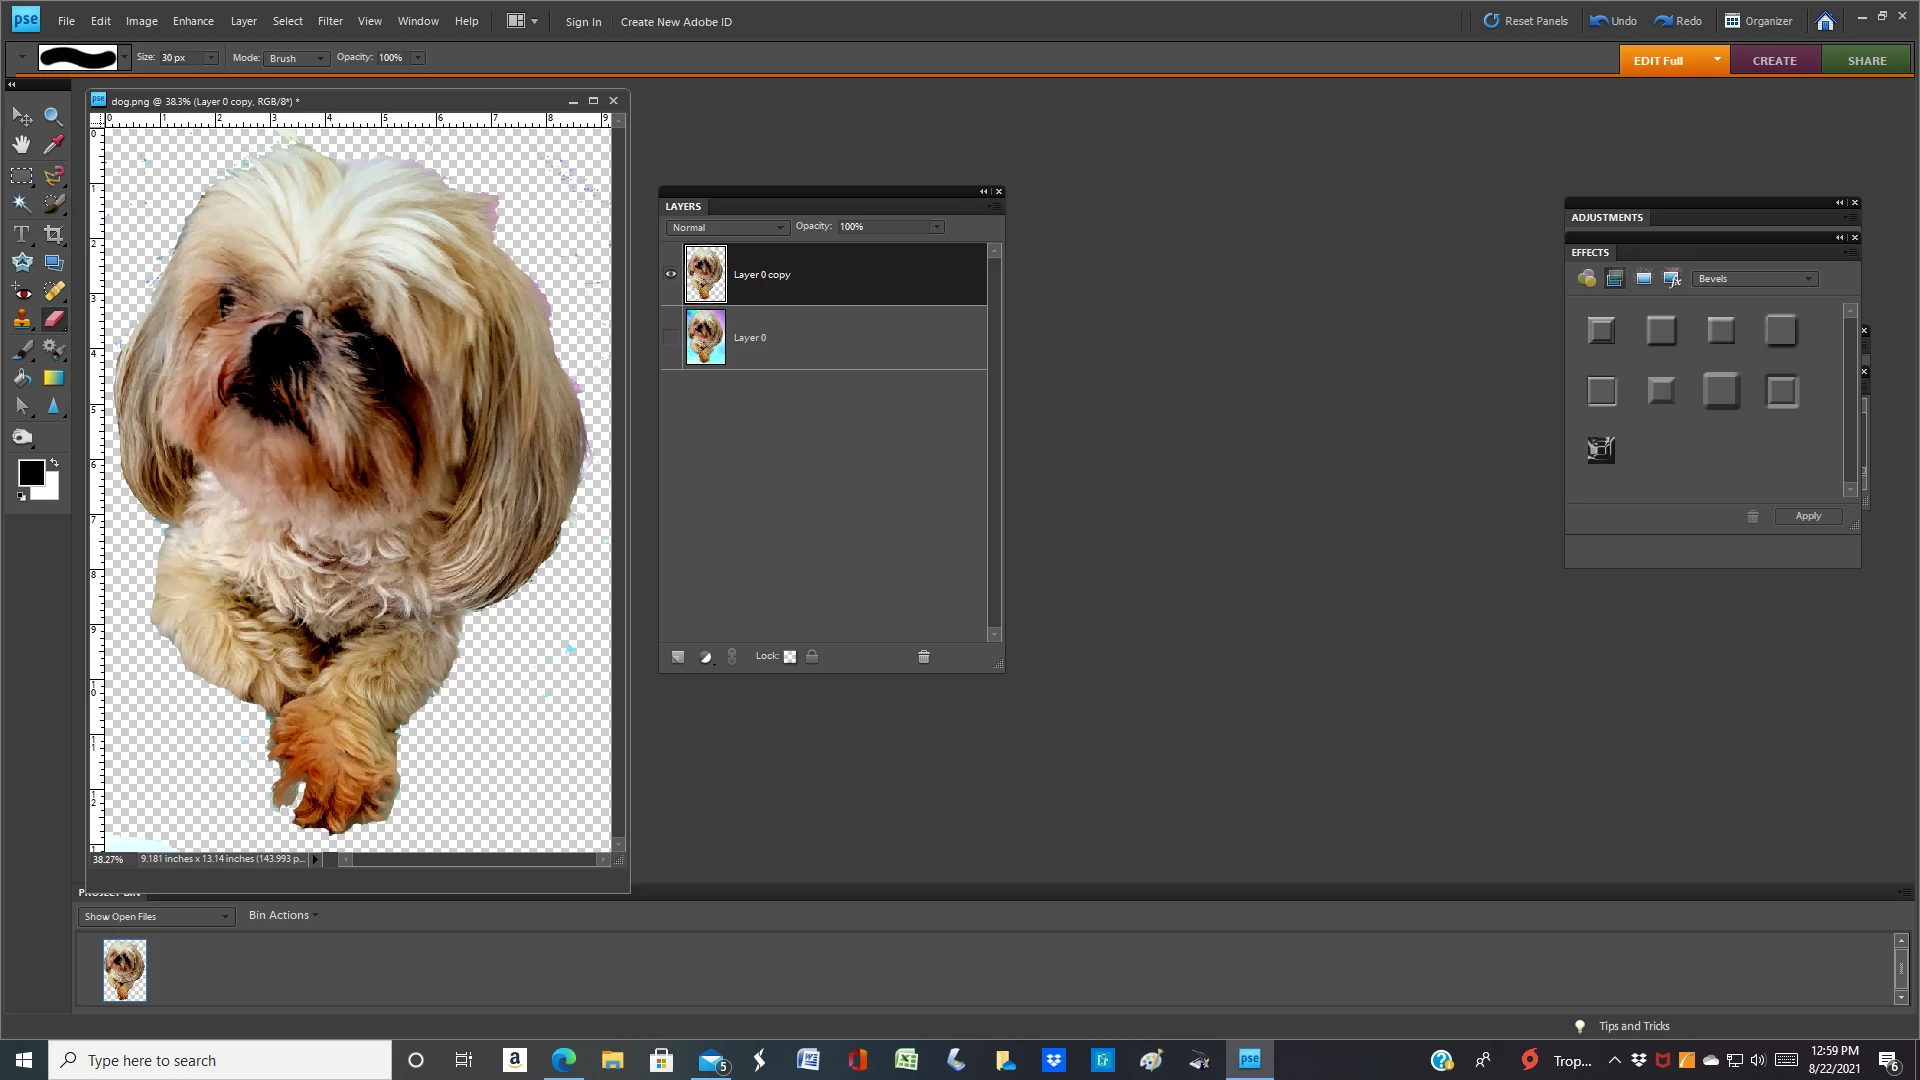
Hello! I have no experience with PSE 2021, or anything like it, and yet here I am trying to make a gift for someone by using it! I am working on pics of a white dog sitting in a sunbeam on an off-white sofa, and the same dog sitting on a box with magic marker writing and labels on it. I've tried numerous tutorial techniques to create a transparent background, and they all work to varying degrees, but in every image there always remains parts around the finished product which are dark smudges. Adjusting contrast using curves doesn't work at all due to lack of contrast on the original. I can't seem to get those cleaned up. The most recent technique I'm trying to use is: Select Subject, Select Lasso Tool to Add & Subtract from Selection, Refine Edges - "Paint" around image to mask background, adjust feather, contrast... Parts of every pic where there is heavy shadow, bright sun, subject & background close in color, reflective tape, dark writing, tile grout lines remain as lines and/or smudges. I've selected outputs as Selection and New Mask on New Layer, then tried to go back over the areas, but I can not find anything that works. Any and all suggestions would be appreciated. Thank You!PSE Question.png

TOPICS
How to , Mac , Problem or error
1.6K
Translate
Report
Community guidelines
Be kind and respectful, give credit to the original source of content, and search for duplicates before posting. Learn more
community guidelines

correct answers 1 Correct answer

Community Expert , Aug 22, 2021 Aug 22, 2021

hatstead_1-1629651627403.png

1. Open the picture file, duplicate the Background layer, and shut off the visibility of the Background layer. Work on the Background Copy layer.

2.Go to Enhance>Adjust Lighting>Levels and move the left slider towards the middle

3. Activate the Magic Wand tool. On the tool's option bar, set tolerance to 32, check "Contigous" Left click on an area of  the background and hit delete on the keyboard. Work your way around the dog in order to delete the background serially.

4. To tidy up any remainin

...
Translate
Community Expert ,
Aug 22, 2021 Aug 22, 2021

hatstead_1-1629651627403.png

1. Open the picture file, duplicate the Background layer, and shut off the visibility of the Background layer. Work on the Background Copy layer.

2.Go to Enhance>Adjust Lighting>Levels and move the left slider towards the middle

3. Activate the Magic Wand tool. On the tool's option bar, set tolerance to 32, check "Contigous" Left click on an area of  the background and hit delete on the keyboard. Work your way around the dog in order to delete the background serially.

4. To tidy up any remaining pixels, activate the Eraser tool  and clean up.

5. The checkerboard pattern denotes transparency.

6. If you wish to save the file with transparency, use PSD or PNG for the file format. JPEG will give you a white background


Translate
Report
Community guidelines
Be kind and respectful, give credit to the original source of content, and search for duplicates before posting. Learn more
community guidelines
New Here ,
Aug 22, 2021 Aug 22, 2021

Thank you so much!!!

Translate
Report
Community guidelines
Be kind and respectful, give credit to the original source of content, and search for duplicates before posting. Learn more
community guidelines
Community Expert ,
Aug 22, 2021 Aug 22, 2021
LATEST

You're welcome. Glad to help.

Translate
Report
Community guidelines
Be kind and respectful, give credit to the original source of content, and search for duplicates before posting. Learn more
community guidelines