• Global community
    • Language:
      • Deutsch
      • English
      • Español
      • Français
      • Português
  • 日本語コミュニティ
    Dedicated community for Japanese speakers
  • 한국 커뮤니티
    Dedicated community for Korean speakers
Exit
0

How to get tessellation to render

New Here ,
Jul 21, 2021 Jul 21, 2021

Copy link to clipboard

Copied

i was following another tutorial and realised the tessellation started to look very different from what i was seeing in the tutorial video. so i started looking for even more "fundamental" videos hoping to find out why to no avail.


here is what it looks like in the video:

2021-07-21 00_59_32-Window.png


and this is what it looks like for me:

2021-07-21 01_00_29-Window.png


even if i select hi-res plane:

2021-07-21 01_01_07-.png


and i don't think that's the issue because even when they used the other geo like cube, etc it still looks fine, but mine just seems to have such a low res tessellation??? why!!! help!! please ;__;

TOPICS
How to

Views

1.7K

Translate

Translate

Report

Report
Community guidelines
Be kind and respectful, give credit to the original source of content, and search for duplicates before posting. Learn more
community guidelines

correct answers 1 Correct answer

Adobe Employee , Jul 21, 2021 Jul 21, 2021

Hello,


The tessellation displacement technique does two things:


  1. Tessellation: subdivides the geometry procedurally on the GPU, which adds new vertices between the existing vertices
  2. Displacement: moves the vertices in the direction of their normal by x amount where x = height scale * height map. You can use the Scalar zero value parameter to define which greyscale value of the height map should be the 0 value.


Generally, the smoothness of the results will depend on a combination of the Te

...

Votes

Translate

Translate
Adobe Employee ,
Jul 21, 2021 Jul 21, 2021

Copy link to clipboard

Copied

LATEST

Hello,


The tessellation displacement technique does two things:


  1. Tessellation: subdivides the geometry procedurally on the GPU, which adds new vertices between the existing vertices
  2. Displacement: moves the vertices in the direction of their normal by x amount where x = height scale * height map. You can use the Scalar zero value parameter to define which greyscale value of the height map should be the 0 value.


Generally, the smoothness of the results will depend on a combination of the Tessellation factor value, the normal map applied to match the displacement, and the height map.


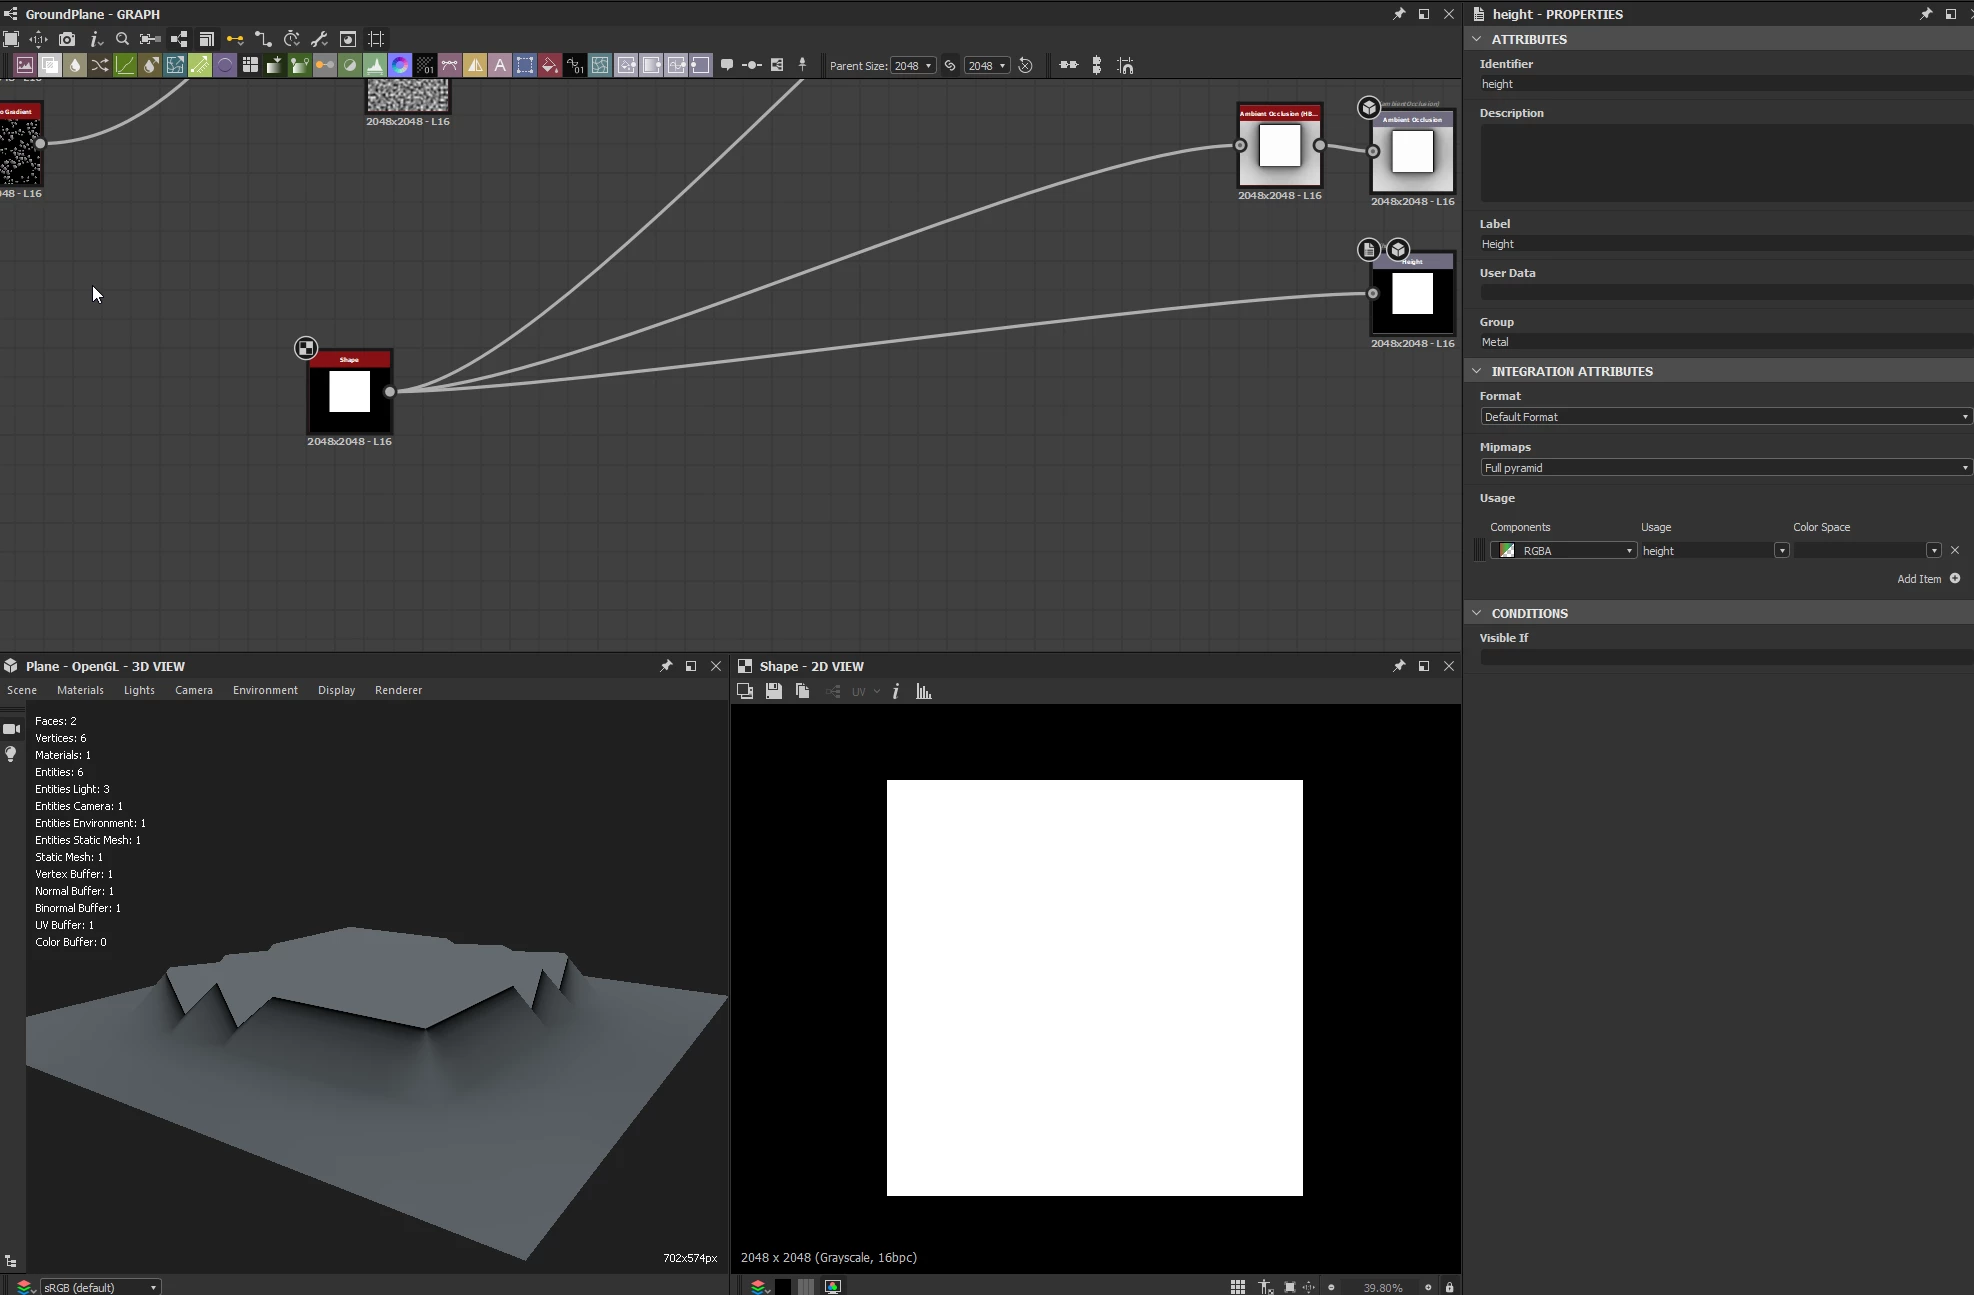
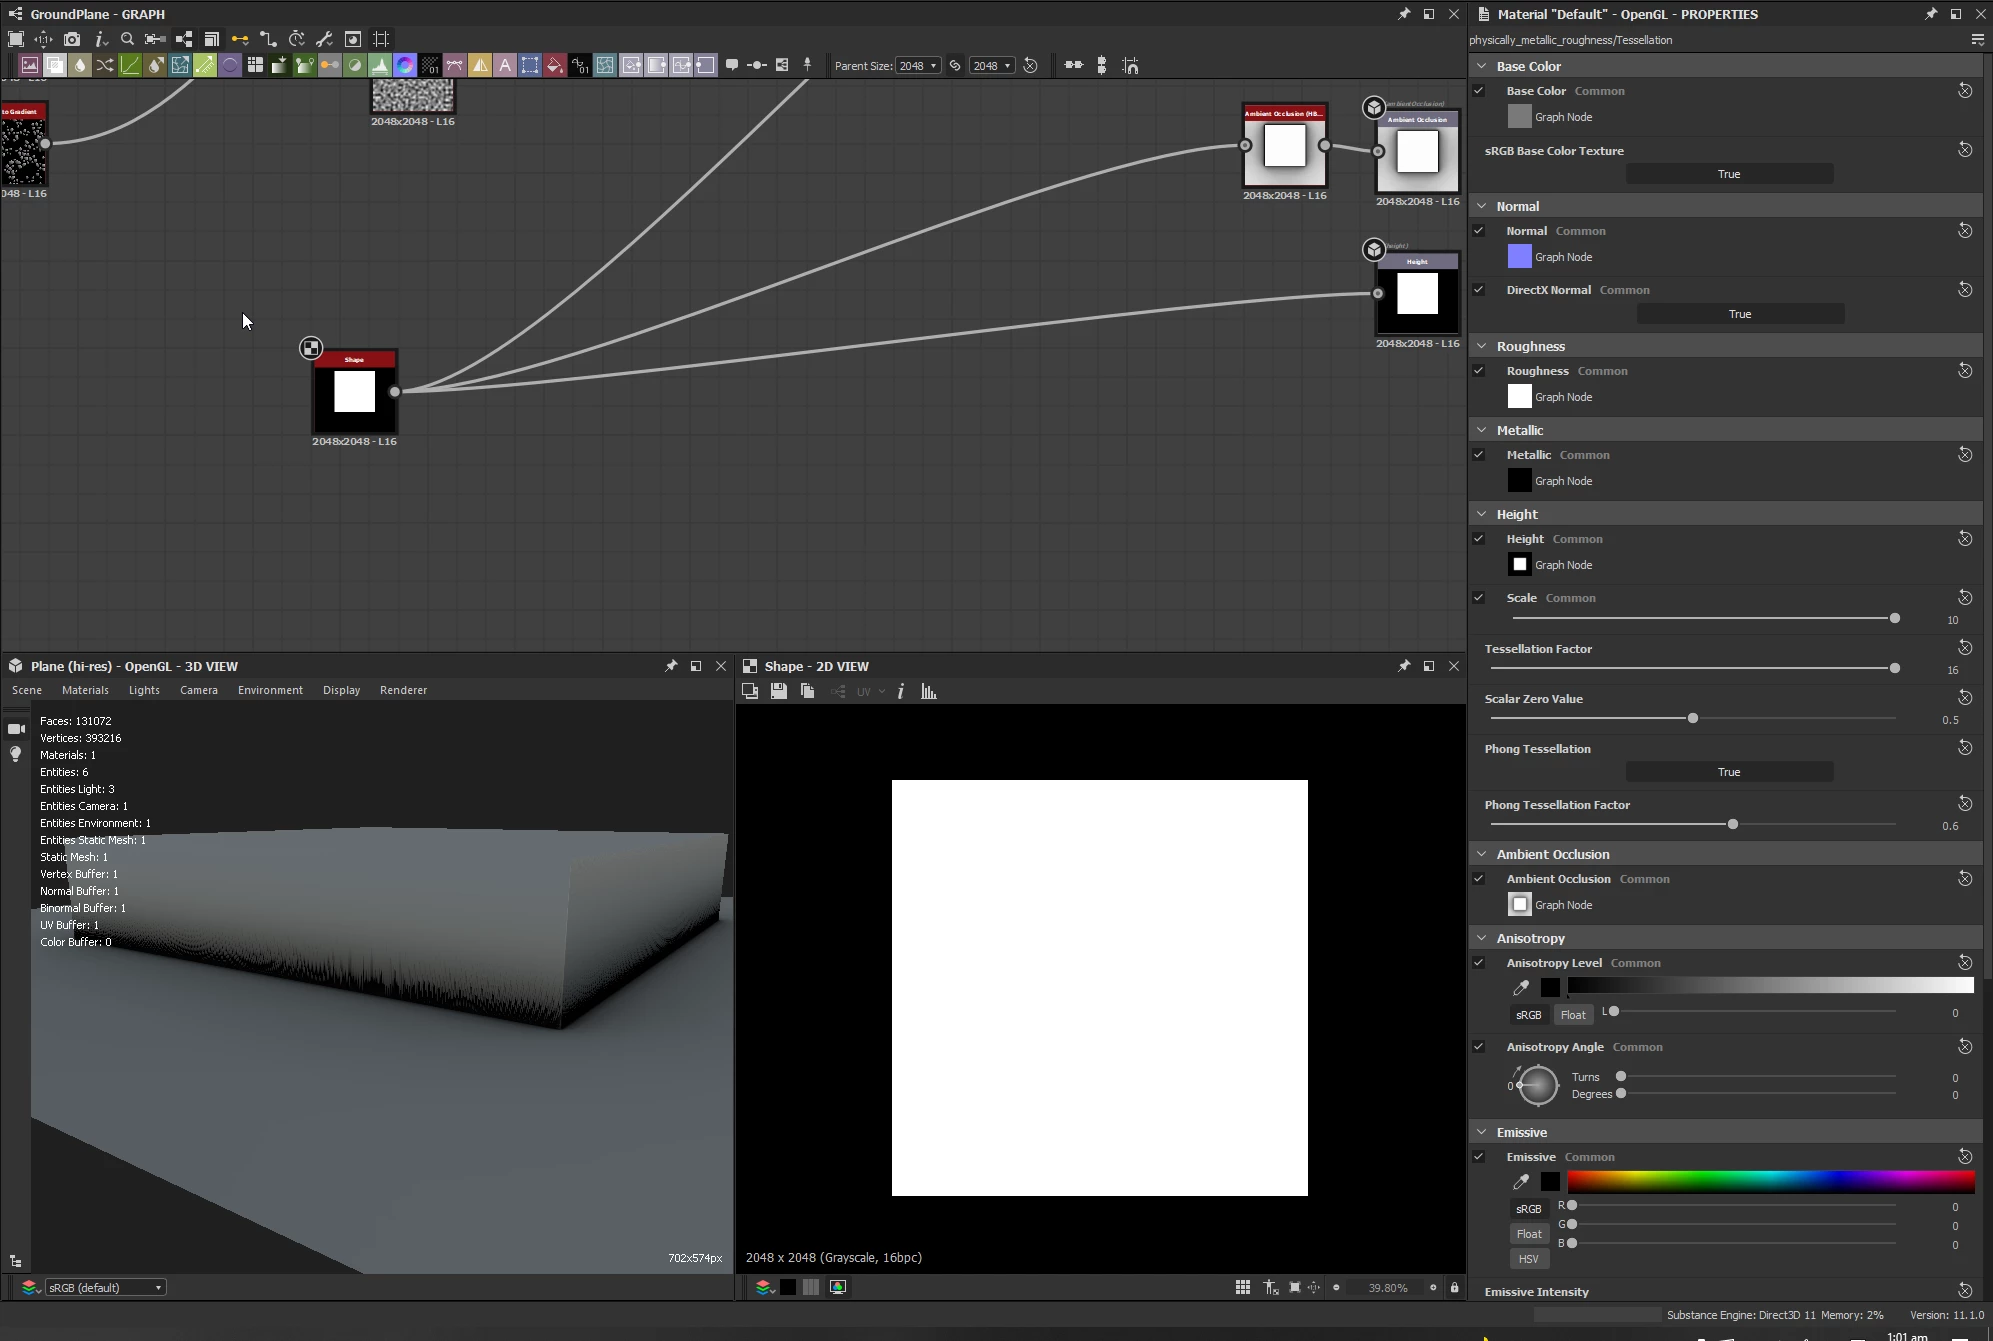
Since the techique merely moves vertices, it means that where height transitions are harder the textures will appear noticeably stretched, and the geometry can look jagged if the height map does not allow for smooth transitions in the displacement height.


You can blur the white square out just enough so the hard transitions can appear smooth for tessellation displacement. These issues also appear in the tutorial, yet probably because the shape is displaced down instead of up combined with the current lighting, it may look somewhat better.


I hope this is helpful and informative!


Best regards.


Luca Giarrizzo | QA Analyst, 3D & Immersive | Adobe

Votes

Translate

Translate

Report

Report
Community guidelines
Be kind and respectful, give credit to the original source of content, and search for duplicates before posting. Learn more
community guidelines