

- Home
- Substance 3D Painter
- Discussions
- Clone tool doesn't work for normal map
- Clone tool doesn't work for normal map

Copy link to clipboard
Copied


 2 Correct answers

Hello @reiniw10960852,
Don't worry I get your problem well, and yes I did made some test with your meshes. However, as long as you hide your seams inside Substance 3D Painter (with clone tool, or tri-planar mapping, or something), theses seams shouldn't be visible inside another software.
If that is the case, this is in fact very likely due to a difference of normal format between software, therefore you'll need to flip your green channel.

The fact that you see a "seam" in your normal
...
No problems, it's perfectly understandable. I am glad the issue is solved and have fun with 3D!
Best regards,
 14
Replies
14
14
Replies
14
Copy link to clipboard
Copied
Hello @reiniw10960852,
Thanks for the video.
When you want to paint over a baked normal map, there is a specific workflow to follow with Substance 3D Painter.
First, under your Texture Set Settings, turn the Normal Mixing parameter to Replace.
Then, add a Fill Layer and link your Normal map to the "normal" slot. In addition, switch the blending mode to "Normal".
For the rest, it's as you already did, just turn the clone tool layer blending mode to Pthr.
Quick tip: You can right click on your blending mode to apply the current mode to all the channels.
Have a nice day.
Copy link to clipboard
Copied
Copy link to clipboard
Copied
Hi again @reiniw10960852,
Make sure your tiling works in the Material view. It is pretty common to have a visible seam in the Normal view depending on the position of the UV shells. For me, it seems like your Clone tool works as it was suppose to.
To make it simple, a Normal map works in tangent space, therefore the UV shells orientation will impact on how the normal behave. Hopefully, Substance 3D Painter will automatically compensate the issue.
This compensation can create a visible "seam" in you Normal view, but this doesn't mean that your material isn't seamless.


Keep me posted.
Copy link to clipboard
Copied
Well, unfortunately the issue remains the same, sorry. When i would export the color + normal map in your example above, i would still have a visible seam in the normal mapping in my rendering. So how do i fix it? In my video you see that the tiling in the material works just fine.
I uploaded my model. Could you please give it a try? How can i avoid the normal seam in this model?
Copy link to clipboard
Copied
Maybe i should mention that i want to use my own normal map. I dont want to use a baked mesh map in Painter.
Copy link to clipboard
Copied
Thank you very much for the .fbx, it always help to have the assets to make some tests on my own. The fact that your normal map isn't from Substance 3D Painter shouldn't be a problem, but could you also share it with me?
Thank you in advance,
Copy link to clipboard
Copied
Copy link to clipboard
Copied
I've made some tests, and did the same thing you did in the last video. I've placed the textures in a Fill Layer with the blending mode set to Normal and used a clone tool on a new layer set to Pthr.
On my side, I don't see any tiling issue. As you can see on this gif, the Normal and the Base Color are correctly hiding the seams in my material preview, even if the Normal doesn't look seamless in my normal view.

I even tried to make a quick rendering to make sure there wasn't any issue on this side, and except for my bad application of the clone tool, I don't see any seams.

Could you share with me a picture of your rendering, so I can see how the seams are reacting and adapt my tests ?
Best regards,
Copy link to clipboard
Copied
Copy link to clipboard
Copied
Don't worry, the normal map you exported from Substance 3D Painter shouldn't create seams in other softwares. From the picture you sent, I am pretty sure the Green channel is inverted. Make sure the software where you do your rendering use the same normal map format (DirectX or OpenGL) as you set on Substance Painter, or try to invert the green channel of your map.
To check the normal map format of a Substance Painter project, go under Edit>Project Configuration>Normal Map Format

And here is an example of how to invert the green channel on Blender (I don't know which soft you use for rendering).

Best regards,
Copy link to clipboard
Copied
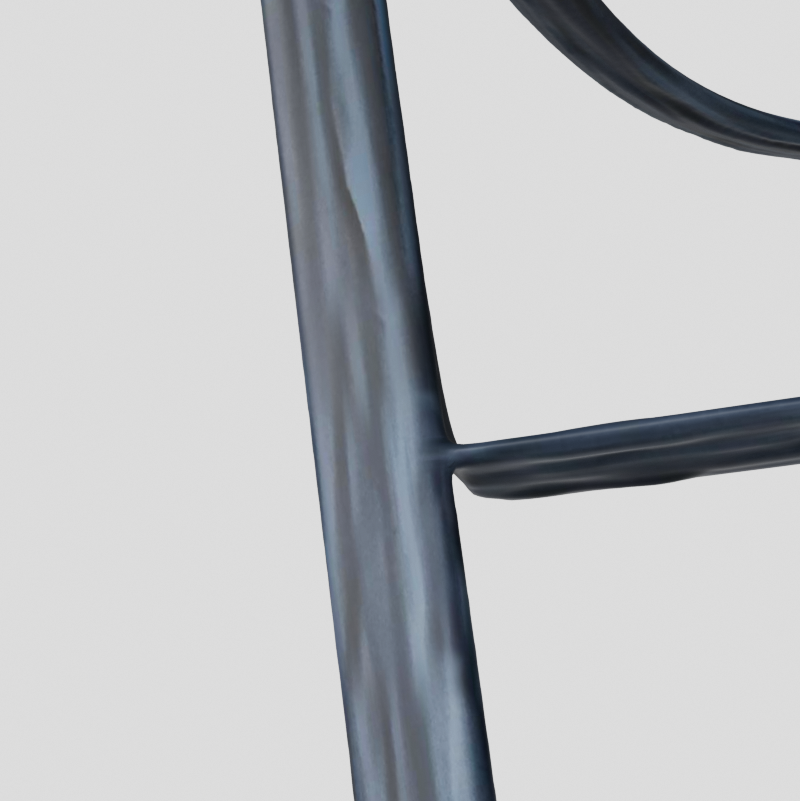
Sorry but i dont think you get my point. This has nothing to do with an inverted green channel. Just have a look how the exported normal map looks in the viewport (image attached). You can clearly see that there is a seam. An inverted green channel will not change the fact that there is a seam. Of course this seam is then visible in the rendered normal mapping. 😕
So the problem still remains within Substance Painter, where i am not able to get rid of this seam. Did you try to export the mesh & textures i sent? Were you able to make them work seamlessly in an external renderer?
Copy link to clipboard
Copied
Hello @reiniw10960852,
Don't worry I get your problem well, and yes I did made some test with your meshes. However, as long as you hide your seams inside Substance 3D Painter (with clone tool, or tri-planar mapping, or something), theses seams shouldn't be visible inside another software.
If that is the case, this is in fact very likely due to a difference of normal format between software, therefore you'll need to flip your green channel.
The fact that you see a "seam" in your normal view isn't a problem as long as you don't see it in your material view. As I said before, this normal seam can be due to the rotation of your UV shells and doesn't mean you mesh isn't seamless.


So if you keep using the clone tool as you showed me before and switch the green channel in your rendering software, there shouldn't be any issue.
On a side note, if you make sure you're using the same normal format between your rendering software and Substance Painter, you shouldn't have to flip your green channel.
Best regards,
Copy link to clipboard
Copied
Alright, i was just a bit confused, that even in the viewport the "seam" was visible. If i flip the green channel it is better indeed. Sorry. 😉
Until now i didn't realize that the "seam" is just the inverted normal end of a rotated UV shell. So basically the thing you try to make me understand the whole time... 😄 Thank you for your patience.
Copy link to clipboard
Copied
No problems, it's perfectly understandable. I am glad the issue is solved and have fun with 3D!
Best regards,

Find more inspiration, events, and resources on the new Adobe Community
Explore Now
 AdChoices