New Participant
July 28, 2021
Answered

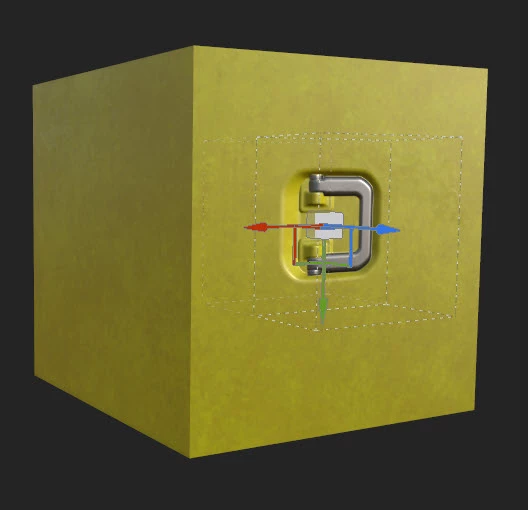
How to apply normal maps decal rectangular form with Shape brush on Mesh ?

  • July 28, 2021
  • 1 reply
  • 1565 views

Hi
My Goal: To be able to apply normal map decals on mesh with specific color

The problem:

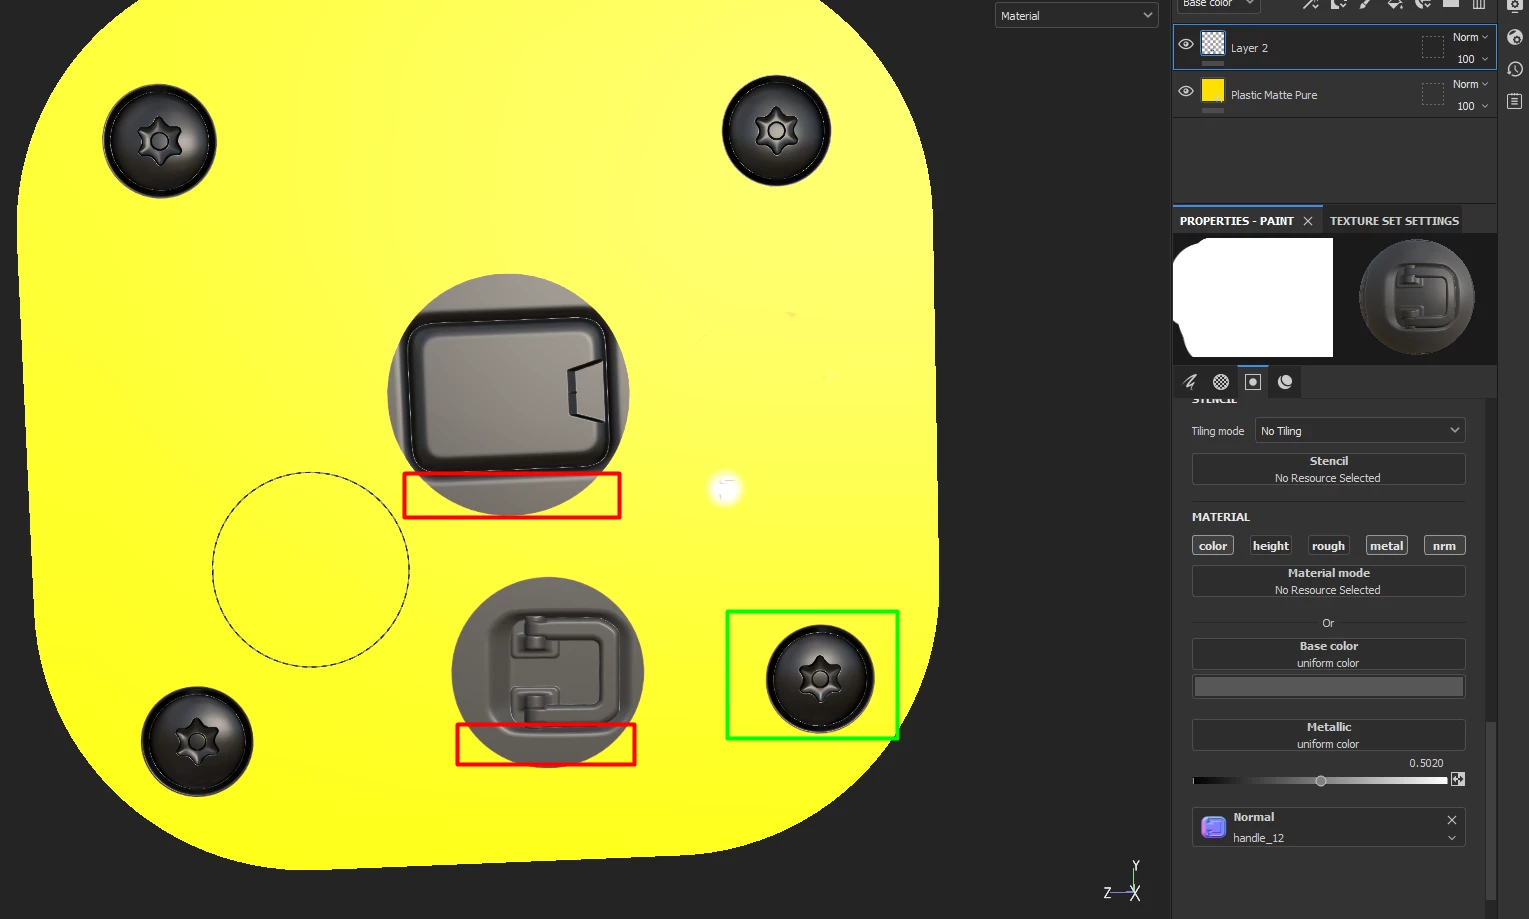
- When using Circular Brush (e.g. Shape) and I use in normal channle decal with circular form like bolt ot nut it's fine (green selction on screenshot)

- But when Use rectangular decal (e.g. handle_12 from the buit-in decals) again using same circular shape brush I'm getting the decal with extra space colored around the decal itself


Thoughts:
- I don't believe I should change every time the brush shape and we don't have specific brushes for each decals
- I tried also apply same normal map as brush but then I don't know how to color the decal itself.

Thanks in advance ! 


This topic has been closed for replies.
Correct answer davescm

Those hard surface normals were designed to be applied and painted separately. To fully get the rectangular shapes, delete the alpha on the brush.


If you want to use with a single colour paint then you could add colour to the brush  (along with any other channel info you want) and then you would need an alpha to match the hard surface shape - something easily done in a 2D editing app like Photoshop.


Alternatively you could use the hard surface from the library as the normal channel to create a multi channel, multi coloured (or only partly coloured) material in Designer, (with or without exposed parameter controls). Then export it as an SBAR then apply it as a decal (Alt drag) in Painter. Simple example below.


Dave


1 reply

davescm
davescmCorrect answer
Adobe Expert
July 29, 2021

Those hard surface normals were designed to be applied and painted separately. To fully get the rectangular shapes, delete the alpha on the brush.


If you want to use with a single colour paint then you could add colour to the brush  (along with any other channel info you want) and then you would need an alpha to match the hard surface shape - something easily done in a 2D editing app like Photoshop.


Alternatively you could use the hard surface from the library as the normal channel to create a multi channel, multi coloured (or only partly coloured) material in Designer, (with or without exposed parameter controls). Then export it as an SBAR then apply it as a decal (Alt drag) in Painter. Simple example below.


Dave


New Participant
July 30, 2021

Thanks for the answer, BTW is there any good tutorial outthere that I can use to create such matirial as you probably guessed it I'm total noob with Designer and Painter. Thanks!

davescm
Adobe Expert
July 30, 2021

If you are new to the apps, I would start by looking at how to create a basic material in Designer and export that for use in Painter.

Once you have that nailed, you can  take one of Painter's included hard surface normal maps into Photoshop and use it to create black and white maps for each area of the substance you want to treat differently, for example the handle, the hinges, the background. Export each of those maps seperately as a png at the same size as the normal map you used. You can then bring the normal map and those black and white  maps into designer using bitmap nodes and create a material, using the maps to vary the colour and material across the surface, and making some areas transparent which is what makes a decal. Actually, any material can be used as a decal, but the transparency allows you to place it and use it effectively.


There are some tutorials at the link below and they show which level of experience each is aimed at. I don't know of one specifically for creating decals but if you use the principals above you'll find it works.

https://substance3d.adobe.com/tutorials


Dave