




Make It Yours: Add Custom Fonts to Your Adobe Express Designs! 🎨

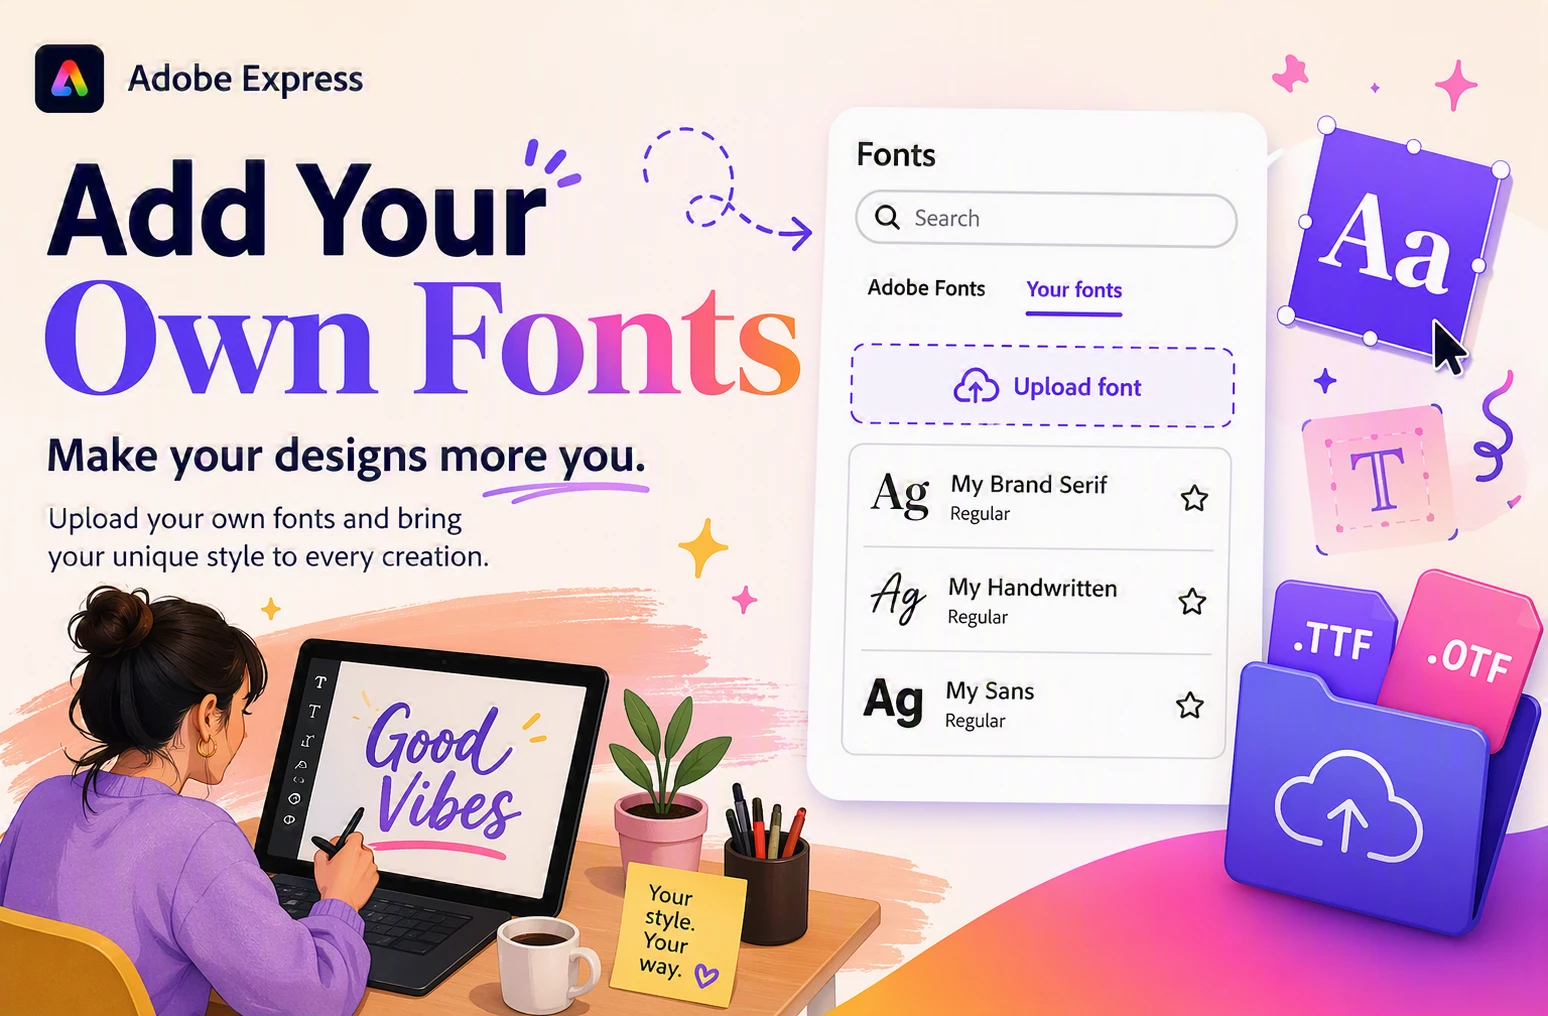
Got a font that's so your brand? Good news — adding your own fonts to Adobe Express is quick and easy, and it makes your designs instantly feel more you. Note: this feature is available on Premium, Teams, and Enterprise plans.
How to Get Started with Custom Fonts
Step 1: Open a Brand or Library
Head into a Brand or Library in Adobe Express — this is where your custom fonts will live.
Step 2: Upload your font file
Select the add icon, then choose Upload. In the pop-up, select Add fonts, browse for your font file on your device, and select Add. Adobe Express supports .OTF and .TTF files up to 512MB.
Step 3: Find it in your font list
Once uploaded, your font will appear in the Font menu under "Uploaded fonts" — no digging required. You may have to give it a few moments to appear!
Step 4: Apply it like any other font
Select your text, pick your new font from the list, and watch your design come to life. Simple as that!
A few quick things to know:
- File format: Double-check before uploading — only .OTF and .TTF are supported
- One at a time: Fonts must be uploaded individually, and duplicates already in your library can't be re-added
- No Upload button? That may be an account access or permissions issue
- Font not showing up right away? Try re-uploading, or refresh your project if things seem stuck
- Font rights: Always make sure you have the rights to use the font you're adding
- Enterprise plans: Collaborators may be restricted from editing text using fonts you've uploaded — adding brand fonts via the Admin Console can help avoid this
Want the full walkthrough? Check out Upload custom fonts.
 AdChoices