



3 ways to crop your artwork in Illustrator
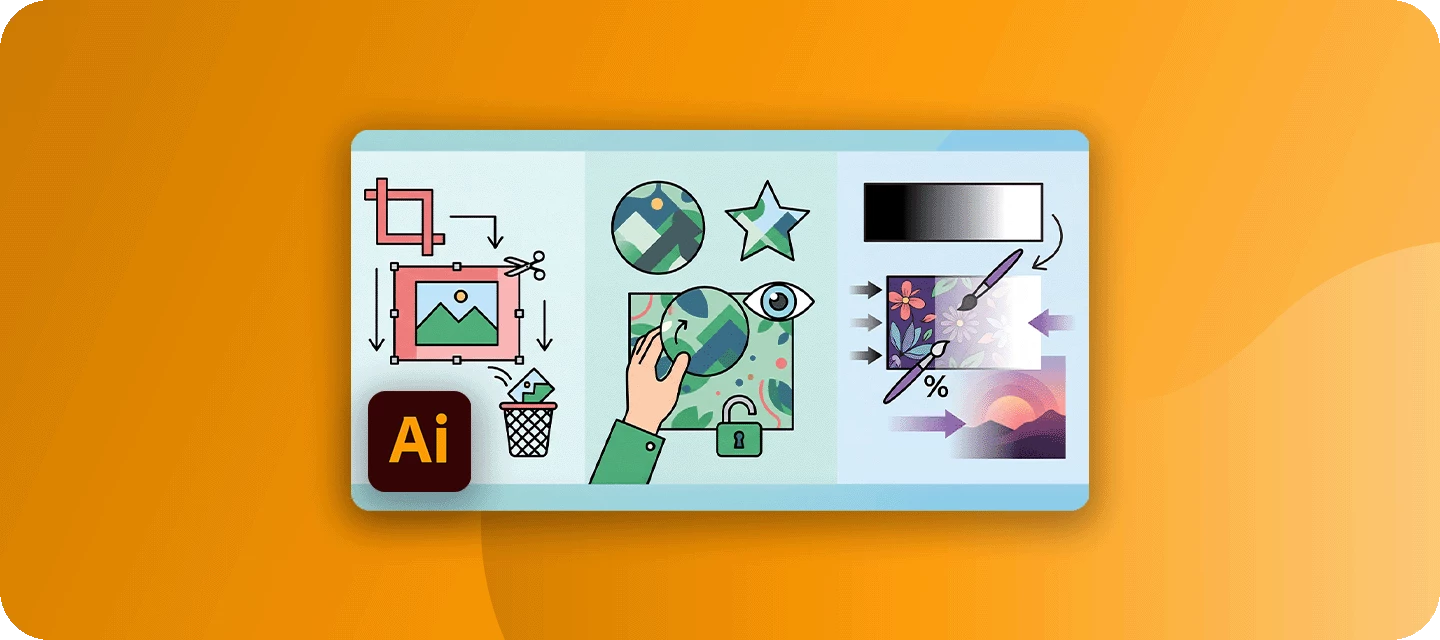
If you've come to Illustrator from Photoshop, cropping is one of the first things that trips you up - there's no single Crop tool sitting in the toolbar, and the methods that do exist behave in very different ways. Some permanently trim your image, others just hide the parts you don't want, and one lets you fade artwork out entirely.
The good news: once you know which method does what, cropping stops being a guessing game. Here are the three you'll actually reach for, and when each one is the right call.
Crop Image
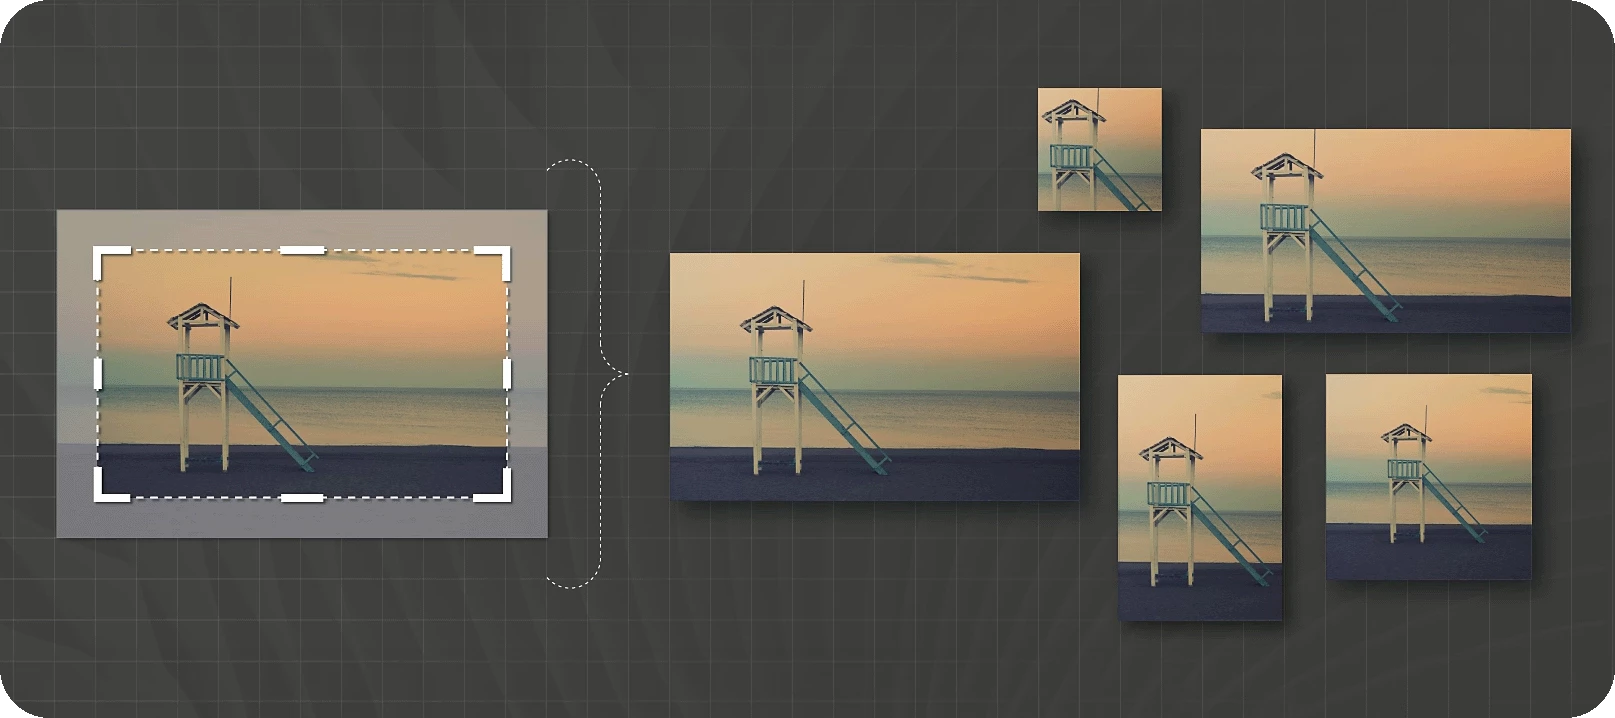
The Crop Image feature is the closest thing to a Photoshop-style crop, and it's the fastest way to trim a raster photo down to a rectangle. Select a single placed image, and you'll see Crop Image appear in the Properties panel. Click it, drag the handles to frame the area you want, then press Apply. Two things to keep in mind: it works on raster images only (the option stays hidden for vector art, groups, or multiple selections), and it's destructive - the trimmed pixels are discarded and can't be recovered once you save and close. That permanence is also its upside, since removing the data can reduce your file size.
Learn more here.
Clipping Mask
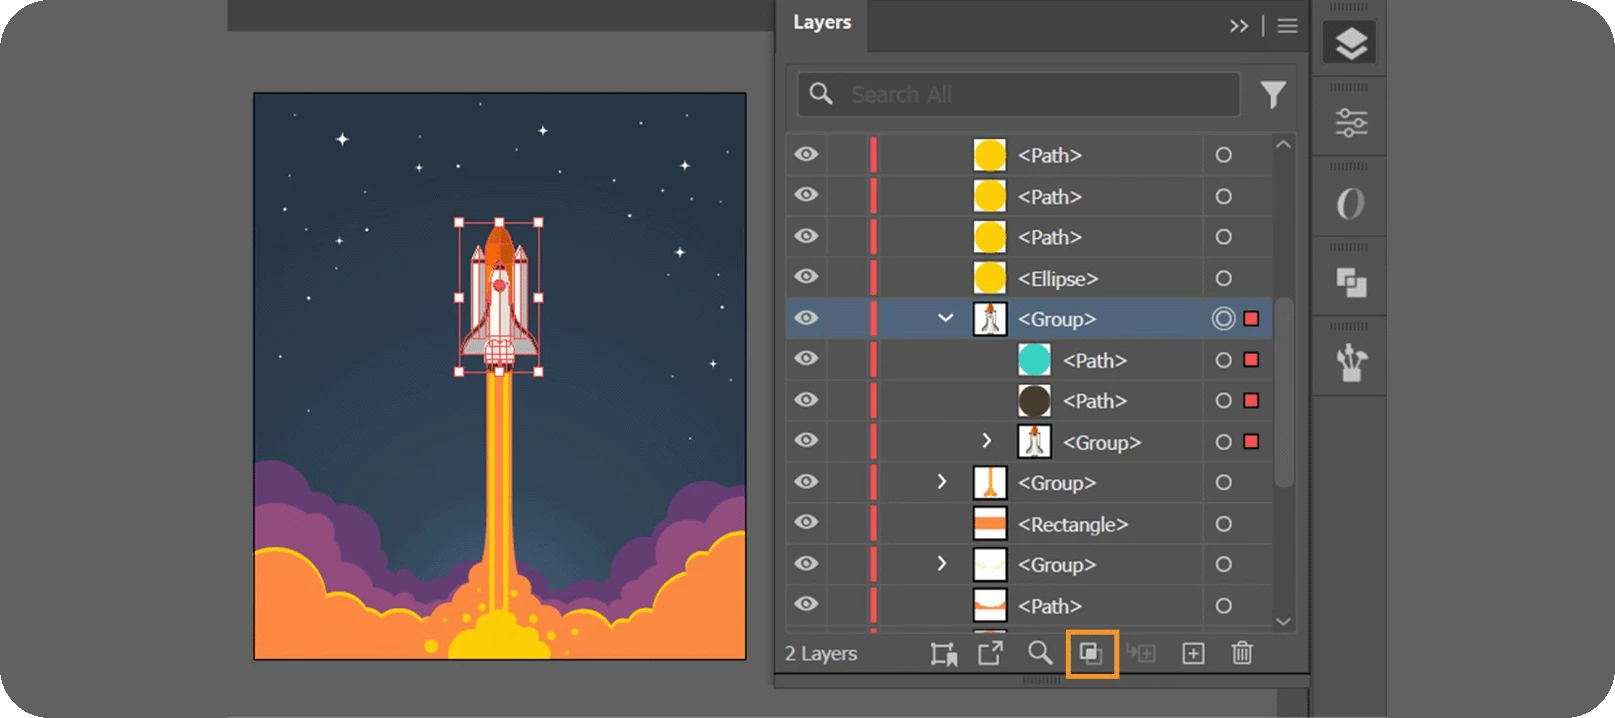
When you want to crop to something other than a rectangle - a circle, a custom outline, even live text - a Clipping Mask is the tool. Draw the shape you want on top of your image with the Pen tool or any shape tool, select both the shape and the image beneath it, and press Cmd+7 / Ctrl+7 (or right-click and choose Make Clipping Mask). The shape becomes a window, and everything outside it is hidden rather than deleted - so the full image stays intact underneath, and you can reposition, resize, or release the mask any time. It also works on almost anything: linked images, embedded images, vector art, and type. The trade-off is that because nothing is actually removed, a clipping mask won't reduce your file size.
Learn more here.
Opacity Mask
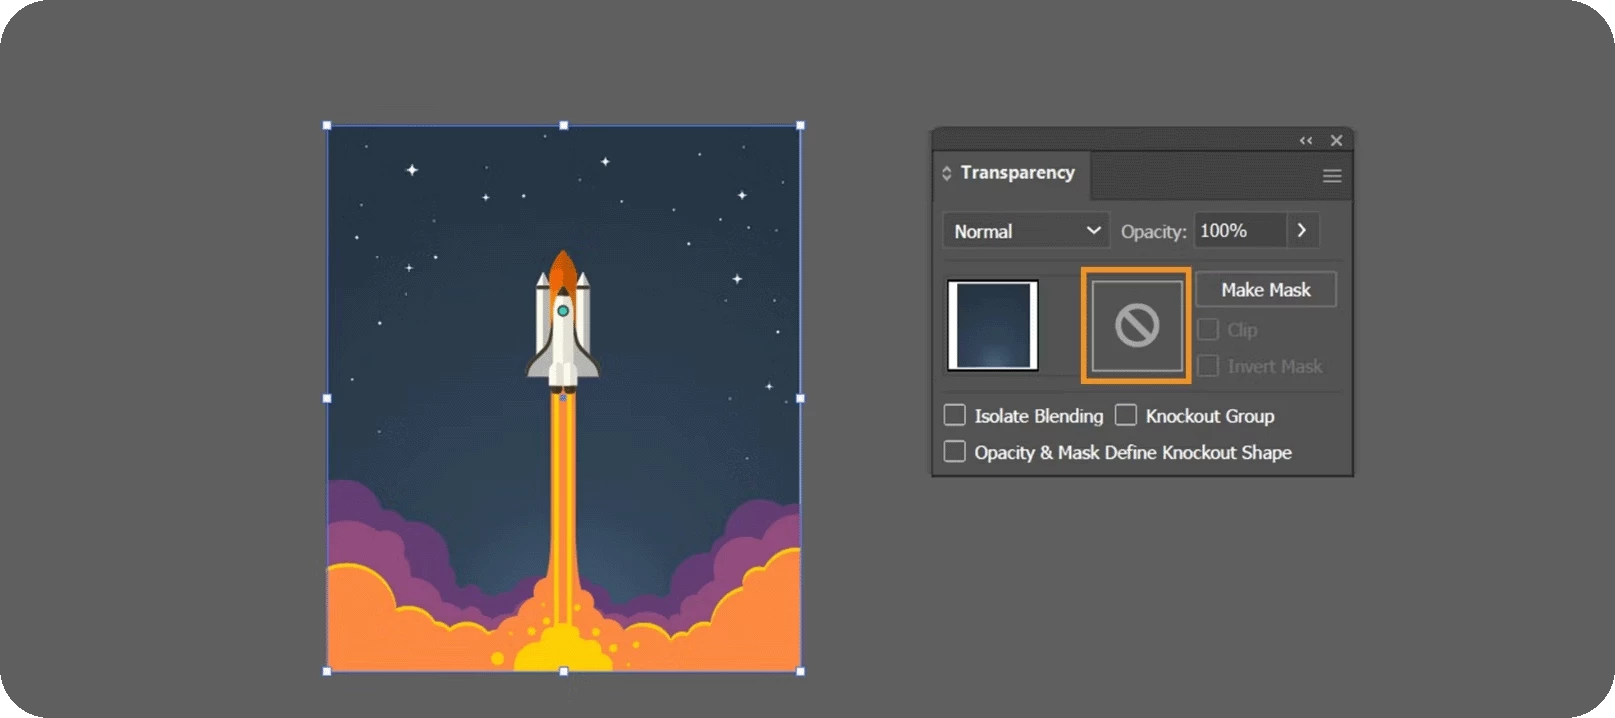
The Opacity Mask is the clipping mask's more expressive cousin. Instead of a hard edge, it uses the brightness of a masking shape to control what shows: white reveals, black conceals, and grey partially fades - which means you can blend an image softly into a background or fade it edge-to-edge. Open Window > Transparency, place a shape over your image, select both, and click Make Mask. Fill the shape with a black-to-white gradient instead of solid white, and the image fades along that gradient. Click the mask thumbnail in the Transparency panel to reposition the crop, adjust opacity, or change the blending mode. It's the go-to when you want cropping and a soft, designed transition rather than a clean cut.
Learn more here.
So, which should you use?
Reach for Crop Image for a fast, final rectangular trim on a photo. Use a Clipping Mask when you want a specific shape or the freedom to change your mind later. And bring in an Opacity Mask when you want the crop itself to be part of the design - fades, gradients, and soft blends. Three methods, three jobs: trimming, shaping, and blending.
Share Your Feedback
Which method do you reach for most - and which one used to trip you up? Drop a comment and let us know. And if there's another set of Illustrator tools you'd like us to break down next, we're listening.
If you found this post helpful, click 👍 Like. Use ⭐ Subscribe to stay informed about future updates. You may also share this post with others who might benefit from these enhancements.


 AdChoices