



Give your blends more rhythm, color, and control in Illustrator
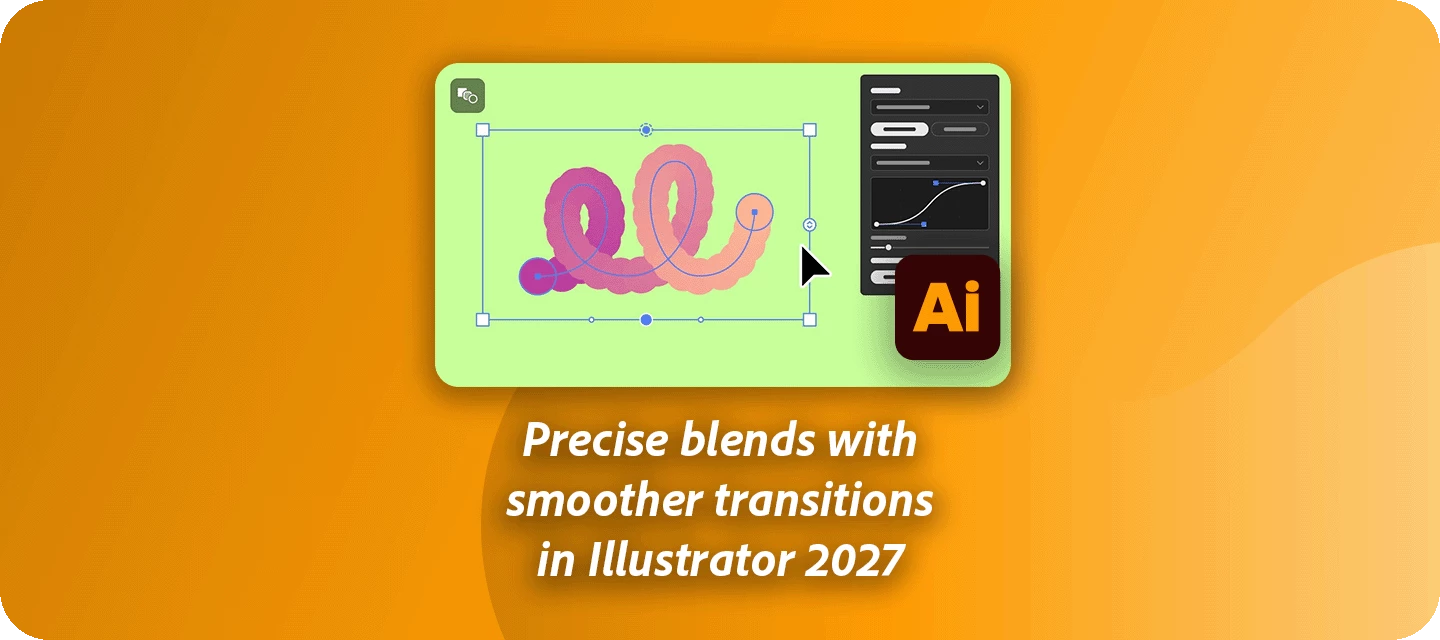
Blends can turn two simple objects into something much more interesting. Now, the Blend panel gives you one place to create, edit, and fine-tune those results, while seeing your changes live on the canvas.
Whether you’re building a row of evenly spaced stickers, creating repeating artwork along a path, or smoothly transitioning between colors, you can spend less time moving between controls and more time shaping the result.
One panel, more control
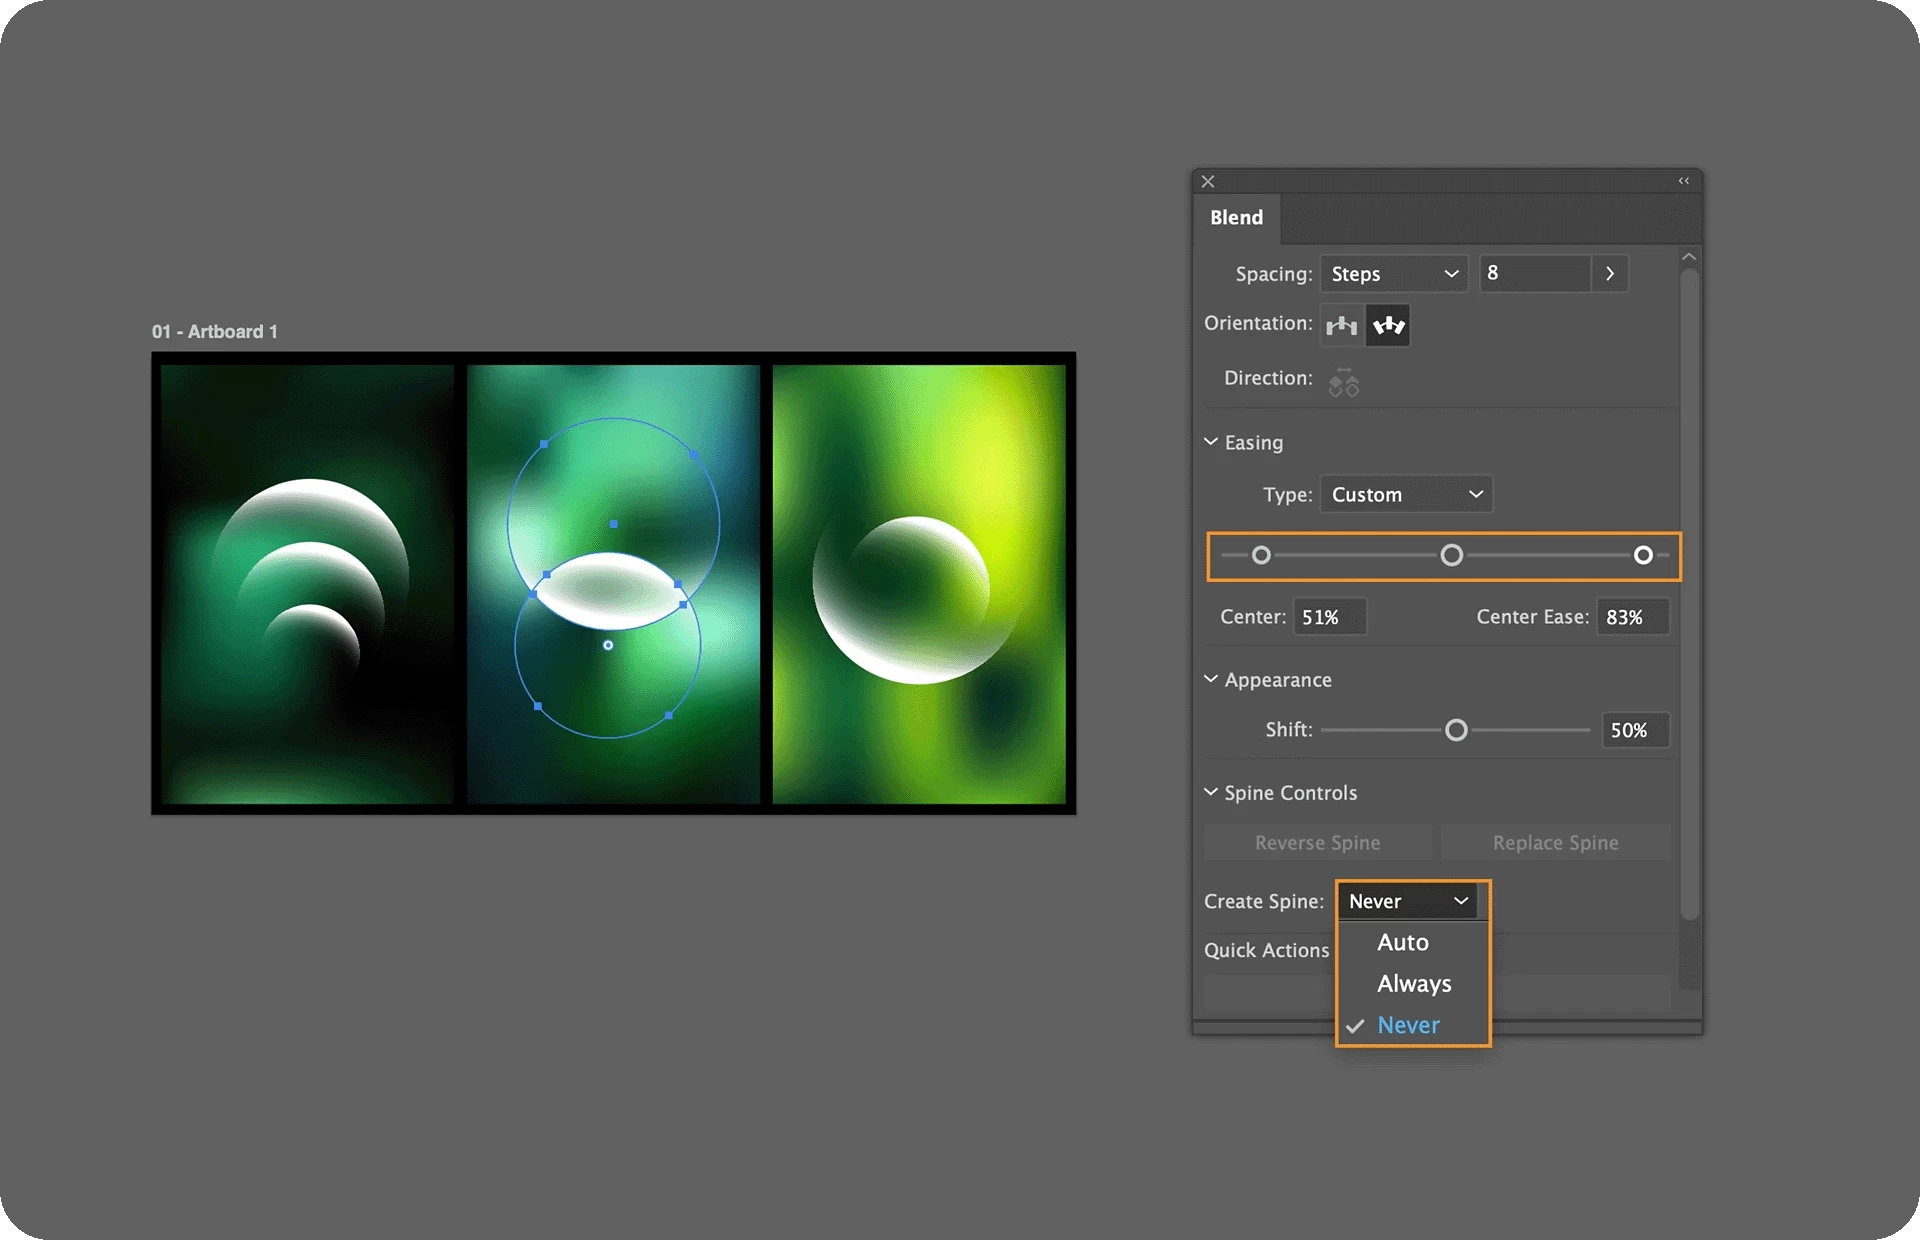
Open Window > Blend, select two or more objects, and choose Make to get started.
From there, you can refine the blend right in the panel:
- Spacing: Choose a specific number of steps, create a smooth transition, or set an exact distance between objects.
- Orientation: Keep objects aligned to the page or make them follow the path.
- Direction: Reverse the front-to-back stacking order.
- Spine: Reverse the blend along its spine, replace the spine with another path, or control when Illustrator creates one automatically. Learn more here.
If you want to take the blend apart afterward, Expand turns it into individual editable objects, while Release restores the originals. Learn more here.
Make blends feel less uniform
Here’s where things get especially interesting: Easing lets you change the rhythm of your blend.
Instead of distributing every step evenly, you can cluster steps toward the beginning, end, both ends, or the middle. Choose Ease In, Ease Out, Ease In Out, or Ease Out In, then adjust the Ramp from 0 to 100% to control how pronounced the effect becomes.
That opens up possibilities for patterns that accelerate, bunch together, spread apart, or create a stronger sense of movement.
Even better, Appearance and Easing can be adjusted directly on the canvas with interactive controls, so you can experiment visually and watch the result update in real time.
Shift color without shifting your objects
Object spacing and color progression don't have to behave the same way.
With the Appearance controls, you can change how quickly colors transition across your blend without changing where the objects sit. Move the Shift slider to push the color transition toward either end and explore different visual results from the same blend structure.
Try it with your next design
Start with two shapes and see where the Blend panel takes you. Try a color transition, add some easing, experiment with a different spine, or build a repeating graphic along a path.
Already experimenting with the new Blend panel? Show us your blends and tell us which new control is becoming part of your workflow.
If you found this announcement helpful, click 👍 Like. Use ⭐ Subscribe to stay informed about future updates. You may also share this post with others who might benefit from these enhancements.
 AdChoices