



Illustrator Creative Challenge #5: Design Seamless Gift Wrap with the Pattern Tool
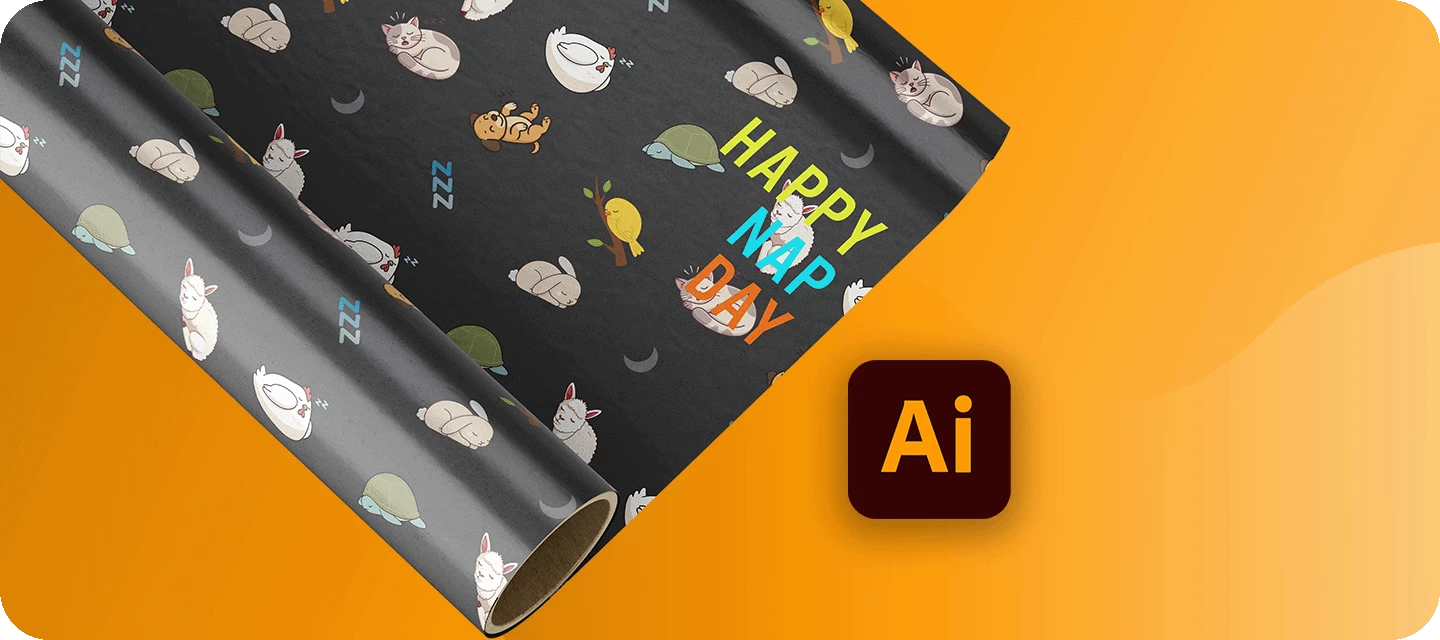
Welcome back to the Illustrator Creative Challenges - our monthly nudge to open Illustrator, learn something, and share it with the community. This time, we're zooming right in on a single, brilliant feature - the Pattern tool, and using it to design seamless gift wrap.
THE CHALLENGE: WRAP A HOLIDAY THAT DOESN'T EXIST
Design a sheet of wrapping paper for an occasion nobody's ever celebrated. Invent the holiday, draw one small motif, and let the Pattern tool repeat it into seamless gift wrap. The tool is the point, the theme is yours.
WHAT TO INCLUDE
- One repeating motif (or a small set) - the star of your paper.
- A seamless tile - no visible seams or gaps where the pattern repeats.
- A defined palette - two to four colors that feel like a set.
- (Optional) show it as wrap - drop your pattern onto a box or roll so it looks real.
The magic metric here: invisible seams. When you can't tell where one tile ends and the next begins, you've nailed it.
HERE'S MINE
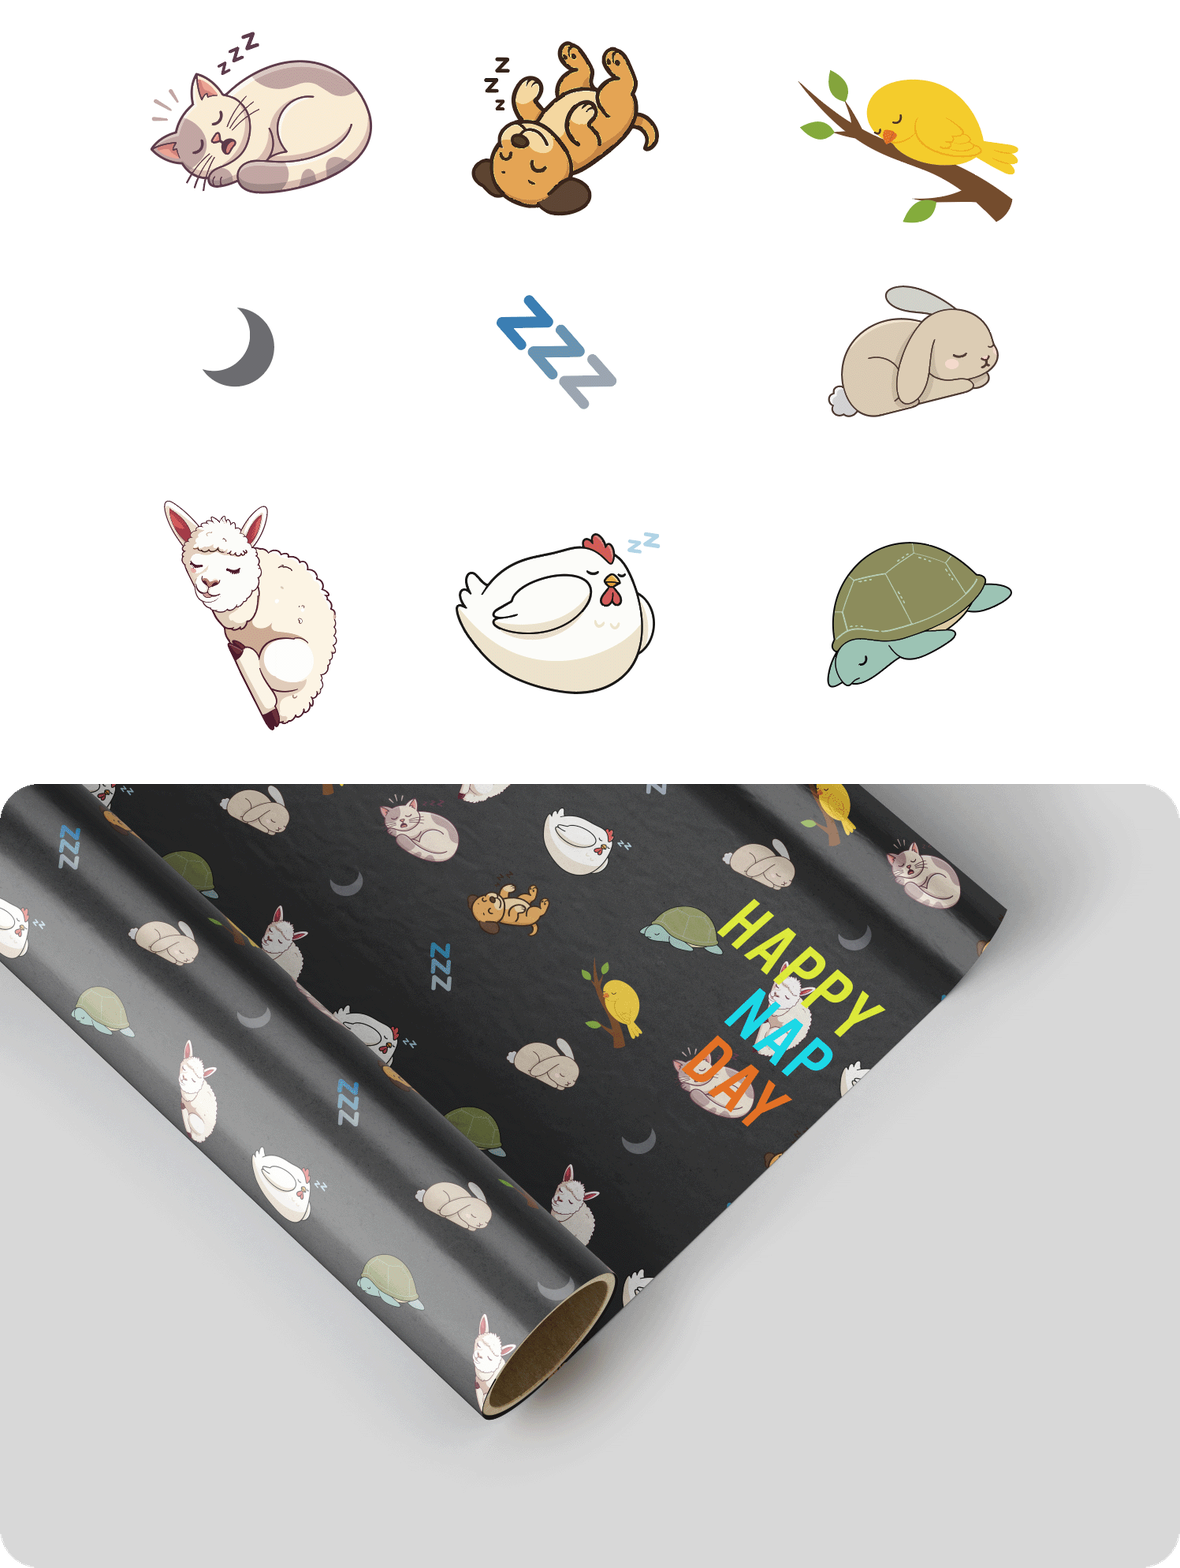
I made wrapping paper for National Nap Day - sleepy animals, crescent moons, and little "zzz"s. Here's the workflow:
- I drew a few small motifs - a curled-up cat, a crescent moon, a tiny "zzz", a chicken, and more - with the Shape and Pen tools.
- I then selected all the objects and chose Object > Pattern > Make, which dropped me straight into Pattern Editing Mode and added a swatch to the Swatches panel.
- In the Pattern Options panel, I switched the Tile Type to Brick by Row, set the offset to 1/3 and nudged the spacing to 100pt, so the motifs scatter naturally instead of sitting in a stiff grid.
- I hit Done, drew a big rectangle, and clicked my swatch to fill it. A quick scale (with Transform Patterns turned on) sized the motifs just right.
YOUR ONE TOOL FOR THIS CHALLENGE: THE PATTERN TOOL
- Make it - draw a few motifs, select them all, and choose Object > Pattern > Make. Illustrator saves a swatch and opens Pattern Editing Mode.
- Dial the tile - in the Pattern Options panel, change the Tile Type (Grid, Brick by Row/Column, Hex) and adjust spacing and overlap. This is where a rigid grid becomes a natural, professional scatter.
- Edit anytime - double-click the swatch to re-enter and tweak; every object using the pattern updates automatically.
- Apply & scale - click Done, select a big rectangle, and click your swatch to fill it. To resize the motifs without resizing the box, scale with Transform Patterns on (Object > Transform).
The only supporting act: draw your motif first with the Shape and Pen tools. Simple, chunky shapes tile far more cleanly than fiddly ones.
HOW TO TAKE PART
Reply to this thread with:
- Your finished gift wrap - a filled sheet showing the repeat.
- A line on your process - the holiday you invented, and how you tiled it (Tile Type, spacing). Honestly, this is the best part to read, so don't skip it.
👍 Like · ⭐ Subscribe for the next one · 📣 Share with someone who'd join in


 AdChoices