




🎉 You Asked, We Answered: New Import Filters, Vectorscope, Glow, and Depth Range Masks in Lightroom Classic 🎯

Lightroom Classic is built around the workflows you use every day, from bringing hundreds of shots into a catalog to making precise edits and finding the perfect image. Many of the improvements that make those workflows better start with you.
You've shared ideas, requests, and pain points around importing, culling, color, masking, and reviewing your photos. We listen, we prioritize your feedback, and we turn your requests into improvements that give you more control. This latest round brings several of your ideas to Lightroom Classic. Here's what's new.
🔽 Filter photos before you import
Start narrowing down before photos ever hit your catalog.
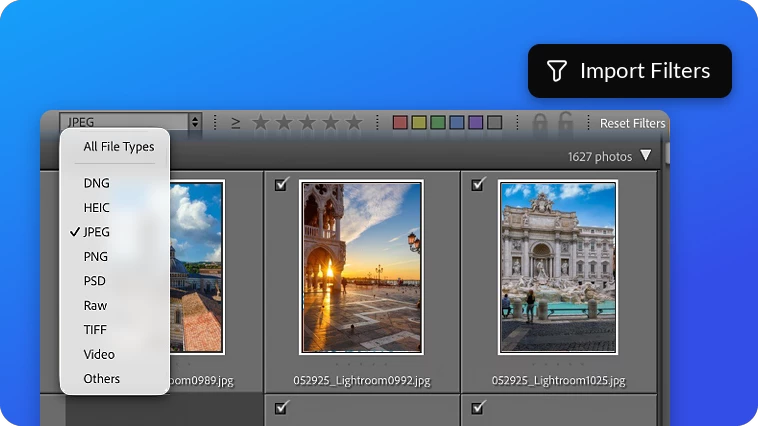
Filter by in-camera file type, ratings, color labels, or protected status, so you import the shots you actually want. The same filters carry over to Assisted Culling for more targeted results.
🎨 ✅ Check color accuracy with Vectorscope
Vectorscope shows hue and saturation on a circular graph.

It's another way to spot color casts and judge color while you edit. The Skin indicator can help when you're checking skin tones in portraits. Whether you're making subtle corrections or evaluating a color grade, you get a visual reference to guide your decisions.
Learn more: How to analyze hue and saturation with Vectorscope
.✦ ݁˖ Add a soft, dreamy glow
Want highlights that feel a little more luminous?
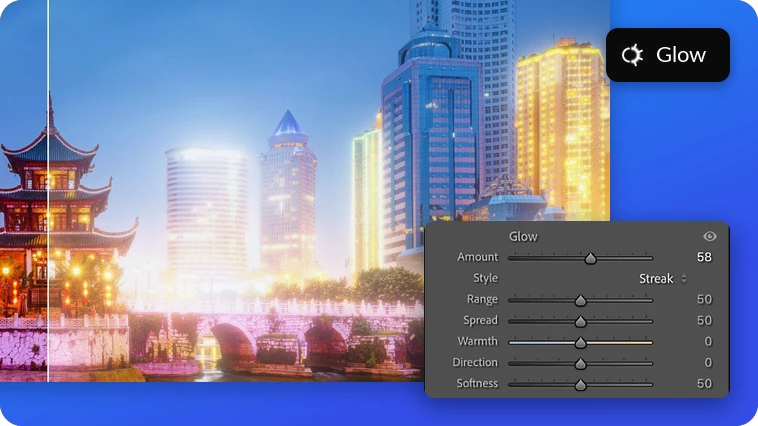
Glow effects add a soft glow to things like streetlights and golden-hour skies. Start with a preset or pick from five styles, then adjust strength, spread, color, and direction until it looks right. You get more creative control over atmosphere and light without leaving your editing workflow.
🎭 Create Depth Range masks in any photo

With AI-powered depth mapping, create Depth Range masks to select and adjust the foreground, background, or areas in between, even when your original photo has no depth information.
🔵 Add color tints to masked areas
Color Grading now works inside masks.
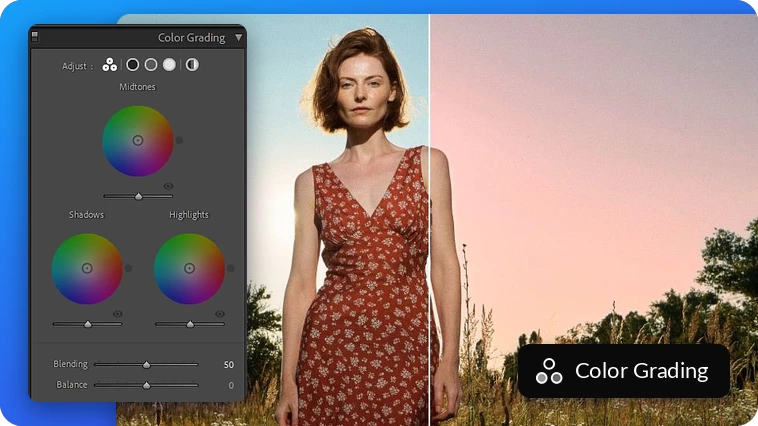
Adjust shadows, midtones, and highlights in just the selected area. Warm up a subject or change the mood of a background without touching the rest of the image.
▢ ▢ ▢ See where your camera focused with Focus Points
Wondering exactly where your camera focused?
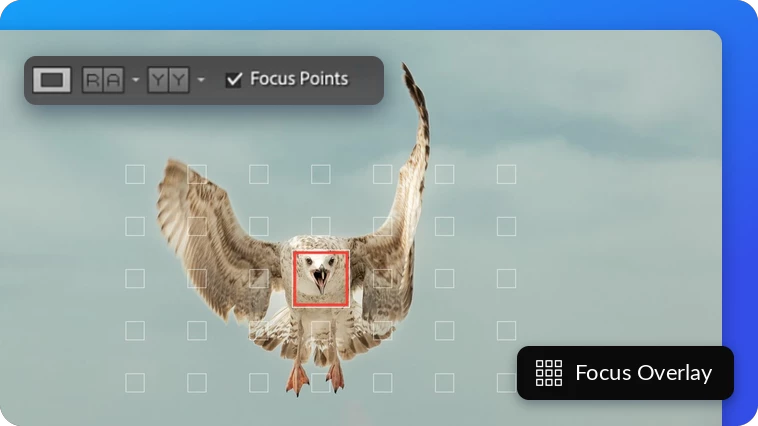
Auto Focus Overlay shows the Focus Points information recorded by supported Canon, Nikon, and Sony cameras as an overlay on raw photos. It makes it easier to review focus and choose the sharpest image from a series, especially when you're comparing similar shots.
🌡️ Fine-tune your tones with an Extended Temperature Range
Create warmer or cooler looks with an expanded Temp slider range for deeper control over your photo's colors.
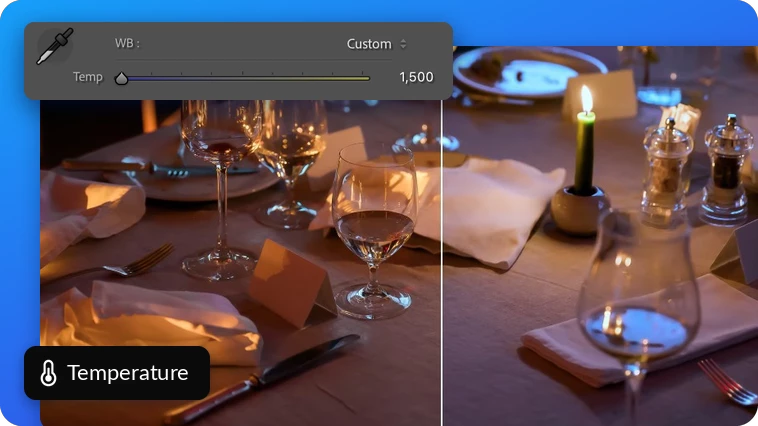
The slider lets you dial down to -1500 for raw images and -150 for non-raw files to adjust your warm photos.
🎭 Improved Subject Masking
Subject Masking is more accurate, with precise selections of detailed objects like hair or bike spokes.
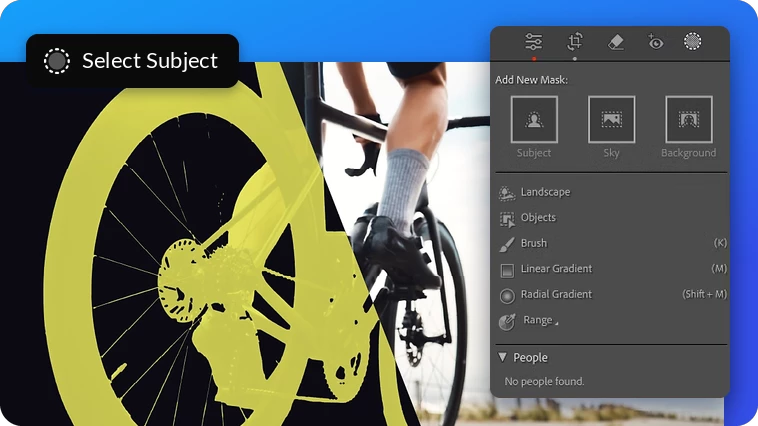
Click Select Subject mask to isolate the central element of an image from a busy background.
Your turn 👂
From deciding which photos make it into your catalog to making more precise color and masking adjustments, these improvements are designed to remove friction from everyday photography workflows. Tell us how they're working for you:
- Which of these improvements will save you the most time?
- Which one are you most excited to add to your workflow?
- What would you like us to improve next?
Keep sharing your ideas, requests, and experiences. Your feedback helps shape what comes next for Lightroom Classic.
 AdChoices