Inspiring
October 26, 2017
Answered

Effects executed from an Advanced Action

  • October 26, 2017
  • 1 reply
  • 771 views

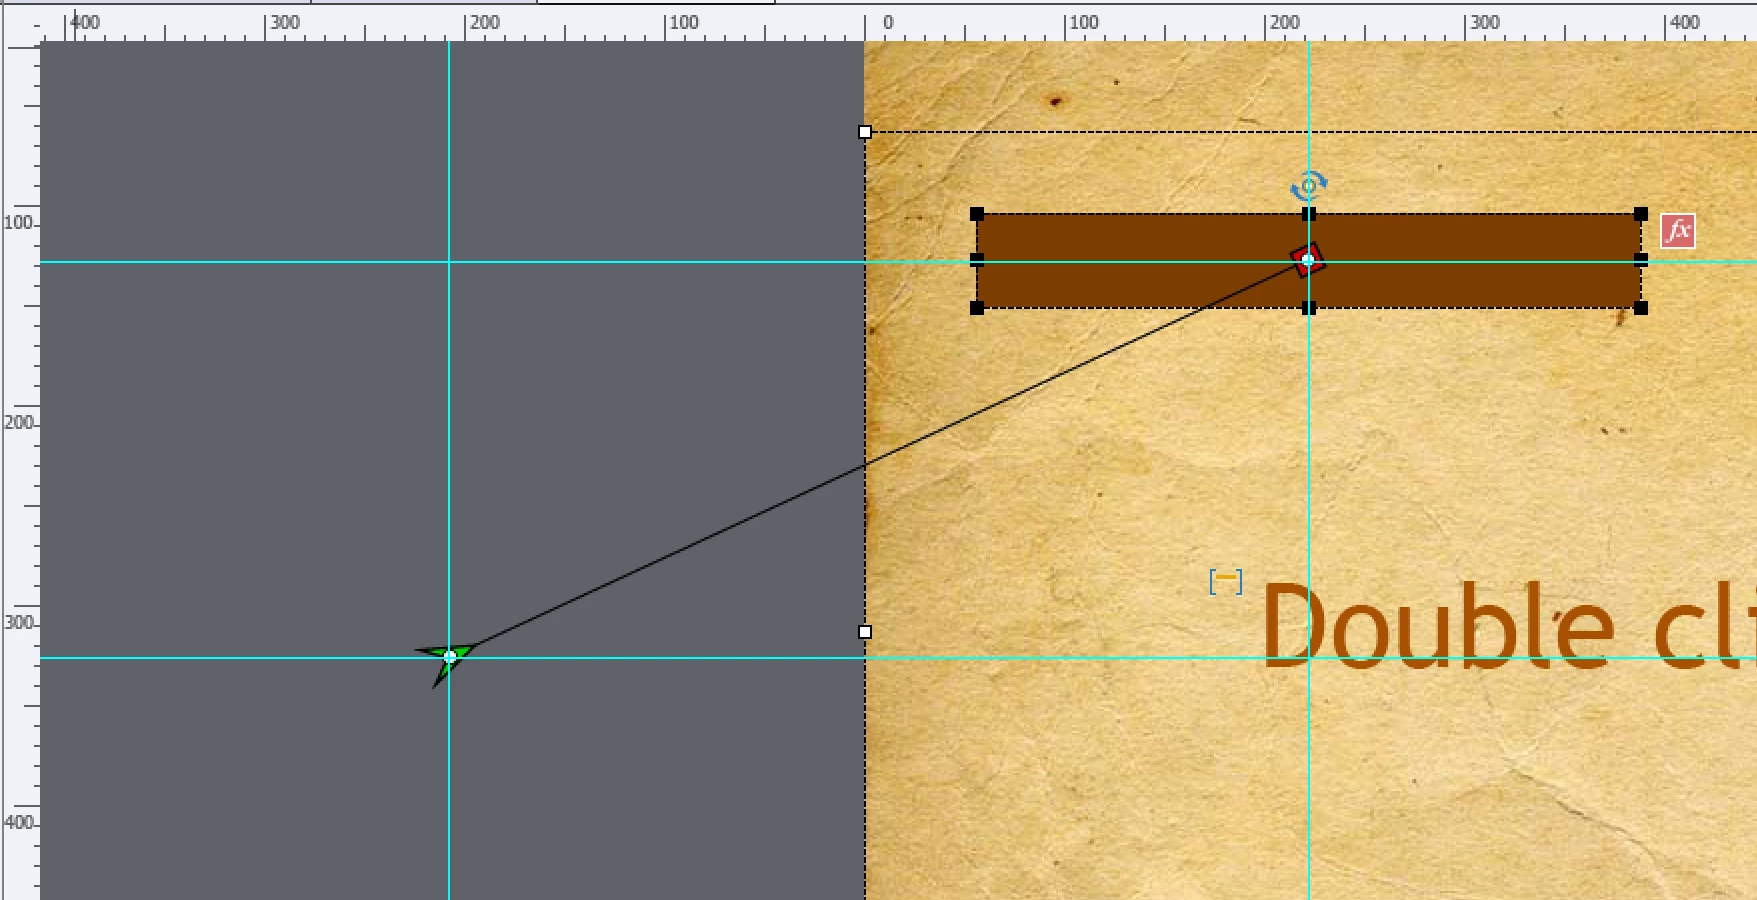
What's the trick to controlling the specifics, other than timing, of an effect executed from an advanced action?  Specifically, a motion path.

I've set up a smartshape to use as a "Flyout" from the right side of the slide.  Click the button, which checks/assigns a variable value and executes the motion path effect to move the smartshape back and forth.  But I can't figure out how how to control the exact start/stop points for the path.  


Thanks in advance.

Jay

This topic has been closed for replies.
Correct answer Lilybiri

Here is a VERY old post, which I should upgrade (but time for all that work is lacking):

Editing Motion Paths and Reusing Customized Effects - Captivate blog

Summarized:

  • Edit the motion path my moving the points on the path (look at the movie in that blog post). If it is a path with one segment, this means dragging the start and/or the end point. To keep the path horizontally ot vertically, keep SHIFT down while dragging. Guides can help to have the exact location visible.
  • Save the effect under a custom name, using the disk icon in Timing Properties, Effects part. I mostly save it in the same folder as the project.

1 reply

Lilybiri
Legend
October 26, 2017

The motion path itself is not part of the parameters that can be controlled by the advanced action. I always create custom effects in that case, and be sure to use Guides to have the exact start and end point for the motion paths. Use the custom effects in the advanced action. It is one of the use cases for Rulers/Guides mentioned in this blog post:

Guides Rule! - Captivate blog

The work flow to make a custom effect available in the dropdown list with effects in the Adv. Act. dialog box is bit cumbersome:

  • Create the custom motion path with a time-based effect and save it (doesn't matter where, I mostly save in the project folder)
  • Delete the effect on the timeline
  • Apply the custom effect time-based
  • Delete the effect again
  • Now it will appear in the Custom category in the Apply Effect command in Adv. Act. dialog box
travlr588Author
Inspiring
November 1, 2017

Lilybiri,

I'm sure I'm going to feel silly once you answer this, but how do I create a custom motion path?  I'm using ver 10.

I've found a couple of posts that talk about the how, but what I can't figure out is the starting point for the process...where do I go to begin creating the custom path?


Thanks

Jay

Lilybiri
LilybiriCorrect answer
Legend
November 1, 2017

Here is a VERY old post, which I should upgrade (but time for all that work is lacking):

Editing Motion Paths and Reusing Customized Effects - Captivate blog

Summarized:

  • Edit the motion path my moving the points on the path (look at the movie in that blog post). If it is a path with one segment, this means dragging the start and/or the end point. To keep the path horizontally ot vertically, keep SHIFT down while dragging. Guides can help to have the exact location visible.
  • Save the effect under a custom name, using the disk icon in Timing Properties, Effects part. I mostly save it in the same folder as the project.