I was responding to the email...I'm sorry. Okay, here's the timeline screenshot

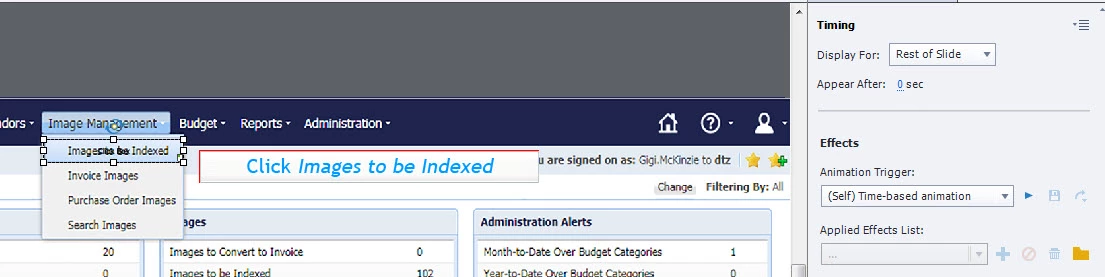
I also wanted to show you my clickbox "Timing". Your blog mentions:
Interactive objects (click box, button, shape button, Text Entry Box) can have a pausing point, to be defined in the Timing Properties panel. That pausing point will be visible in the Timeline, and the part before the point is indicated as 'Active', part after the pausing point as 'Inactive'. Since a click box is invisible to the user, it has not inactive part, its pausing point will always be at the end of its timeline. Waiting is for the user to click either on or outside of the interactive object (click box, shape or normal button) or to confirm the Entry in a TEB. You can edit the pausing point by dragging in the Timeline or in a precise way by editing the Timing Properties panel. It is also possible to uncheck the Pause (see screenshot 3 in the Gallery).

However when I click my Click Box and Display my Timing "Rest of Slide" I don't have that Pause After option.
As you could see in the links, I have a whole sequence of posts about the timeline. You should start with the first one.
A click box has no interactive part, that is why it has no sense to set the Pause After (which is relevant for other interactive objects), because the pausing point is always at the end of its timeiline, due to its invisiblity. You have to change the timing of the click box itslef to change the lcoation of the pausing point. At this moment both click boxes have the pausing point at then end of the slide. Moreover their timeline end is linked to the end of the slide timeline - look at that red triangle.
From the last screenshot I see that this is soft of a software tutorial? Why didn't you use the 'Software simulation' feature in Training mode? That would have saved you a lot of time.
Will try to offer you an easy solution, at least if I understand correctly what you want:
- A text with instruction is visible, appears synchronized with an audio file (I see slide audio on your timeiine)
- You want the learner to click something to hide that first text, and show a second text.
Is that the correct interpretation? If yes, no need for two click boxes at all.
I would use one text container (shape or caption, up to you) with two states:
- First state has thte first text, label that state First
- Second state has second text, label that state Second
You only need now to have click box with the command 'Go to Next Sttate'.
You can decrease the slide duration to a little bit longer than the audio clip. It is OK to have the click box till the end of the slide.
Only drawback: if they click the click box again, the first state will reappear. If you want to avoid that, use the command:
Change State of Text to Second
