
Answered
Clone stamp tool only partially working?
Hi Everyone, Substance noobie here. Looking for help with seams. Basically, I am struggling to get the clone stamp tool to behave as I think it should.
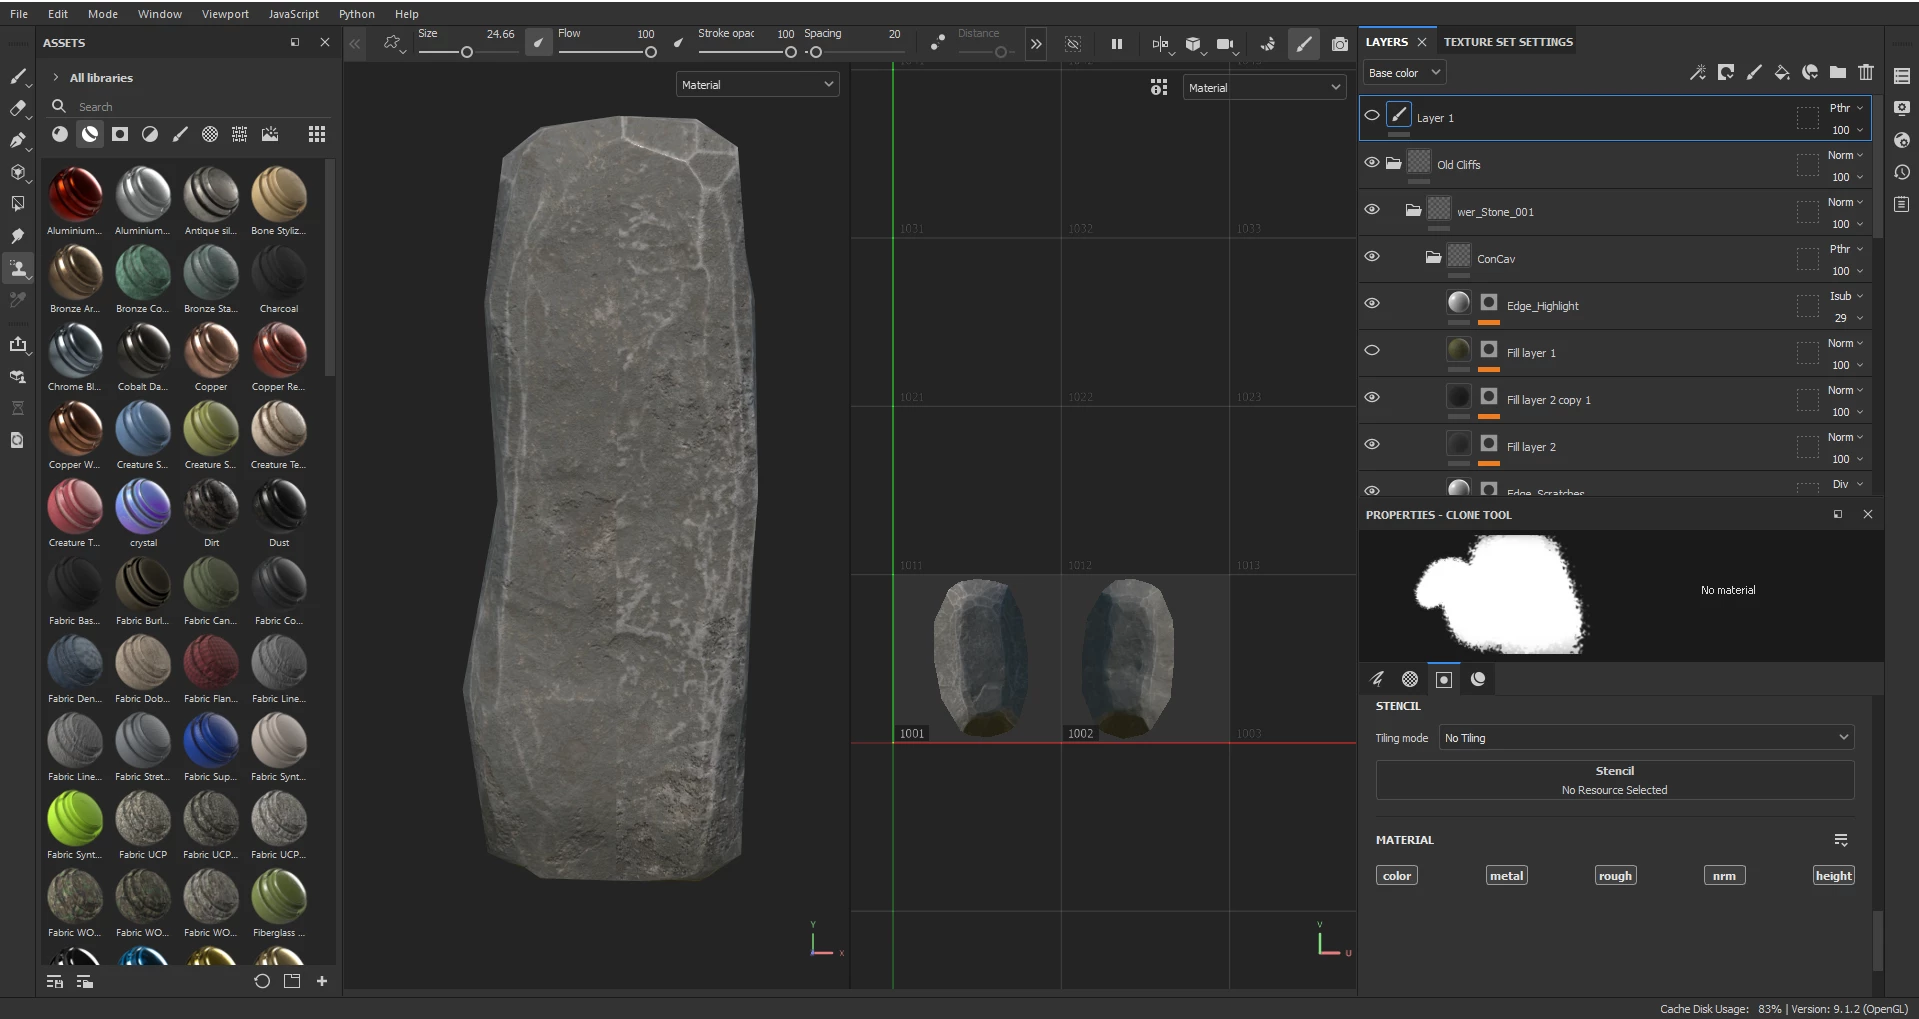
So this rock is divided into 2 sections. As you can see, we have a seam running right through the middle.
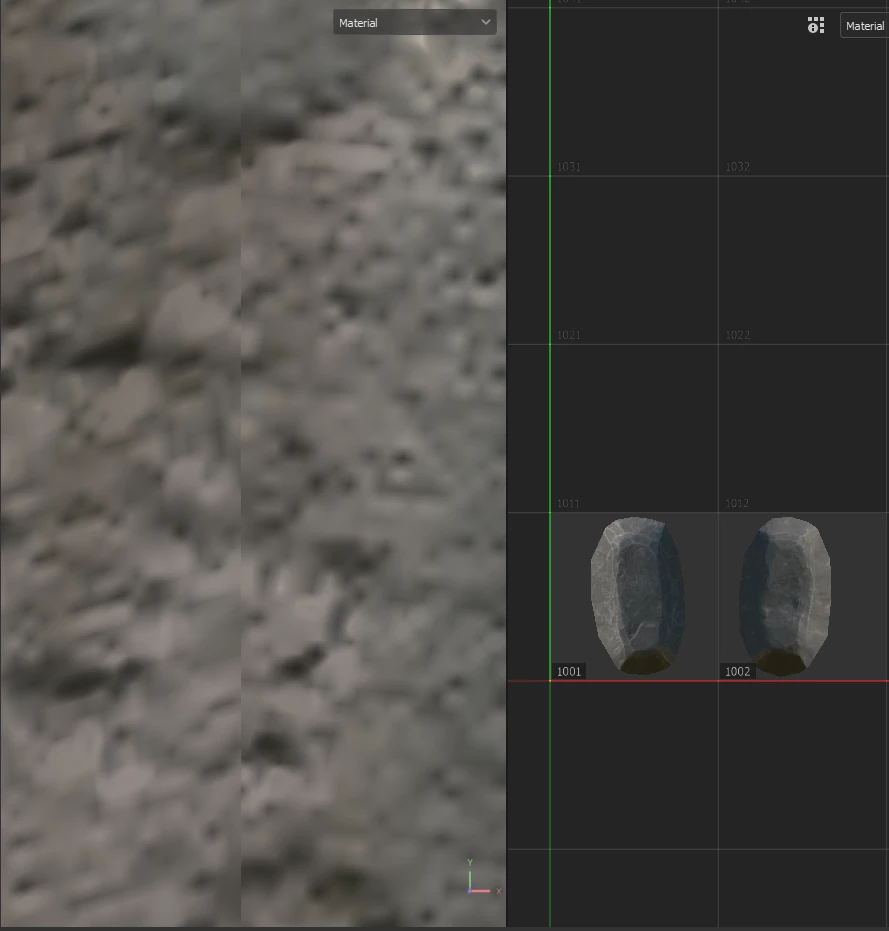
When I clone-stamp it sort of works. From a distance, it does not look too bad. But up close and under certain high-contrast lighting conditions, the seam is still very apparent to me. My worry is when making assets that are intended to be large/walked upon, these seams would be noticeable as the player/user will potentially be in close proximity to (or standing directly on top of) them. I make stuff for second life, VR chat and so forth and people can be very fussy about visible seams because you can basically walk up to objects and face-hug them. So I try to get thigs as perfect as possible.
Am I being too much of a perfectionist? Is this expected behaviour? I realize I am close enough to the object to lick it. I have tried this with multiple objects and smart materials to the same outcome. Im just using a rock for now to clearly illustrate the issue.
Before
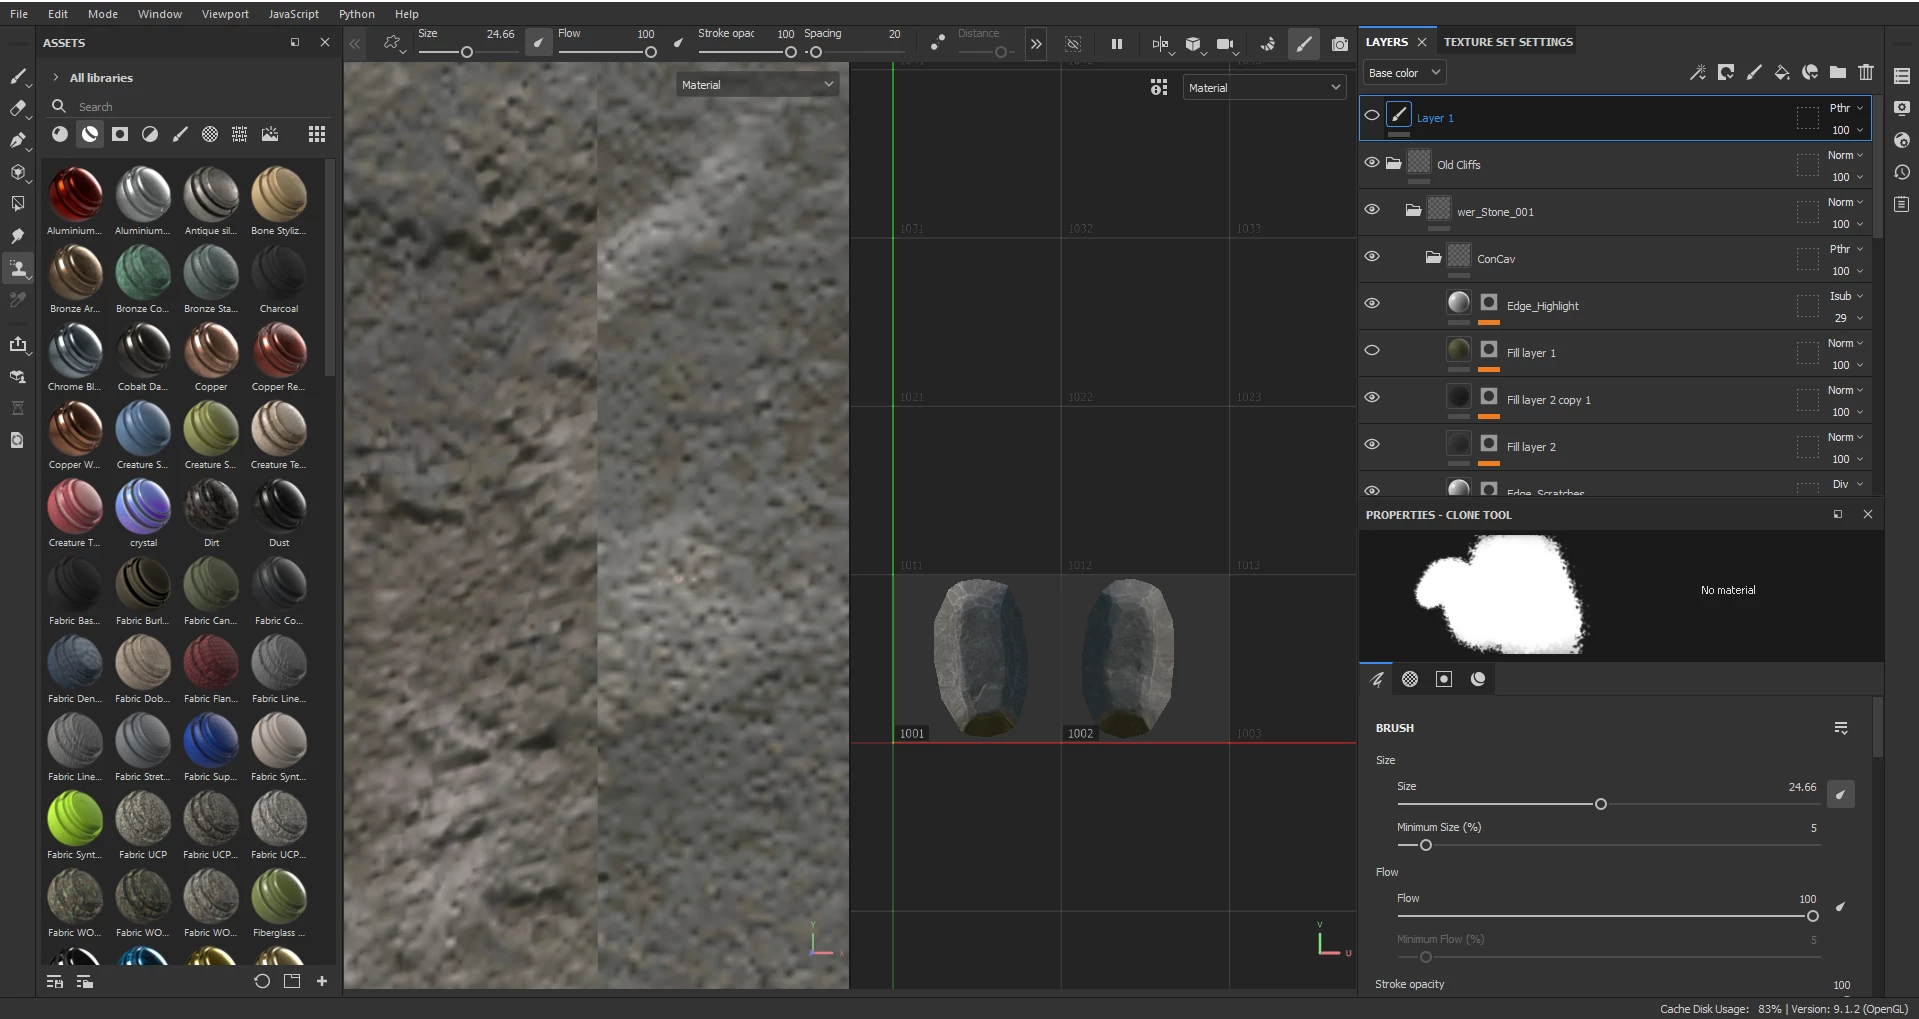
After

Closeup
I have been through many tutorials and forum posts but everything I tried so far has not solved the issue.
Things I have done/tried in various combinations:
Changed normal mixing modes.
Changing the clone mode from relative to absolute.
keeping all faces on 1 single texture map group - and also splitting the mesh into two separate parts (ie two separate map groups) - and the UDIM tiles workflow. Same result no matter the config.
Changed brush alignment.
Tried multiple brush techniques (one long stroke directly along the seam, short cross-hatching, etc).
Changed my UV mapping several times with various seam configurations.
Triplanar mapping (moves the textures around a bit but does not fix the seam at all)
Creating a duplicate fill layer and using the UV seam generator.
I use OpenGL normals because Secondlife uses them. I work in 2048 resolution usually.
And I am stumped what to try next. Any advice would be appreciated.
I am using the 2023 Steam edition. Thank you!
