chrish43593626
Known Participant
January 28, 2021
Answered

Placing a graphic on model with a void

  • January 28, 2021
  • 6 replies
  • 860 views

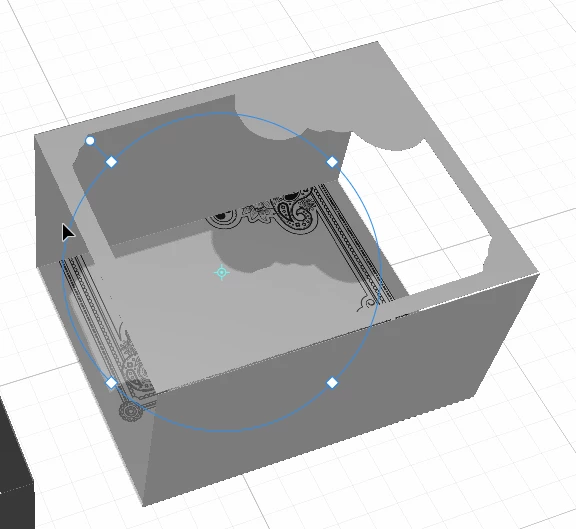
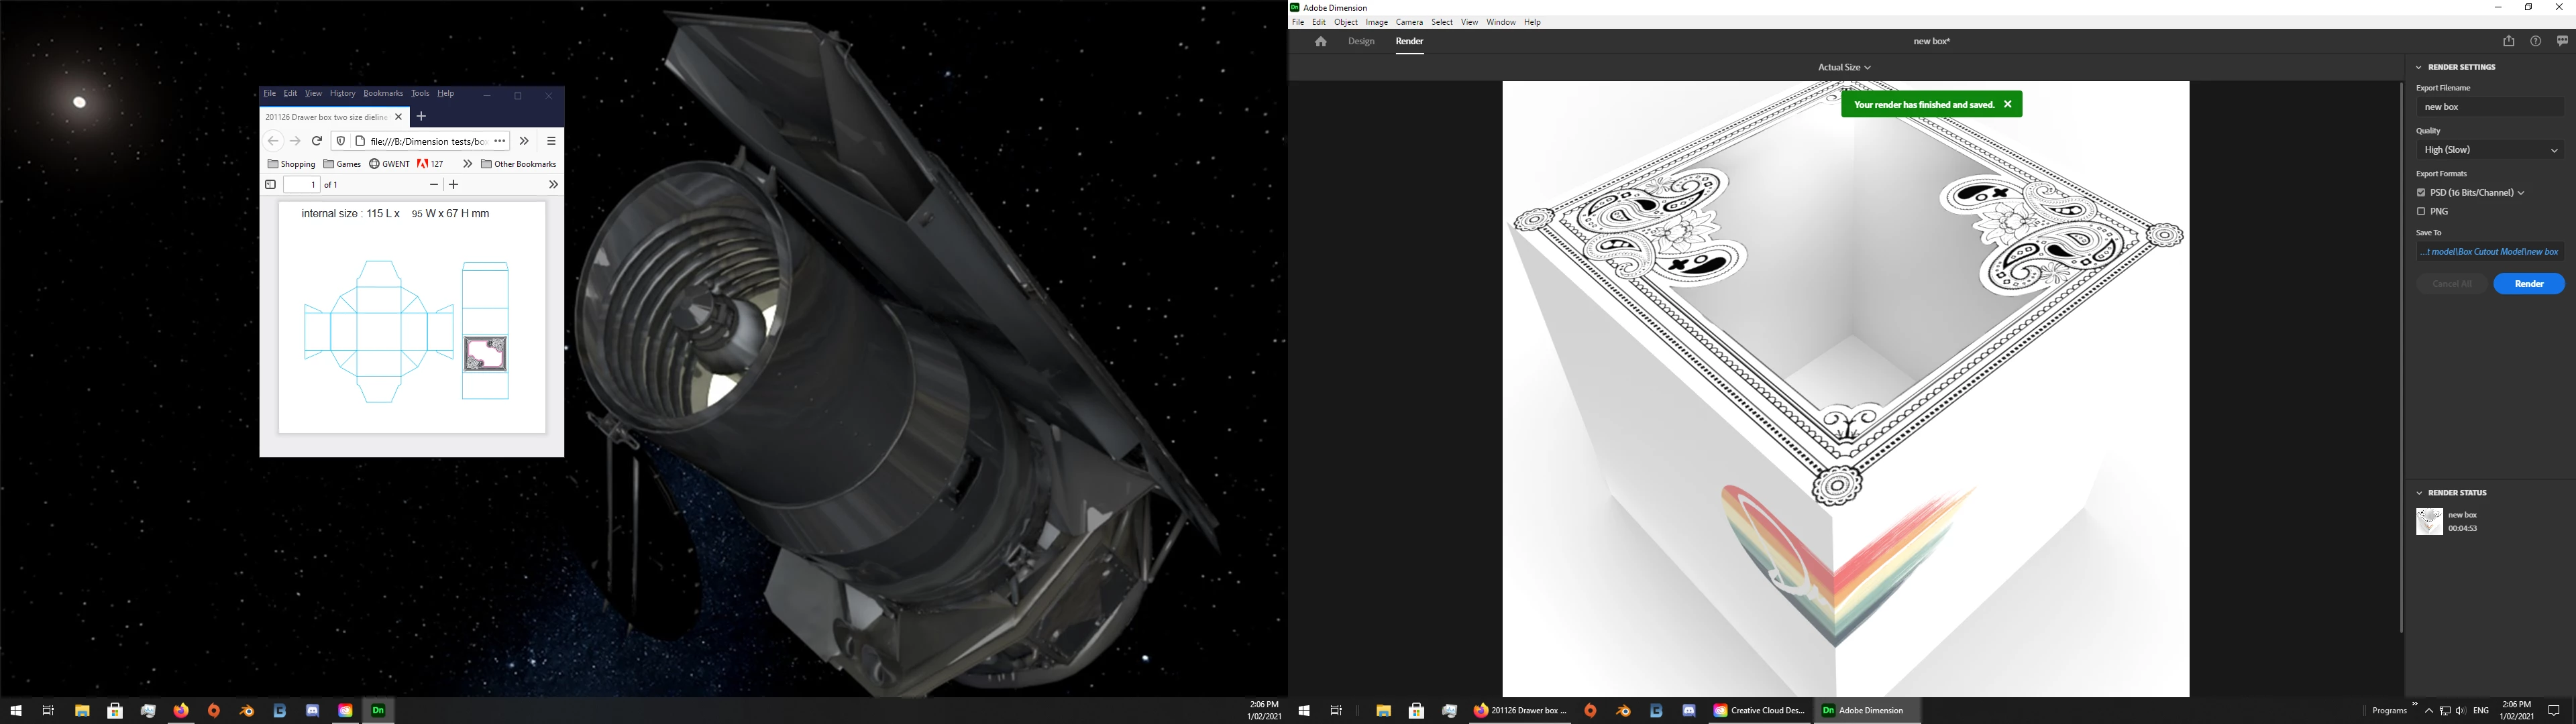
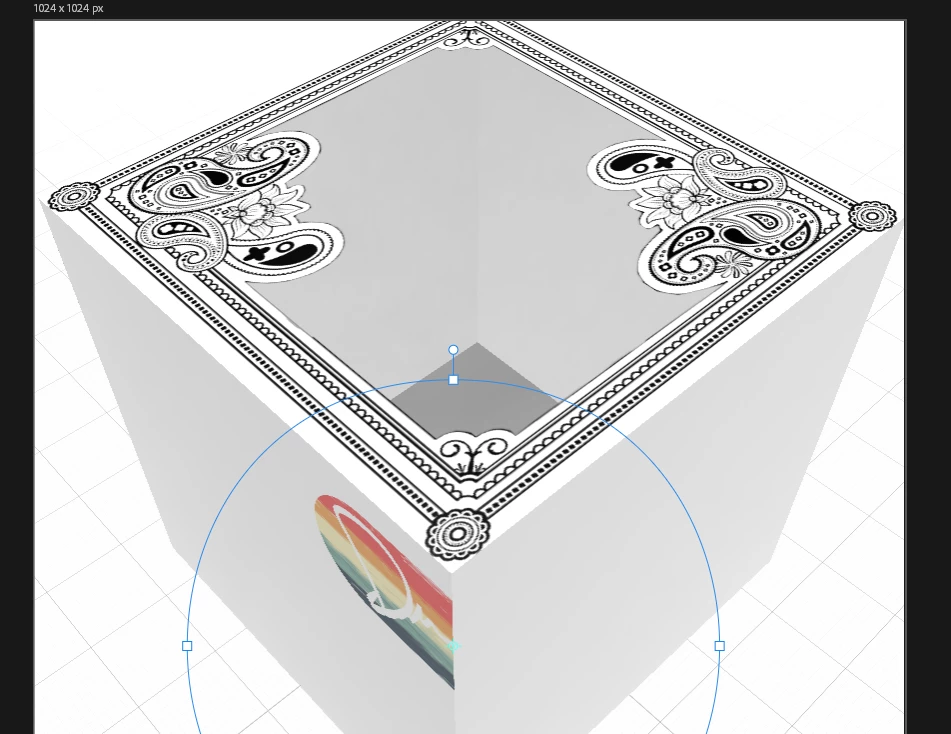
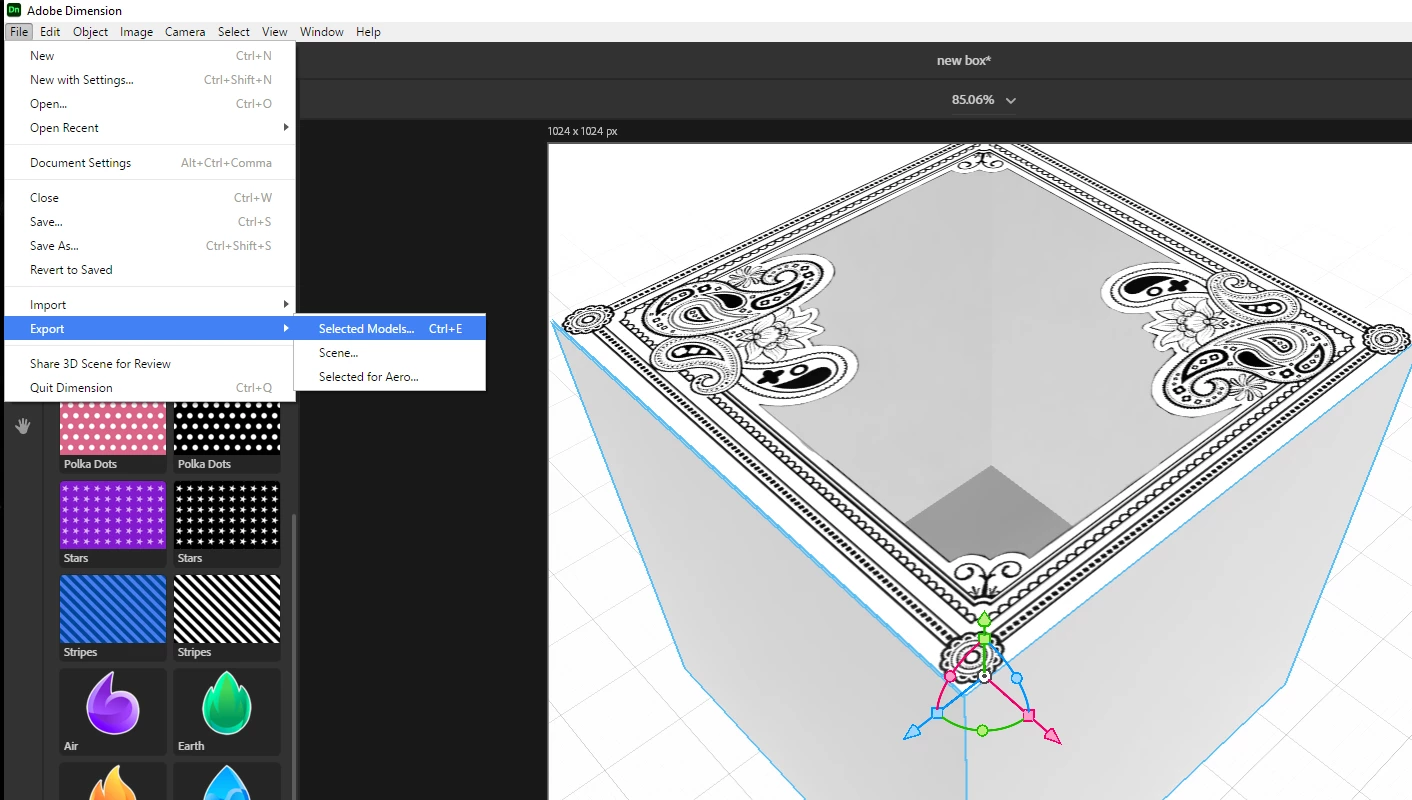
I've got a model of box that has a laser cut window on top of the box. I want to overlay a graphic on top of the box, but I'm not able to make it work. The graphic is just being applied to the inside bottom of the model since there's a big hole in the top of the box. 


Does that make sense and is there any way to make this work? 

This topic has been closed for replies.
Correct answer Ussnorway7605025

new box files

I think there's something lost in translation.


we are getting there but yes 2D is different to 3D and you have to allow for that... your dye template has tags which is why the sides are not joined together in your first box and also 1 reason the decal gets resized


  • this new box is multiparts and that creates a problem when you want decals to go across two faces... the work around is to export the sides you want to join and merge them together in Photoshop (or what ever 3D software you like)


6 replies

Ussnorway7605025
Ussnorway7605025Correct answer
Legend
February 1, 2021

new box files

I think there's something lost in translation.


we are getting there but yes 2D is different to 3D and you have to allow for that... your dye template has tags which is why the sides are not joined together in your first box and also 1 reason the decal gets resized


  • this new box is multiparts and that creates a problem when you want decals to go across two faces... the work around is to export the sides you want to join and merge them together in Photoshop (or what ever 3D software you like)


chrish43593626
Known Participant
February 2, 2021

My mind is blown right now. 

Ussnorway7605025
Legend
January 31, 2021

your box has 8 sides so it is both inside and outside and the reason you have trouble getting fill to work is because your decal shape is different to the top face of your box so its never going to match without edits


yes it is possible to have decals on the sides but before you try that please take a good look at your new UV map... this shows you where the images end up on the box itself and you can add layers to edit the image until you are happy with it

  • if however you want to add decals to the sides instead then use the magic wand tool to select only the side you want, give that a new material and then add your decal


chrish43593626
Known Participant
January 31, 2021

I think there's something lost in translation. The graphic matches the cutout exactly. I think perhaps the box is drawn incorrectly based on the image you pasted above. If you look at the die line file, the graphic matches the top of the box perfectly. Another curious thing is that the dimensions don't match the die lines either. Regardless of what I do, anytime I try to place the graphic as a decal, it goes straight to the bottom inside of the box. Pretty frustrating. 

Ussnorway7605025
Legend
January 31, 2021

that is a usable box... would this get you out of trouble?


the files back

chrish43593626
Known Participant
January 31, 2021

Thank you so much for working your magic on that file. My original box walls don't touch, so there's a gap between them.


Is there any way to put the graphic on as a decal vs. fill? I have other decals to put on the sides and I'm not able to get the fill to cooperate. I'm wondering if it would be easier to just have the top of the box as a separate plane and then place the graphic straight on there as a decal. 

Ussnorway7605025
Legend
January 30, 2021

you can use a 3rd party system like dropbox but I have good network and just use my creative cloud to share files... this keeps them all in order


to share a Dn you have to 1st zip it [only .zip not 7z or any other type] then upload to cloud and share... be sure to tick 'allow downloads' in your options

chrish43593626
Known Participant
January 31, 2021


Wow you're the best! The files are at the dropbox link below. I've included the DN file and the graphic. I've also include the dielines for the box in case that is useful. 


Dropbox Link 


Thank you for the help. 

Ussnorway7605025
Legend
January 28, 2021

if you want to share your dn with the old box and decal then we can help you make a new box

good luck

chrish43593626
Known Participant
January 30, 2021

Thank you for offering help like that! The model was created by a friend, so it's not a solid cube. Is there a way to share files on here? 

Ussnorway7605025
Legend
January 28, 2021

the real issue is your box model and I would just start again... Photoshop has a ready make box [cube] shape so that saves some time [see example images]


chrish43593626
Known Participant
January 28, 2021

So your solution is to not use Dimension at all?

chrish43593626
Known Participant
January 28, 2021

Oh never mind. I see. Use a fill on that one face. 

I'll have to see if I can do all those things in Photoshop.