Mel,
"Can anyone tell me how to do this?"
One way to do it is to:
1) For each part of the vector logo:
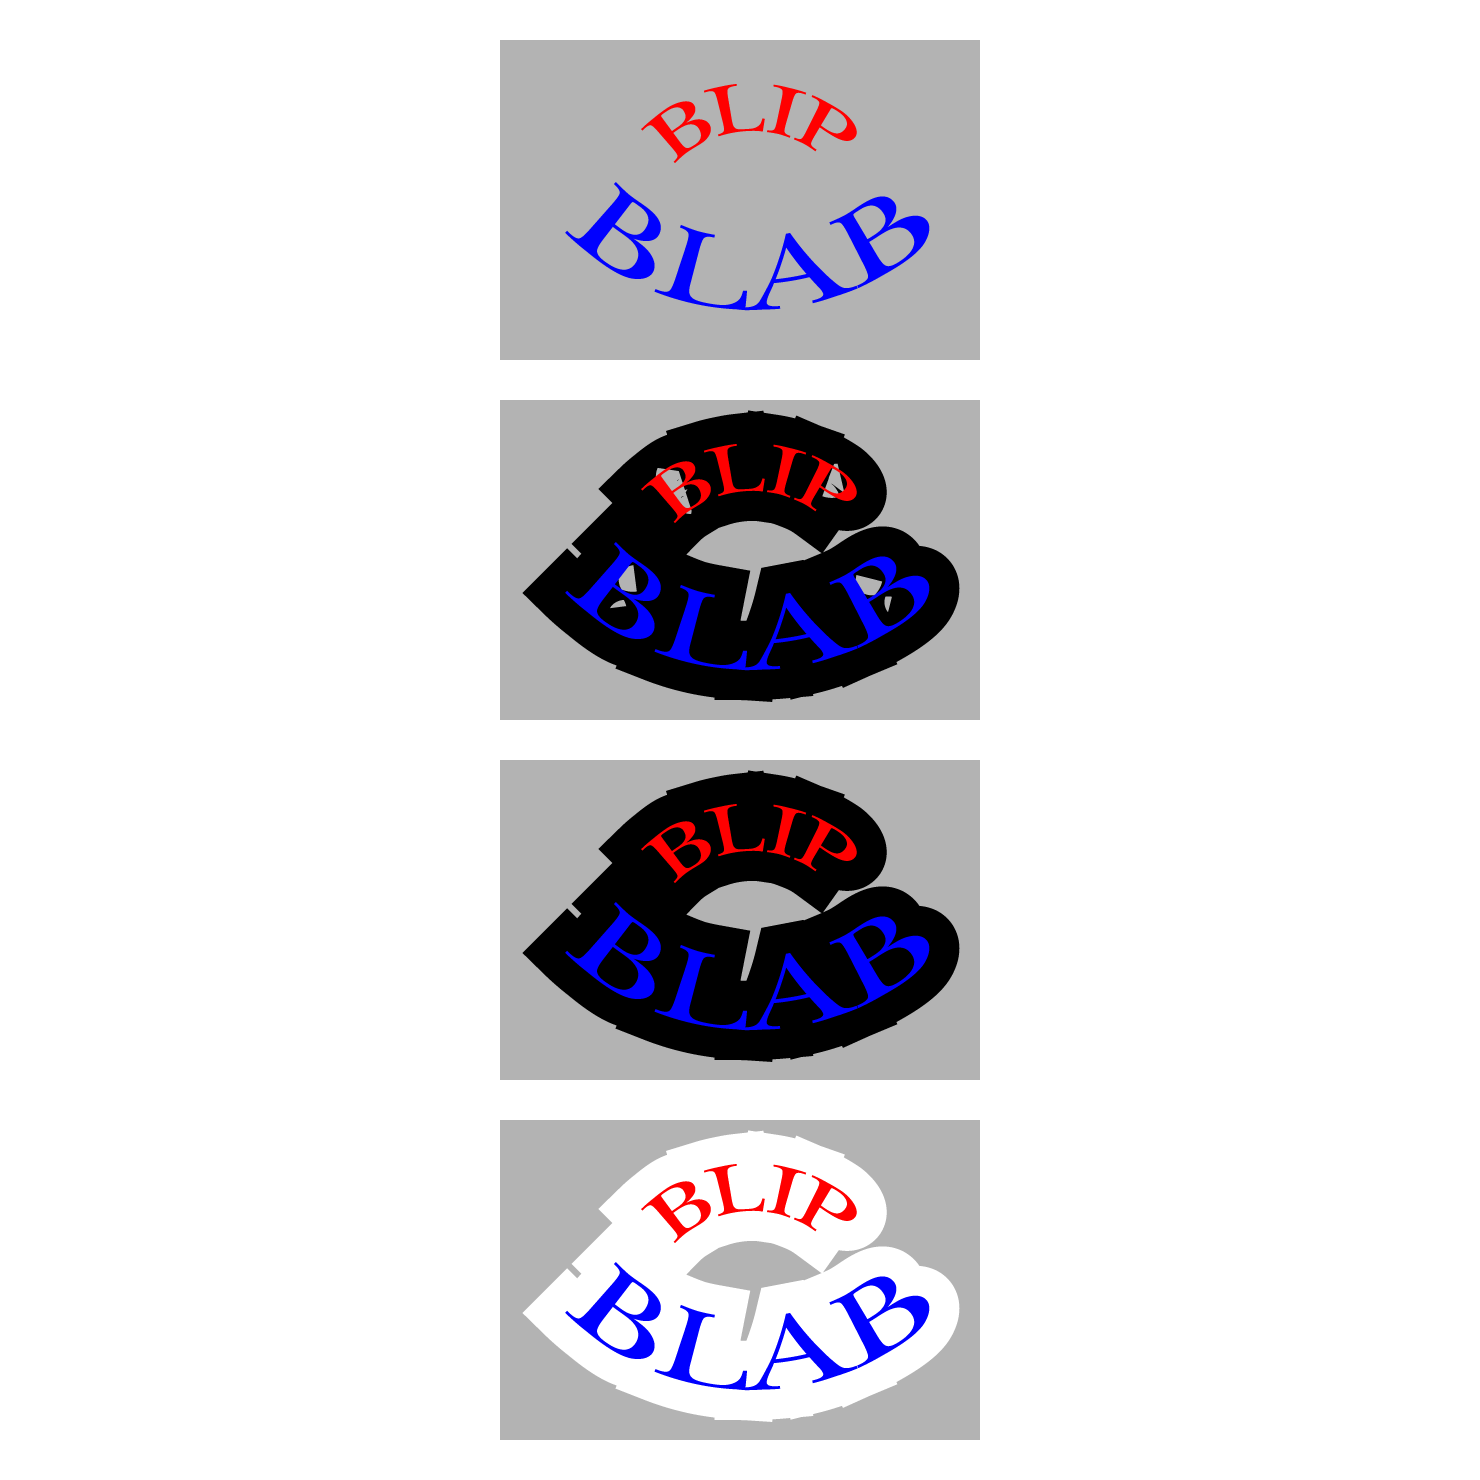
1a) Create outlines if not already and turn it into a Compound Path if not already, restore fill colour if needed (just click the Fill box), see first image below;
1b) Offset Path by the desired amount (5 mm or whichever value suitable) and turn the new offset path black, see second image below;
1c) Pathfinder>Divide, then Pathfinder>Unite to remove inner holes in the offset path, see third image below;
2) Group the parts of the logo, and Group the two offset paths;
3) Select the offset path Group and the background (the clipping set), then in the Transparency panel click Make (Opacity) Mask, see fourth image below.
You can (go back and forth to) adapt the appearance to get rid of strange appearances and develop the logo further, Ctrl/Cmd+Z being your friend.
The rather silly images illustrate some possible strangenesses, such as the two remaining gaps/dents into the final BLAB part in the fourth image. This can be avoided by applying a larger positive offset value to close the gaps followed by a smaller negative offset value to end with the desired offset value without the gaps (setting the smaller negative offset value to the difference between the desired offset value and the larger offset value used to close the gaps/dents).
Click/RightClick and Click again, to get closer