thebodiahtrist
Participant
August 2, 2019
Question

Dieline design

  • August 2, 2019
  • 3 replies
  • 1264 views

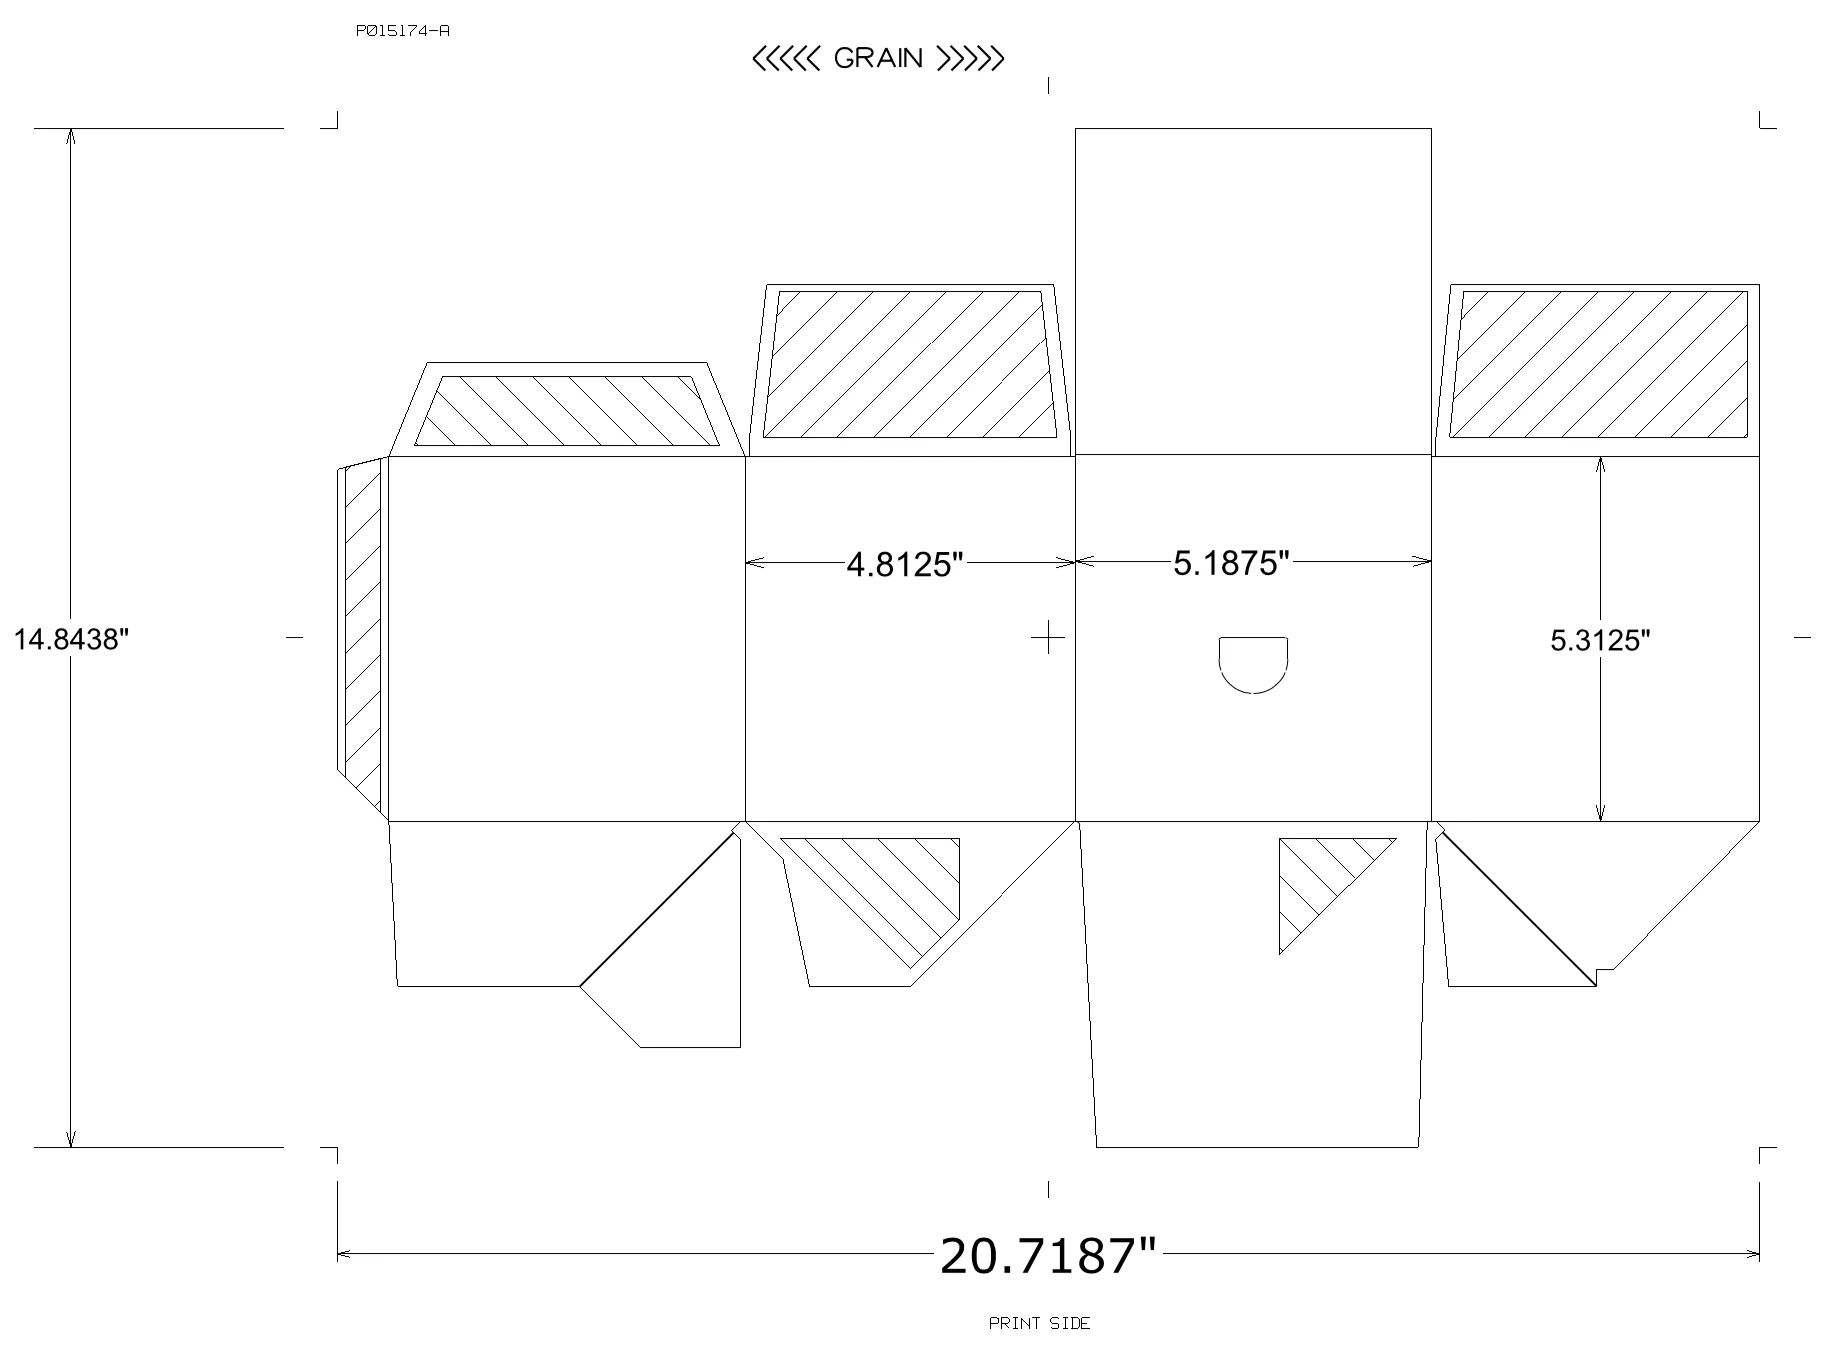
I'm trying to use this template to design my own 4pk can box. How would I go about inserting certain graphics and filling it with color?

I also cannot tell where the front, back, sides etc are. Please help?

This topic has been closed for replies.

3 replies

Monika Gause
Community Expert
Community Expert
August 2, 2019

And probably you aren't supposed to put anything on the hatched areas. This is where it gets glued.

So youneed to read the file specifications. Also if something is not clear, ask the printers until it is clear. Only they can tell you what they need.

barbara_a7746676
Community Expert
Community Expert
August 2, 2019

Shaded areas with the diagonal lines are parts of the box that are folded in and hidden when the box is assembled.

barbara_a7746676
Community Expert
Community Expert
August 2, 2019

Since this is a template it is probably on a locked layer. You would need another layer to put all your colors and graphics.

Jon Fritz
Community Expert
Community Expert
August 2, 2019

I'm reasonably sure the odd shapes with lines across them throughout the graphic represent sections where glue is placed. That would make the bottom of the graphic the bottom of the 4 pack when assembled (diagonal fold lines allow it to be collapsed after opening/using).

The front and back are interchangeable, so are the sides. Sometimes the "punch" (carry hole) will be on the "front" other times it's on the back. That's up to the designer, but I see the side without the punch used as the front most often, though you really can't depend on stores putting them in shelves that way either.

When I work with these, I set them as a layer in the background, scale them until the measurements on the graphic match my document rulers, then lock the layer and design over the top of it, turning it off when I'm done and submitting a PDF.