A couple of other ways you could approach it.
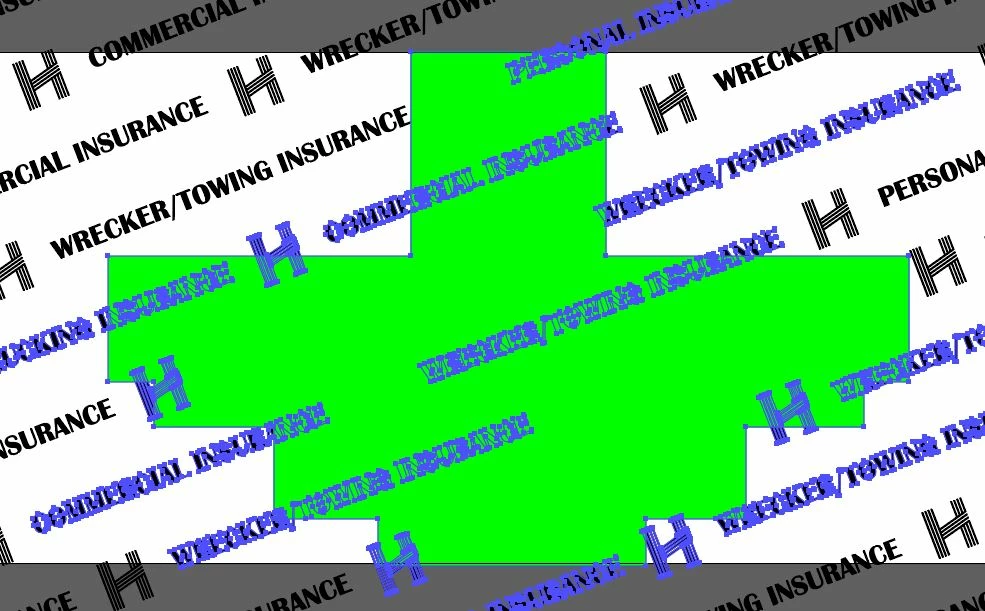
This first method uses Pathfinder, and will permanently delete the text that is inside the green shape.
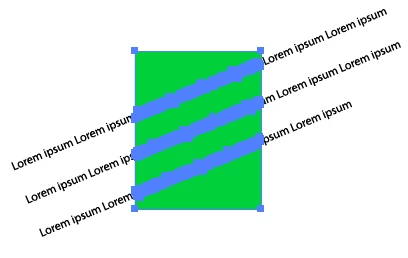
After creating the text and converting it to outlines under the Type menu, and putting the green shape on top of the outlined text, the way you have it --
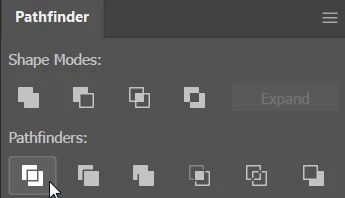
Select the outlined text and the green shape.
In Pathfinder, click Divide.
With the Direct Selection tool,
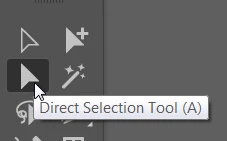
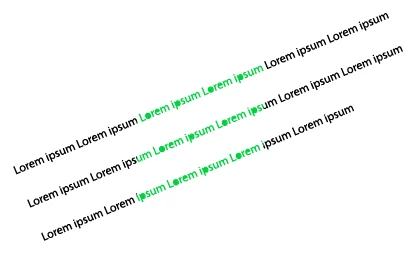
Click inside the green shape. That will select all the pieces of the green shape.
Hit Delete. You will be left with green outlined text where the green shape used to be.
Select any of the green text and choose Select > Same > Fill Color.
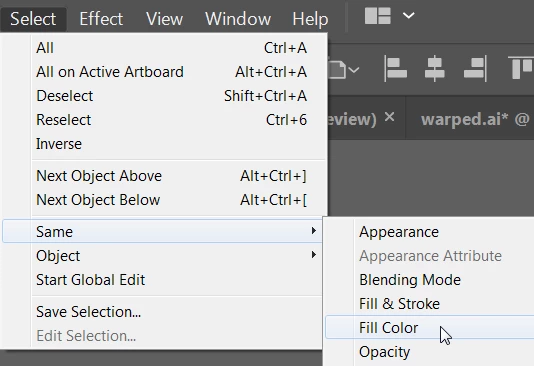
Hit Delete.
--------------------------
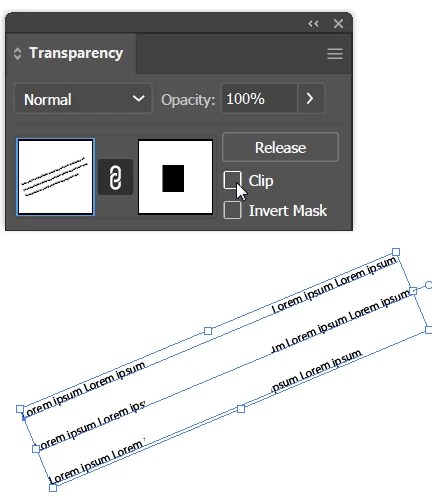
The second method you could try would be to use an opacity mask. This is not permanent because you can adjust or remove the opacity mask at any time.
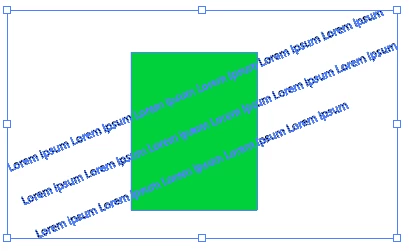
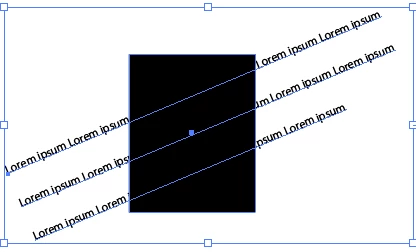
Start with the text and this time put a black shape on top of the text. The black shape must be on top. It doesn't matter if the text is outline text or regular editable text.
Select the text and the black shape.
In the Transparency panel, click Make Mask.
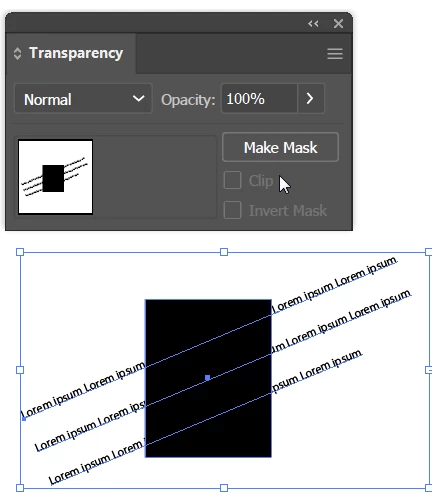
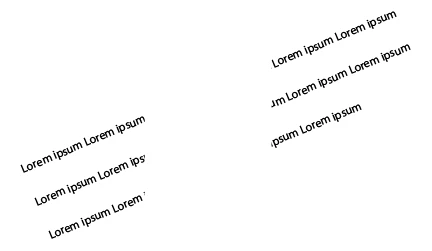
At first it seems the text is hidden.
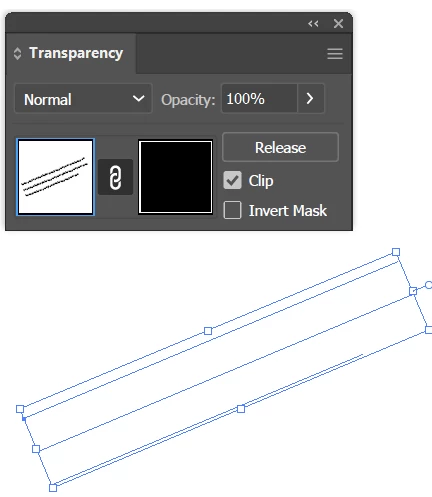
In the Transparency panel, remove the check mark from Clip.