Participant
July 30, 2020
Answered

How to create a crosshatched fill for use on a plotter

  • July 30, 2020
  • 1 reply
  • 395 views

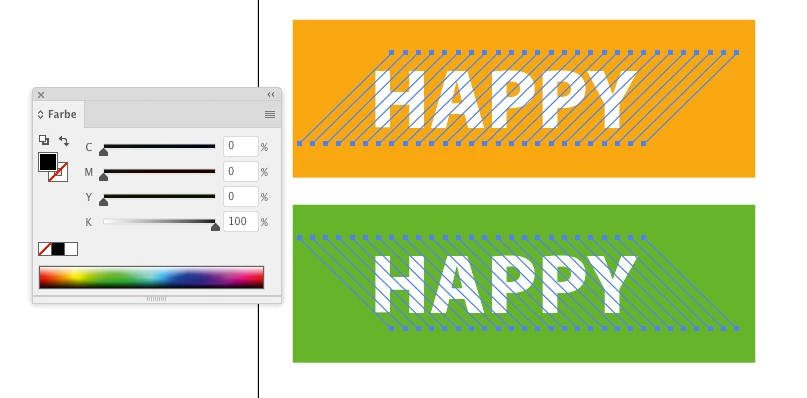
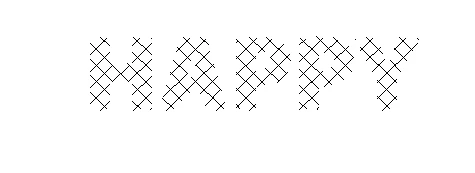
I have a robot arm with which I want to plot some shapes that are filled with a crosshatch.
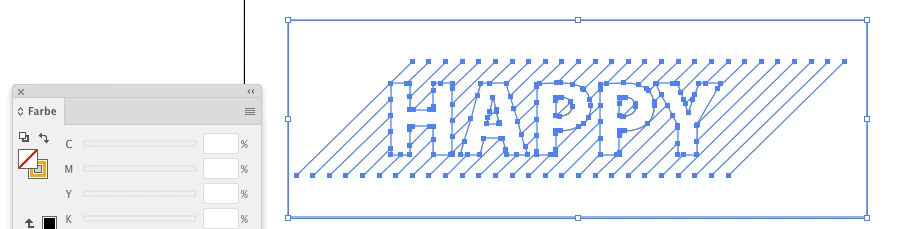
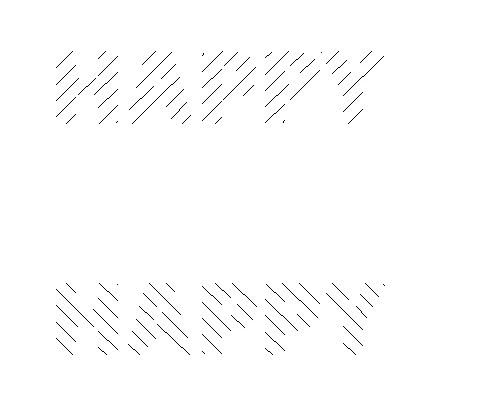
The common method is to use a clipping path this I know, however I need to completely eliminate the "tails" of the crosshatch so that only trimmed paths remain.

Object>Expand... does not do this? What does?


An example is attached.

This topic has been closed for replies.
Correct answer Monika Gause

You can barely see anything in that image.


But if I interpret that correctly, what you need is this setting:

2 different hatchings. Put them in 2 layers stacked on each other. I put them side by side for demonstration.

The text needs to be punchd out of rectangles.

Make sure the fill color of the hatches has a different color than the fill of the rectangles with the text.

You need to make them one layer after the other.

Select the hatching and the text. And use the pathfinder "Outline" from the panel.

Then select one of the colors paths and Select > Same > Stroke color


Delete.

Do the same with the other layer


On top of each other they look like this:

1 reply

Monika Gause
Community Expert
Monika GauseCommunity ExpertCorrect answer
Community Expert
July 30, 2020

You can barely see anything in that image.


But if I interpret that correctly, what you need is this setting:

2 different hatchings. Put them in 2 layers stacked on each other. I put them side by side for demonstration.

The text needs to be punchd out of rectangles.

Make sure the fill color of the hatches has a different color than the fill of the rectangles with the text.

You need to make them one layer after the other.

Select the hatching and the text. And use the pathfinder "Outline" from the panel.

Then select one of the colors paths and Select > Same > Stroke color


Delete.

Do the same with the other layer


On top of each other they look like this: