Participant
May 24, 2025
Answered

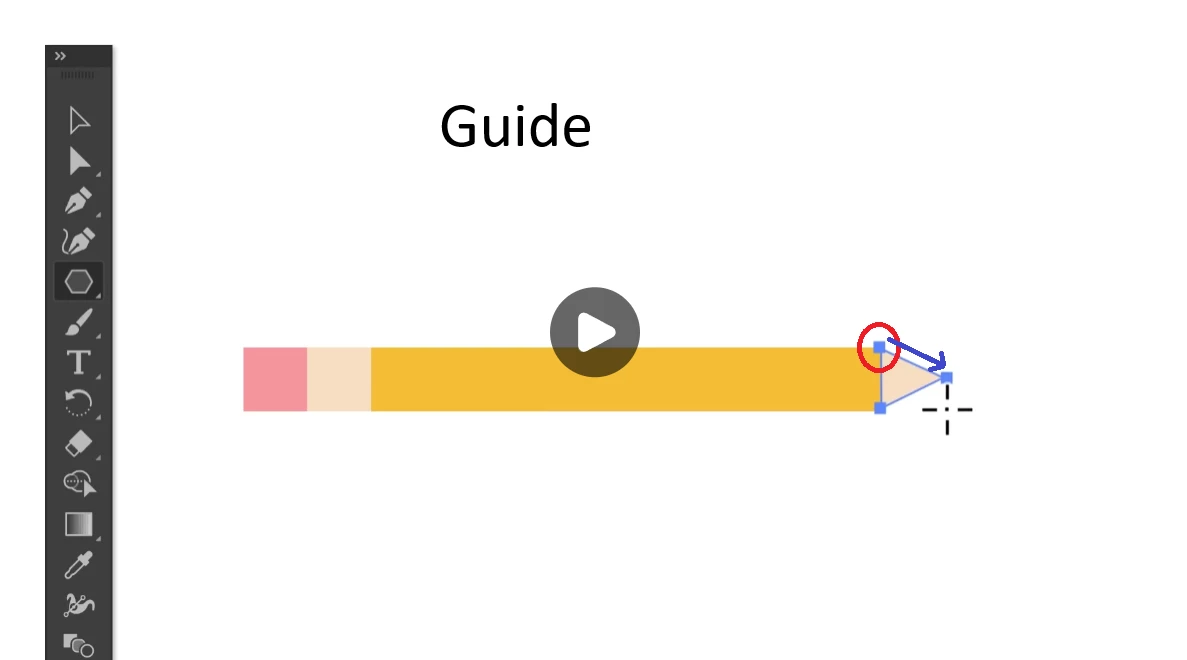
Starting point of polygon tool in this guide

  • May 24, 2025
  • 4 replies
  • 747 views

Hello there!
I'm just starting to learn the Adobe Suite in school and I've been watching some tutorials on their website. But I can't for the life of me find this feature in Illustrator or via Google.


It's from this tutorial video:

Adobe Learn - Learn Illustrator Create a flat illustration


Here are some screenshots.

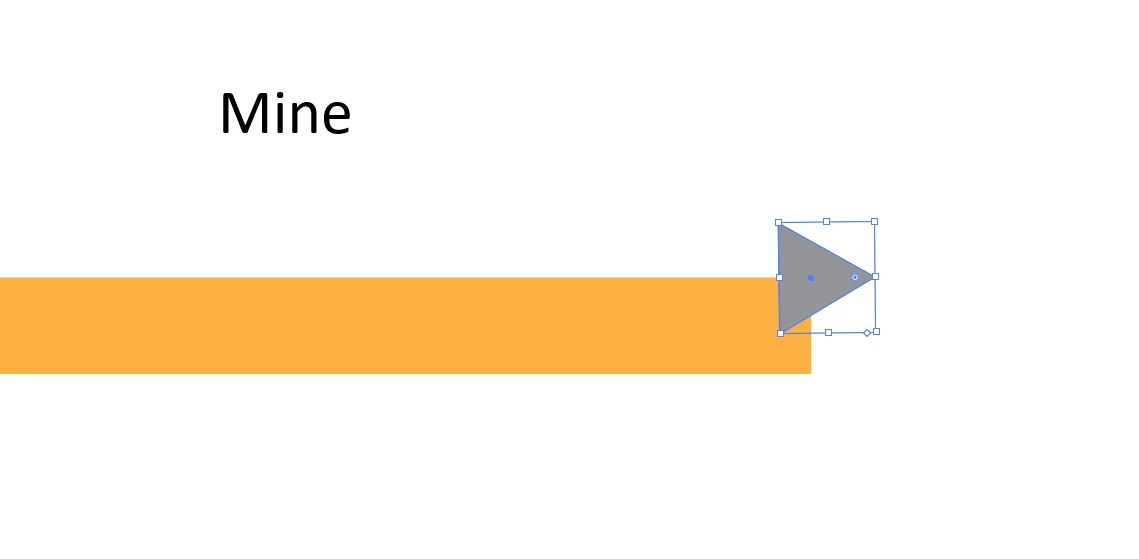
Any and all help is appreciated.

Correct answer Monika Gause

The method that is presented in the video does not work. You cannot draw the shape like this.

Here I'm showing you how to make it. When rotating I'm holding down the shift key. 

For the last scaling operation (the tip of the pencil) I'm also pressing the shift key.

https://youtu.be/SbuxHXJRcng 

4 replies

Monika Gause
Community Expert
Monika GauseCommunity ExpertCorrect answer
Community Expert
May 24, 2025

The method that is presented in the video does not work. You cannot draw the shape like this.

Here I'm showing you how to make it. When rotating I'm holding down the shift key. 

For the last scaling operation (the tip of the pencil) I'm also pressing the shift key.

https://youtu.be/SbuxHXJRcng 

RasmuskAuthor
Participant
May 24, 2025

Thank you very much!
I saw that you had answered another post about text being distorted when making a gradient mesh and then envelop distort. I understand everything that you explaied over there, except the thing with 5 points. I have the same issue as them and I cant get it to work. I also watched your video on that post. Could you show me what you mean? Sorry if I'm asking too much.
Thanks again!

Monika Gause
Community Expert
Community Expert
May 25, 2025

No problem!


The thing with the 5 points relates to the way Illustrator does selections.

So: in order to get a mesh grid/envelope in the exact way you need it, you have to select 4 points (with the white arrow/direct selection tool). But if the object only has 4 points, then selecting all of them will just be the same as selecting the object (with the black arrow/selection tool). So in order to overcome that, you have to just put an additional point on the object when it only has 4 points.

May 24, 2025

Hey @Rasmusk 

yes. there are many steps involved to make this image. You have done well so far.

1) choose the black arrow in the top right corner.
2) select both images. by clicking and moving the curser left to right or right to left.
3) Choose the centre alignment at the top. (You may have to adj the size of your images so they fit.


In this exercise the alignment tools are going to be your friend.

Cheers

O.Nate


RasmuskAuthor
Participant
May 24, 2025

Thank you

Ton Frederiks
Community Expert
Community Expert
May 24, 2025

You have used the Selection tool (V) they used the Direct Selection tool (A).

RasmuskAuthor
Participant
May 24, 2025

I also find it extremely difficult to make the shapes symmetrical and aligned like they do in the video. It feels like they are skipping a lot of techniques and settings for it to flow like that.